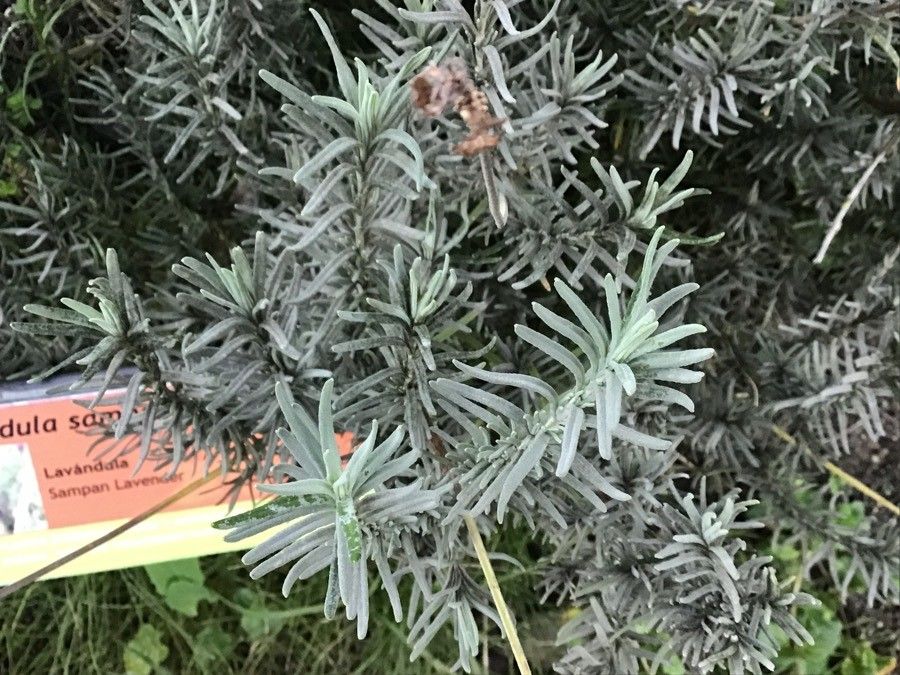
Hello there, fellow plant lovers! I’m so excited to chat with you today about a truly special lavender: Lavandula samhanensis. If you’re a fan of that intoxicating lavender aroma and the gorgeous blooms that attract all sorts of beneficial bugs, you’re going to adore this one. And the best part? Propagating it is a wonderfully rewarding experience, allowing you to fill your garden (or your friends’ gardens!) with these beauties. Now, is it a breeze for a brand-new gardener? It leans a little towards the “moderately easy” side, but with a few pointers, you’ll be a pro in no time!
The Best Time to Start
For the highest success rates, the late spring or early summer is generally your golden window. This is when the plant is actively growing and has plenty of pliable, healthy new shoots to work with. Avoid trying to propagate in the dead of winter or during a heatwave. We want happy, vigorous growth for our cuttings.
Supplies You’ll Need
Here’s what you’ll want to gather before you get started:
- Sharp, clean pruning shears or secateurs: For taking precise cuts.
- Rooting hormone (optional but recommended): A powder or gel that helps cuttings develop roots faster.
- Well-draining potting mix: A good blend for cuttings is usually equal parts peat moss or coco coir, perlite, and coarse sand. You can also find specialized seed-starting mixes.
- Small pots or trays: With drainage holes, of course!
- A watering can or spray bottle: For gentle watering.
- Clear plastic bags or a propagator: To maintain humidity.
- Labels and a permanent marker: To keep track of your efforts!
Propagation Methods
Let’s get our hands dirty! For Lavandula samhanensis, the most reliable method is stem cuttings.
- Select Your Cuttings: Look for healthy, non-flowering shoots that are about 4-6 inches long. They should be firm but not woody. Gently bend a shoot; if it snaps cleanly, it’s usually a good candidate.
- Make the Cut: Using your clean pruning shears, take a cutting just below a leaf node (the spot where leaves grow from the stem). This is where the magic of root development often begins.
- Prepare the Cutting: Strip off the lower leaves from your cutting, leaving about 2-3 sets of leaves at the top. This prevents them from rotting in the soil and reduces water loss.
- Apply Rooting Hormone (Optional): If you’re using rooting hormone, dip the cut end of the stem into the powder or gel, tapping off any excess.
- Planting: Fill your small pots with your well-draining potting mix. Make a small hole in the center with your finger or a pencil. Carefully insert the cut end of the lavender cutting into the hole, ensuring the leaves aren’t buried. Gently firm the soil around the stem.
- Water and Cover: Water the soil gently until it’s moist but not waterlogged. Then, place the pots inside a clear plastic bag or a propagator to create a humid environment. You can prop the bag up with stakes so the leaves don’t touch the plastic.
The “Secret Sauce” (Pro Tips)
Now, for a few little tricks I’ve picked up over the years that can really boost your success:
- Don’t rush the harvest: While we want actively growing shoots, avoid taking cuttings from very soft, leafy growth. A slightly more mature, semi-hardwood cutting has a better chance of survival. Think of it as a happy medium – firm enough to stand, but not stiff like an old twig.
- Bottom heat is your friend: If you can, placing your pots on a gentle heat mat can make a world of difference. It encourages root development from below, giving your little lavender babies a significant head start, especially if your ambient room temperature is a bit cooler.
- Air circulation is key: While humidity is important, stagnant air can lead to fungal issues. Once a week, open the plastic bag or propagator for a few minutes to allow for fresh air to circulate. It’s like giving them a little breath of fresh air!
Aftercare & Troubleshooting
Once your cuttings are planted, keep them in a bright spot, but out of direct, harsh sunlight. The goal is consistent moisture – the soil should feel like a wrung-out sponge. You’ll know your cuttings are rooting when you see new growth emerge, or when you gently tug on the stem and feel resistance. This usually takes anywhere from 4-8 weeks, sometimes longer.
The most common problem you might encounter is rot. This usually happens if the soil stays too wet. If you see your cuttings looking limp and mushy, or the leaves are turning black and falling off, it’s a sign of rot. Sadly, these are usually lost causes. Good drainage and avoiding overwatering are your best defenses here. If you notice a bit of mold, remove affected leaves immediately and increase air circulation.
A Encouraging Closing
Propagating plants, especially something as lovely as Lavandula samhanensis, is a journey. There will be successes, and there might be a few little setbacks along the way. But each attempt teaches you something new. Be patient, give your little cuttings the care they need, and enjoy the satisfaction of watching new life emerge. Happy growing!
Resource: