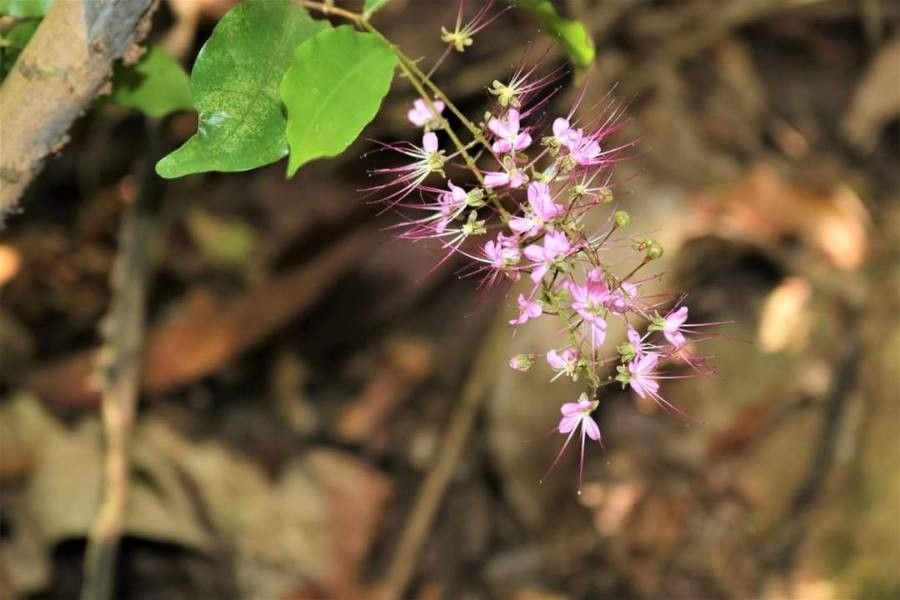
Hello there, fellow plant lover! It’s so nice to have you joining me today. We’re going to dive into something truly special: propagating Hirtella racemosa. This tropical gem, often called “Racemose Star-Elder,” is just a delight. Its delicate clusters of star-shaped flowers are a sight for sore eyes, and the rewarding feeling of nurturing a brand new plant from a small piece of its parent is simply unmatched. Now, for those of you just starting out, I’ll be honest, Hirtella racemosa can be a little bit of a trickster. It’s not the absolute easiest for a total beginner, but with a little care and attention, you’ll absolutely conquer it. I know you can!
The Best Time to Start
Timing is everything when it comes to coaxing new life from a plant. For Hirtella racemosa, I’ve found that the late spring or early summer is absolutely golden. This is when the plant is in its most vigorous growth phase. You’re looking for new, but not entirely soft, growth. Think of it as woody, but with a bit of flexibility. This is when it has the most energy to put into developing those roots.
Supplies You’ll Need
Gathering your tools before you begin makes the whole process smoother. Here’s what I usually have on hand:
- Sharp, clean pruning shears or a sharp knife: This is crucial for making clean cuts.
- Rooting hormone (powder or gel): This gives your cuttings a real helping hand.
- A well-draining potting mix: I like a blend of equal parts perlite and peat moss or coco coir. This gives the roots good aeration.
- Small pots or propagation trays: Make sure they have drainage holes.
- A clear plastic bag or a propagation dome: This helps maintain humidity.
- A watering can with a fine rose: For gentle watering.
- Optional: A heat mat: This can really speed things up.
Propagation Methods
We’ll focus on stem cuttings, as this is generally the most successful and straightforward method for Hirtella racemosa.
- Select Your Cuttings: Gently examine your Hirtella racemosa plant. Look for healthy stems with several sets of leaves. Take cuttings that are about 4-6 inches long. Make your cut just below a leaf node. This is the point where leaves emerge from the stem; it’s also where roots are most likely to form.
- Prepare the Cuttings: Carefully remove the lower leaves from your cuttings. You want to expose a few leaf nodes. If your leaves are quite large, I sometimes snip them in half to reduce water loss.
- Apply Rooting Hormone: Dip the cut end of each stem into your rooting hormone, ensuring it’s coated. Tap off any excess.
- Potting Up: Fill your small pots or trays with your prepared, moist potting mix. Gently insert the prepared cuttings into the soil, making a hole with your finger or a pencil first to avoid rubbing off the rooting hormone. Firm the soil around the base of the cutting.
- Create a Humid Environment: Water the soil gently. Then, cover the pot or tray with a clear plastic bag, securing it around the rim, or place it under a propagation dome. This tiny greenhouse effect is vital for keeping those cuttings from drying out.
The “Secret Sauce” (Pro Tips)
Now, for a few little tricks that have made all the difference for me over the years:
- Bottom Heat is Your Friend: If you have a heat mat, pop your pots on it. Hirtella racemosa absolutely loves a bit of warmth from below. It encourages root development much faster than relying on ambient temperature alone.
- Don’t Drench, Just Damp: While humidity is key, you don’t want soggy soil. Mist the inside of your plastic cover or dome daily to maintain humidity, but only water the soil if it feels dry to the touch. Overwatering is a surefire way to invite rot.
- Patience, and a Gentle Peek: Resist the urge to tug on your cuttings to see if they’ve rooted! Instead, every week or so, gently look for signs of new growth at the tips of the stems. This indicates that energy is being directed upwards, a good sign that roots are forming below.
Aftercare & Troubleshooting
Once you start seeing those tiny new leaves unfurling, congratulations! You’re well on your way. Continue to keep the soil consistently moist but not waterlogged. As the plant grows stronger, you can gradually acclimate it to lower humidity. This means opening up the plastic bag or dome for a couple of hours each day, slowly increasing that time over a week or two.
The most common problem you might encounter is rot. If you see a cutting turning black or mushy, it’s usually a sign of too much moisture in the soil. Unfortunately, once rot sets in, it’s very difficult to save. This is why getting that drainage and watering just right is so critical from the start. If a cutting fails, don’t despair! Just clean your pot and try again with a fresh one.
A Encouraging Closing
Growing new plants is a journey, and with Hirtella racemosa, it’s a particularly beautiful one. Don’t be discouraged if your first attempts aren’t perfect. Gardening is all about learning and adapting. Be patient with your little cuttings, give them warmth and humidity, and celebrate every tiny bit of progress. Soon, you’ll have your very own beautiful Hirtella racemosa to enjoy and perhaps even share. Happy propagating!
Resource:
https://identify.plantnet.org/k-world-flora/species/Hirtella%20racemosa%20Lam./data