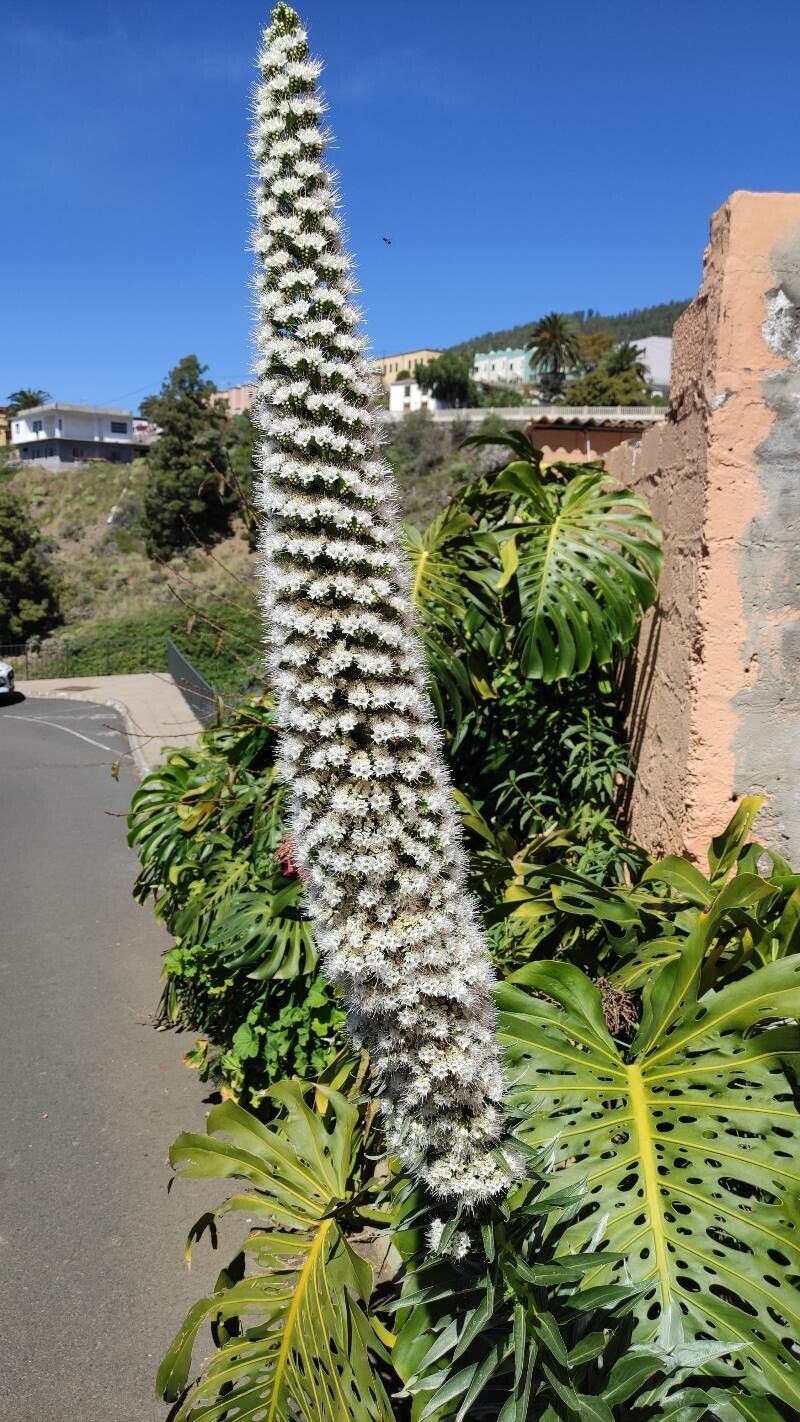
Oh, Echium simplex, you magnificent thing! If you’ve ever seen one of these towering beauties reaching for the sky, a single, spectacular flower spike adorned with a cloud of delicate white blooms, you know why I’m so utterly smitten. They’re like living sculptures, especially those incredible specimens in their natural habitat, the Canary Islands. And the best part? You can bring a piece of that magic into your own garden.
Propagating Echium simplex can be a bit of a journey, especially for absolute beginners. It’s not as straightforward as, say, a geranium cutting, but with a bit of care and understanding, it’s absolutely achievable and incredibly rewarding. There’s a special kind of joy in nurturing a tiny seedling or a hesitant cutting into a plant that mirrors its grand parent.
The Best Time to Start
For the highest success rate with Echium simplex, I find the late spring to early summer is your sweet spot. This is when the plant is really hitting its stride in terms of growth, and there’s plenty of good light and warmth to encourage those cuttings to root. Waiting until after the main flowering push can also yield success if you have healthy new growth available.
Supplies You’ll Need
Here’s what I always have on hand when I’m propagating these beauties:
- Sharp pruning shears or a clean knife: For making clean cuts.
- Rooting hormone (optional but recommended): Powder or gel form works well.
- Well-draining potting mix: A good blend of perlite, sand, and peat moss (or coco coir) is ideal. You want something that won’t hold too much moisture.
- Small pots or seedling trays: With drainage holes, of course!
- Plastic bags or propagation domes: To create a humid environment.
- Watering can with a fine rose: For gentle watering.
- Labels: To keep track of what’s what!
Propagation Methods: Let’s Get Our Hands Dirty!
We’ll focus on the most reliable method for Echium simplex: stem cuttings.
- Taking Your Cuttings: Head out to your plant during the ideal season. Look for healthy, non-flowering stems that are about 4-6 inches long. Use your sharp tool to make a clean cut just below a leaf node (that little bump where a leaf emerges). Remove the lower leaves, leaving just a few at the top.
- Preparing the Cuttings: If you’re using rooting hormone, dip the cut end of the stem into it, tapping off any excess.
- Planting Your Cuttings: Fill your small pots with the well-draining soil mix. Make a small hole in the center with your finger or a pencil. Gently insert the cut end of the Echium stem into the hole, ensuring the nodes are buried. Firm the soil gently around the cutting.
- Creating a Humid Environment: Water the soil gently until it’s evenly moist but not soggy. Then, cover the pot with a plastic bag or a propagation dome. This traps in humidity, which is crucial for encouraging root development. Place the pots in a bright, indirect light location. Avoid direct sun, which can scorch your delicate cuttings.
The “Secret Sauce” (Pro Tips)
Now, for a couple of things I’ve learned over the years that really make a difference:
- Don’t Overwater! This is perhaps the biggest mistake people make with cuttings. Echium stems are susceptible to rot if they sit in soggy soil. Water thoroughly when you first plant, and then only water again when the top inch of soil starts to feel dry. The humidity dome will help keep the moisture consistent.
- Bottom Heat is Your Friend: If you have a heated propagator or can place your pots on a heat mat, this can significantly speed up the rooting process. It mimics the warmth of the soil in its natural environment and gives those roots a real boost.
Aftercare & Troubleshooting
Once those cuttings have been in their humid little homes for a few weeks, you can start to check for roots. Gently tug on the cutting. If you feel resistance, you’ve got roots! Now it’s time to transition them.
Carefully remove the plastic bag or dome for a few hours each day, gradually increasing the time until they’re accustomed to the ambient humidity. Continue to keep them in bright, indirect light. Once they’re well-rooted and showing new growth, you can pot them up into slightly larger containers with their regular potting mix.
If your cutting starts to look mushy, yellow, or just plain sad, it’s likely rot. Usually, this is a sign of too much moisture and not enough air circulation. Sadly, these are often hard to save, but don’t despair! Just start again with fresh cuttings and pay close attention to your watering.
An Encouraging Closing
Propagating Echium simplex takes a bit of patience, but I promise, the reward of seeing those tiny roots emerge and a new plant begin to form is absolutely worth it. Don’t be discouraged if your first few attempts aren’t perfect. Gardening is all about learning, experimenting, and enjoying the process. Happy propagating!
Resource:
https://identify.plantnet.org/k-world-flora/species/Echium%20simplex%20DC./data