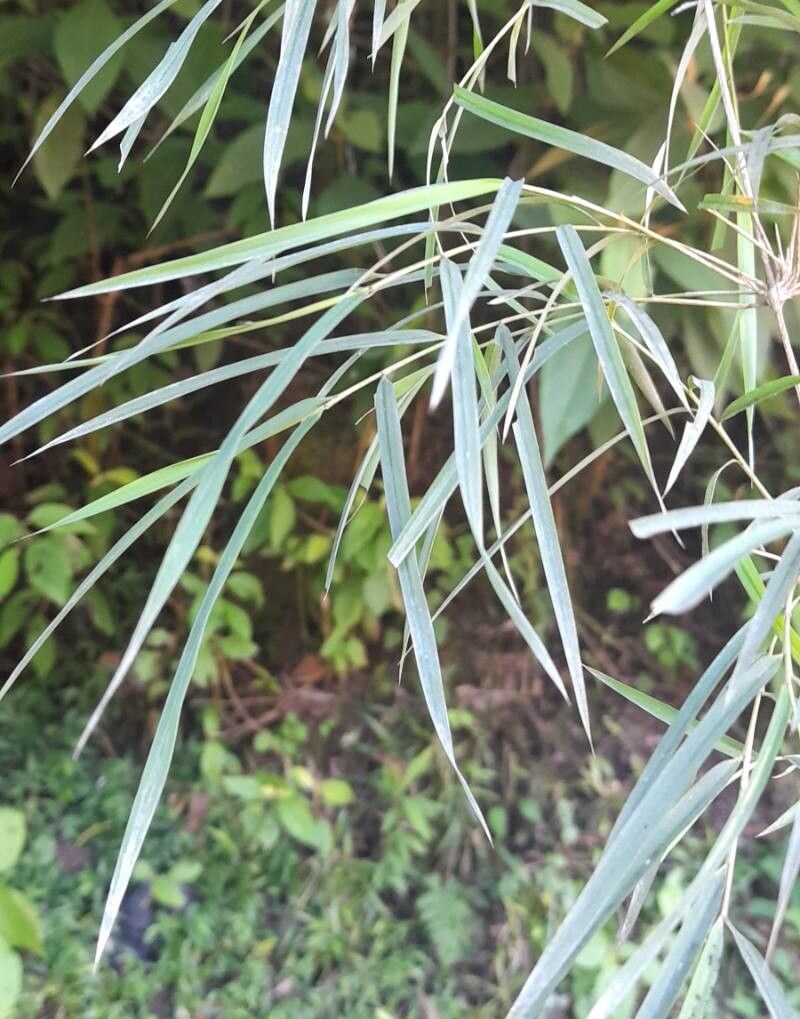
Alright, hello there, fellow plant enthusiasts! I’m so glad you’ve stopped by. Today, we’re diving into the delightful world of Chusquea lorentziana, a bamboo that brings such wonderful texture and a touch of the tropics to any garden space. Its graceful, arching culms and vibrant green foliage are simply a joy to behold.
There’s a special kind of satisfaction that comes from growing a plant from a tiny slip of itself. It connects you to the life cycle and frankly, it’s a lot kinder to your wallet! Now, about Chusquea lorentziana: while it’s not the most finicky plant out there, it does have its preferences. For beginners, I’d say it’s moderately easy – a wonderful plant to learn with once you understand a few key things.
The Best Time to Start
For the highest chance of success, late spring to early summer is your golden window. Think of it as when the plant is really waking up after its winter rest and buzzing with energy. New growth is vigorous then, which means it has more stored energy to put into developing roots. Trying to propagate when the plant is sluggish or stressed is just asking for disappointment.
Supplies You’ll Need
Here’s what I like to have on hand:
- Sharp Pruning Shears or Secateurs: Clean cuts are crucial!
- Rooting Hormone: A powder or gel form works well.
- Well-Draining Potting Mix: A blend of peat moss, perlite, and a bit of compost is usually perfect. Some folks like to add a little horticultural charcoal too.
- Small Pots or Propagation Trays: Whatever you have available will work, as long as they have drainage holes.
- Plastic Bags or a Clear Plastic Dome: For creating a humid environment.
- Watering Can or Spray Bottle: For gentle watering.
- Small Labels: Trust me, you’ll thank yourself later!
Propagation Methods
Let’s get our hands dirty! The most successful way I’ve found to multiply Chusquea lorentziana is through stem cuttings.
- Select Your Cutting: Look for healthy, non-flowering stems. You want pieces that are at least one year old, showing a nice mixture of green and slightly woody growth. Gently bend a stem – if it snaps easily, it might be too young. If it feels tough and woody, it might be too old. Aim for the happy medium!
- Make the Cut: Using your sharp, clean pruning shears, cut a section of stem that has at least two or three nodes. A node is that swollen joint where leaves emerge. Cut just below a node.
- Prepare the Cutting: Carefully remove the lower leaves from the cutting, leaving just one or two at the very top. You want to minimize water loss. If the remaining leaves are quite large, I like to snip them in half to reduce transpiration.
- Apply Rooting Hormone: Dip the cut end of the stem into your rooting hormone, tapping off any excess. This step isn’t strictly mandatory for all plants, but it really gives Chusquea lorentziana a healthy boost.
- Plant Your Cutting: Make a hole in your prepared potting mix with a pencil or your finger. Gently insert the cutting, ensuring the node where you removed the leaves is buried beneath the surface. The roots will emerge from this area.
- Water Gently: Water your cutting thoroughly but gently. You don’t want to disturb the new roots.
- Create Humidity: This is key! Cover the pot with a clear plastic bag or place it under a clear plastic dome. Make sure the plastic isn’t touching the leaves of the cutting. You can use stakes to prop it up if needed. Place the pot in a bright spot, but out of direct, scorching sunlight.
The “Secret Sauce” (Pro Tips)
Here are a couple of tricks that have really upped my propagation game:
- Bottom Heat is Your Friend: If you have access to a heat mat, placing your pots on a gentle heat mat can make a world of difference. It encourages root development from below, mimicking the warmth of summer soil. Just make sure it’s not too hot, a gentle warmth is all you need.
- Don’t Overwater, But Keep it Consistently Moist: This is a fine balance, I know! The goal is to keep the potting mix consistently moist, but not soggy. Soggy conditions are a fast track to rot. I like to check the moisture with my finger. If the top inch feels dry, it’s time for a gentle watering or a light misting.
Aftercare & Troubleshooting
Once you see signs of new growth – new leaves appearing or the cutting resisting a gentle tug, indicating roots – you’re on your way!
- Acclimate Slowly: Gradually remove the plastic covering over a week or two. This allows the new plant to adjust to the normal humidity levels in your home or garden.
- Continue Gentle Care: Keep the potting mix evenly moist, and continue to provide bright, indirect light.
- Watch for Rot: The most common sign of failure is rot. If your cutting turns black and mushy, it’s usually a sign of overwatering or poor drainage. Unfortunately, if rot sets in, it’s often too late to save it. Clean your pot and start again, paying close attention to the moisture level and drainage next time. Another sign of trouble can be wilting that doesn’t perk up. This could also be related to moisture issues or insufficient light.
A Encouraging Closing
Propagating plants is a journey, and sometimes it requires a little patience. Don’t get discouraged if your first attempt isn’t a roaring success. Each try is a learning experience! Enjoy the process of nurturing these tiny new beginnings. With a little care and the right approach, you’ll soon have more of this gorgeous Chusquea to enjoy. Happy propagating!
Resource:
https://identify.plantnet.org/k-world-flora/species/Chusquea%20lorentziana%20Griseb./data