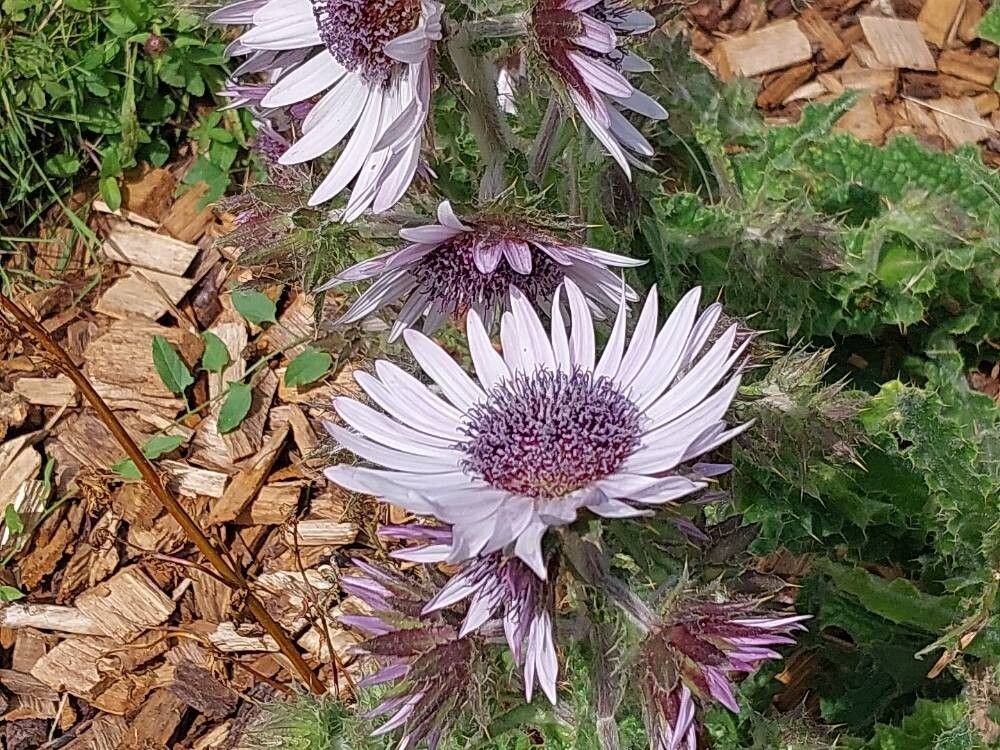
Oh, hello there! Grab a mug, let’s chat about one of my favorite garden treasures: Berkheya purpurea. You know, those gorgeous purple coneflowers with their striking, spiky blooms? They’re just magnificent, aren’t they? They bring a wonderful splash of color and a touch of the wild to any border. And the best part? They’re surprisingly rewarding to propagate. If you’re a beginner, don’t be shy! While they’re not quite as hands-off as, say, propagating a spider plant, they’re certainly a manageable and exciting project. You’ll get a real kick out of seeing your efforts blossom into new life.
The Best Time to Start
For Berkheya purpurea, I find the sweet spot for propagation is in the late spring or early summer. This is when the plant is actively growing and has plenty of energy to put into developing new roots. You’re essentially taking cuttings from this year’s growth, and the longer, warmer days give them a great head start. Aim for when the stems are firm but not woody – think of it as the plant’s ‘youthful vigor’ stage.
Supplies You’ll Need
Gathering your supplies beforehand makes the whole process so much smoother. Here’s what I always have on hand:
- Sharp, clean pruning shears or a sharp knife: Disinfection is key to preventing disease. A quick wipe with rubbing alcohol will do.
- Rooting hormone (optional but recommended): This helps give those cuttings a confidence boost. I prefer a powder form for ease of use.
- Well-draining potting mix: A good blend of perlite and peat moss, or a commercially available seed-starting mix, works wonders. You want it to hold a little moisture but drain freely.
- Small pots or seed trays: Clean containers are a must. Yogurt cups with drainage holes poked in the bottom are surprisingly effective too!
- Plastic bags or a propagator: This creates a humid environment, which is crucial for cuttings to root.
- Watering can or spray bottle: For gentle watering.
- Labels and a marker: Trust me, you’ll thank yourself later when you can identify your little green babies!
Propagation Methods
Let’s get our hands dirty! Berkheya purpurea is most commonly propagated from stem cuttings. It’s straightforward and yields great results.
Stem Cuttings
- Select a healthy mother plant. Look for one that’s vibrant and free of pests or diseases.
- Take your cuttings. Using your clean shears, cut a stem that’s about 4-6 inches long. Make the cut just below a leaf node (that’s where a leaf attaches to the stem). Try to take several cuttings from different stems; not every single one might take, and that’s perfectly alright.
- Prepare the cuttings. Gently remove the lower leaves from the cutting, leaving just a few at the very top. This prevents them from rotting in the soil and directs the plant’s energy towards root development.
- Apply rooting hormone (optional). Dip the cut end of the stem into the rooting hormone, tapping off any excess.
- Plant the cuttings. Make a small hole in your prepared potting mix with your finger or a pencil. Insert the cut end of the stem into the hole, ensuring the lowest leaf node is buried. Gently firm the soil around the stem.
- Water gently. Water the pot until the soil is evenly moist but not soggy.
- Create humidity. Place the pot into a clear plastic bag or a propagator. Seal it loosely to allow for some air circulation. This is your mini-greenhouse!
The “Secret Sauce” (Pro Tips)
Now for a couple of little tricks I’ve picked up over the years that can really make a difference:
- The Bottom Heat Advantage: If you have a heat mat or can place your pots on a warm surface (like near a sunny window where the sill gets a bit warm), employing bottom heat can dramatically speed up root formation. It mimics the warmth of the soil after the summer rains and encourages roots to grow faster and stronger.
- Don’t Drown Your Leaves: When you water your cuttings, make sure the leaves aren’t sitting in excess water, particularly if they’re touching the sides of the plastic bag. This is a prime spot for fungal diseases to take hold. I often prune off any leaves that are likely to make contact.
Aftercare & Troubleshooting
Once your cuttings are planted and nestled into their humid little homes, the waiting game begins.
- Location, Location, Location: Place your pots in a bright spot, but out of direct, scorching sunlight. Too much sun can fry those tender new cuttings.
- Patience is a Virtue: It can take anywhere from 3 to 6 weeks for roots to develop. You can gently tug a cutting after a few weeks. If you feel resistance, you’ve got roots!
- Acclimatization: Once roots have formed, it’s time to gradually acclimatize your new plants to normal household humidity. Start by opening the plastic bag for an hour or two each day, slowly increasing the time until they can live without it.
- Troubleshooting Woes: The most common issue is rot, which manifests as mushy, black stems. This is usually due to too much moisture and not enough drainage, or poor air circulation. If you see this, sadly, that cutting is probably lost. Discard it and ensure your other cuttings have better drainage and air flow. Yellowing leaves can sometimes mean they’re getting too much direct sun or not enough water – observe closely!
A Encouraging Closing
See? Not so daunting, is it? Propagating Berkheya purpurea is a journey of observation and a little bit of faith. Be patient with your tiny charges, celebrate every sign of life, and don’t be discouraged by the occasional setback. Gardening is as much about the process as it is about the final bloom. Enjoy the magic of creating something new from something familiar! Happy propagating!
Resource:
https://identify.plantnet.org/k-world-flora/species/Berkheya%20purpurea%20(DC.)%20Mast./data