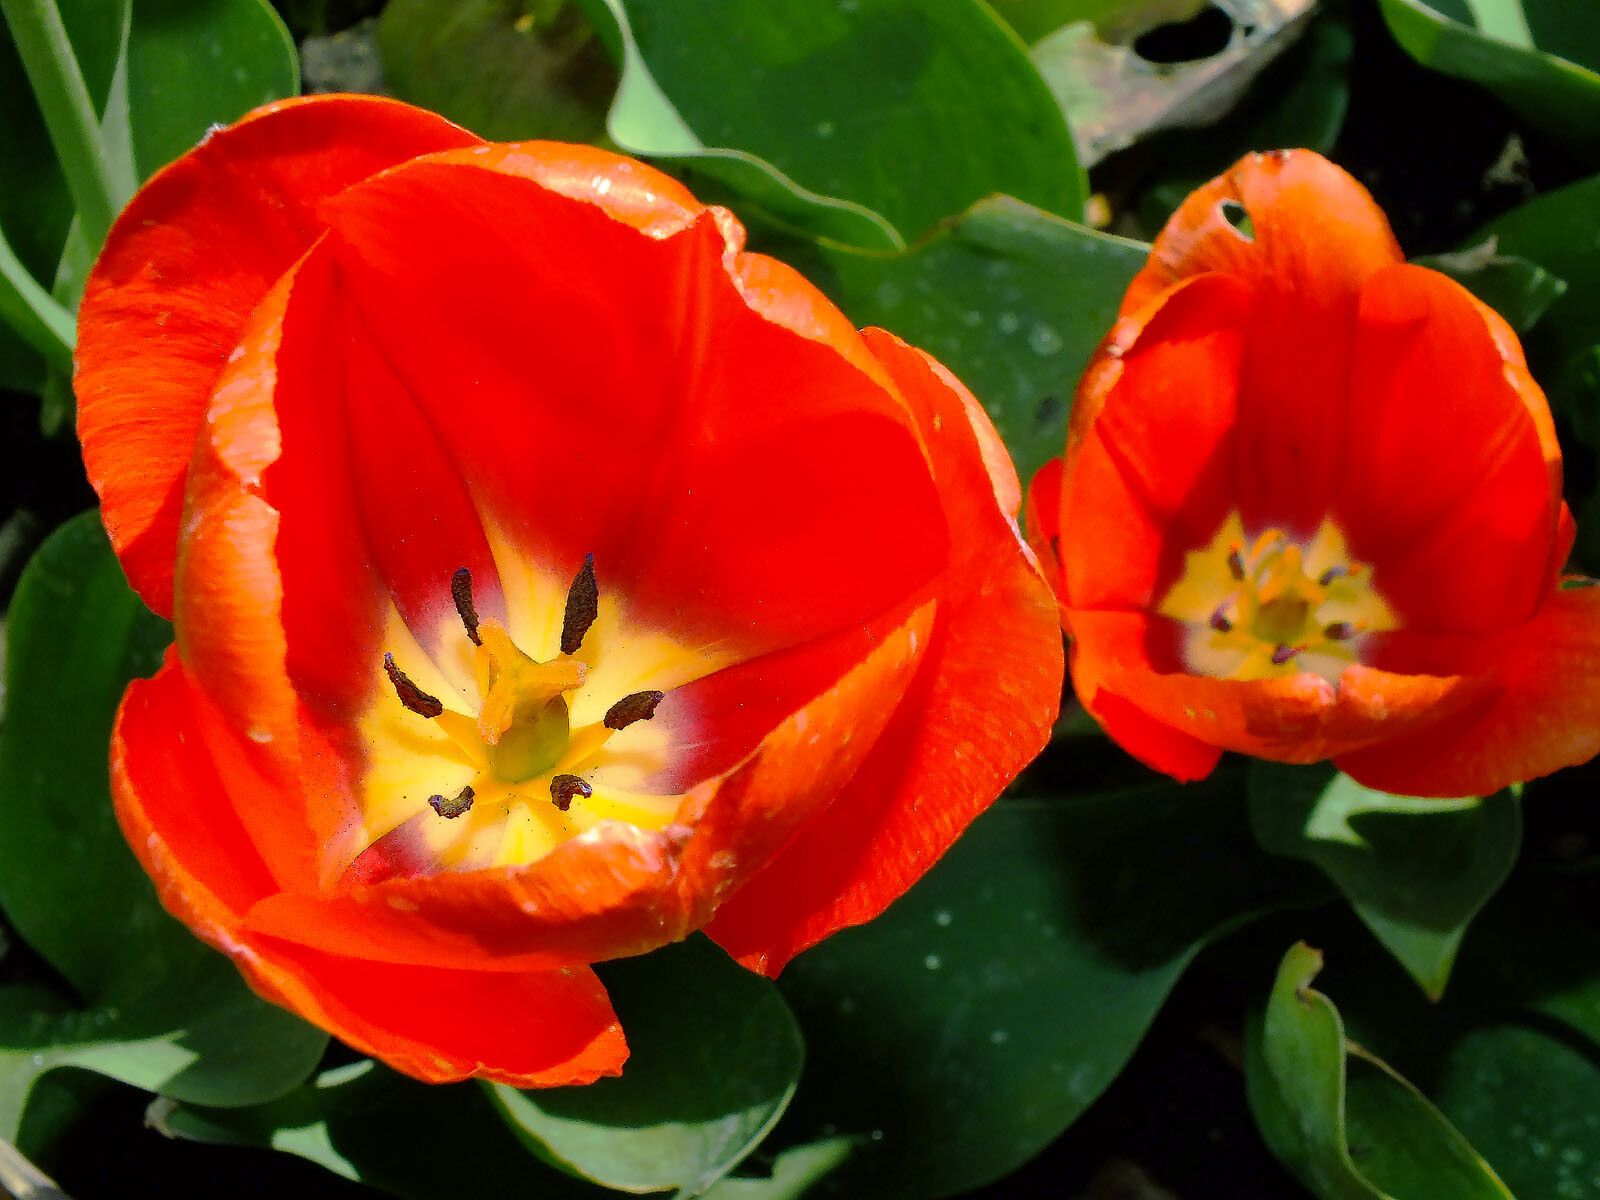
Well hello there, fellow plant enthusiast! Pull up a chair and let’s chat about one of my absolute garden gems: Tulipa agenensis. If you, like me, are captivated by its vibrant hues and that intoxicating, spicy fragrance, then the thought of growing more of these beauties is probably fluttering in your mind. And guess what? It’s absolutely doable!
Why Propagate Tulipa agenensis?
There’s something incredibly satisfying about nurturing a new life from a parent plant, isn’t there? It’s like a gift that keeps on giving. Propagating Tulipa agenensis means you can expand your collection, share these delightful blooms with friends, or simply have more of what makes your garden special. Now, I’ll be honest, Tulipa agenensis isn’t quite as straightforward as, say, a pothos for a complete beginner, but with a little care and attention, it’s a journey absolutely worth taking. Don’t be intimidated; that’s what I’m here for!
The Best Time to Start
For Tulipa agenensis, the magic truly happens after flowering has finished and the foliage starts to yellow and die back naturally. This usually happens in late spring to early summer. The plant is then directing all its energy into storing nutrients in its bulb for the following year, and this is when it’s also busy creating those lovely offsets (or bulbils, as we call them). Trying to propagate before this can just stress the plant out.
Supplies You’ll Need
Here’s a little toolkit to get you started:
- Sharp, clean trowel or a small spade: For gently unearthing your bulbs.
- Sterile pruning shears or a sharp knife: Essential for clean cuts.
- Gardening gloves: To keep your hands clean and protected.
- A good quality potting mix: I prefer a mix that drains exceptionally well, perhaps with perlite or coarse sand added.
- Small pots or trays: For your newly divided sections.
- Optional: Rooting hormone powder: This can give a little boost to encourage root development, though it’s not always strictly necessary for tulips.
- A watering can with a fine rose: For gentle watering.
Propagation Methods: The Art of Division
The primary and most effective way to propagate Tulipa agenensis is through bulb division. Tulips naturally produce small offsets, or “daughter” bulbs, around the base of the main bulb.
Here’s how I do it:
- Gently Excavate: Once the foliage has withered and is completely dry (this is key – don’t disturb them when they’re still green!), carefully dig around the parent bulb with your trowel. You want to expose the entire bulb cluster without damaging any of the bulbs.
- Observe and Separate: You’ll see the main bulb and then smaller bulbils attached. Gently wiggle or use your fingers or a clean knife to carefully detach the daughter bulbs from the mother bulb. Try to make a clean break. If a bulbil is still quite small, it’s often best to leave it attached for another year to mature.
- Inspect and Trim (if needed): Examine each separated bulb. Remove any bits of dead roots or papery outer layers that seem loose. If you’re using rooting hormone, now’s the time to dip the base of the bulb in it.
- Planting Time: Fill your small pots with your well-draining potting mix. Plant each separated bulbil about 2-3 inches deep, depending on its size. The pointed end should be facing upwards.
- Water Gently: Give them a good watering, but avoid waterlogging. You want the soil to be evenly moist.
The “Secret Sauce” (Pro Tips)
Now, for a couple of things I’ve learned over the years that really make a difference:
- Don’t Rush the Dig: I’ve seen gardeners get too eager and dig up bulbs while the leaves are still green. Trust me, letting those leaves die back completely is crucial for the bulbs to have stored enough energy. That yellowing and dying back is the signal they are ready for a well-deserved rest and to focus on producing those babies.
- Give Them Space and Air: When planting your separated bulbils, don’t crowd them. Give them enough room to grow for a year or two before they get too competitive. Good air circulation around the bulbs also helps prevent rot. I also like to add a little grit or perlite to my potting mix – it’s like giving them a comfy, well-draining bed.
Aftercare & Troubleshooting
Once your bulbils are planted, keep them in a place where they won’t be disturbed. Water them sparingly if the soil becomes bone dry, but generally, they’ll be fine resting over the summer. You’ll likely see them emerge next spring, though they may not bloom in their first year. Be patient – it can take a couple of years for a bulbil to mature into a flowering-sized bulb.
The most common issue you might face is rot, which is usually caused by overwatering or poor drainage. If you notice a bulb becoming soft, mushy, or developing a foul smell, it’s likely rotted. Unfortunately, there’s not much you can do once that happens, so prevention is key! Ensure your potting mix is light and airy, and err on the side of underwatering during the summer rest period.
Keep Growing!
Propagating Tulipa agenensis might take a little extra patience, but seeing those new shoots emerge and eventually bloom with their own unique charm is incredibly rewarding. Don’t be discouraged if your first attempt isn’t perfect; gardening is always a learning process. Enjoy the journey, nurture your plants, and soon you’ll have a garden bursting with the beauty of your own propagated tulips! Happy gardening!
Resource:
https://identify.plantnet.org/k-world-flora/species/Tulipa%20agenensis%20Redouté/data