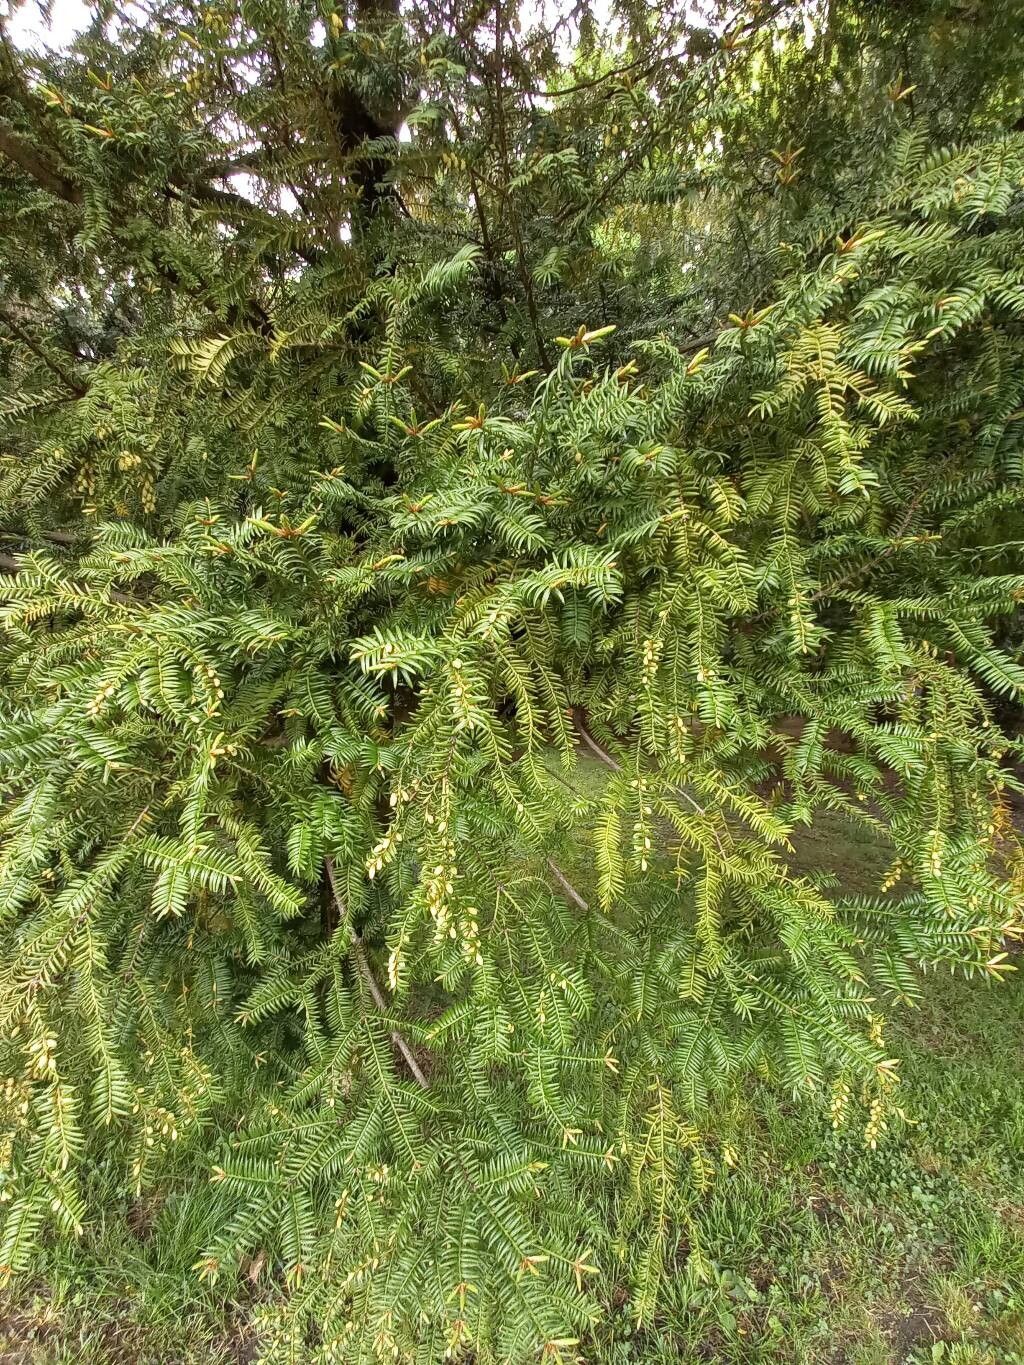
Hello fellow plant enthusiasts! It’s so lovely to have you here today. We’re going to talk about a truly special tree, Torreya grandis. If you’re drawn to graceful evergreen foliage and the satisfaction of nurturing something from its very beginnings, then this is a plant for you. Growing your own Torreya grandis is a wonderful way to connect with nature and can be incredibly rewarding.
Now, I won’t sugarcoat it – Torreya grandis can be a bit of a discerning plant. It’s not the absolute easiest for a complete beginner, but with a little patience and the right approach, it’s absolutely achievable! Don’t let that deter you; the joy of watching a new tree take hold is well worth the effort.
The Best Time to Start
For the highest chance of success, I recommend taking cuttings in late spring to early summer. This is when the plant is actively growing and has plenty of energy to put into developing new roots. Look for semi-hardwood cuttings, which are stems that are starting to firm up but are still somewhat flexible. Avoid brand new, tender green shoots or overly woody, mature stems.
Supplies You’ll Need
Gathering your supplies before you begin will make the whole process much smoother. Here’s what I usually have on hand:
- Sharp pruning shears or a clean utility knife: For making clean cuts.
- Rooting hormone powder or gel: This is a lifesaver, especially for trickier cuttings.
- A well-draining potting mix: I like to use a blend of coarse sand, perlite, and peat moss (or coco coir for a more sustainable option). A mix designed for cacti and succulents often works well too.
- Small pots or seed trays: Clean containers are crucial to prevent disease.
- Plastic bags or a propagation dome: To create a humid environment.
- Labels and a marker: So you don’t forget what you’ve propagated!
- A watering can with a fine rose attachment: To avoid disturbing your cuttings.
Propagation Methods
While Torreya grandis can be a bit challenging, the most reliable method for home propagation is stem cuttings.
Stem Cuttings:
- Select your parent plant: Choose a healthy, vigorous Torreya grandis.
- Take the cuttings: Using your clean shears, cut stems about 4-6 inches long. Make the cut just below a leaf node (where a leaf attaches to the stem).
- Prepare the cuttings: Gently remove the lower leaves from the bottom half of the stem. This prevents them from rotting when buried in the soil. If the leaves are very large, you can even cut them in half horizontally to reduce water loss through transpiration.
- Apply rooting hormone: Dip the cut end of each stem into your rooting hormone, tapping off any excess.
- Pot them up: Fill your clean pots with your prepared potting mix. Make a hole in the center with a pencil or your finger.
- Insert the cuttings: Gently place each cutting into the hole, firming the soil around the base to ensure good contact. Aim for about an inch or two of the stem to be buried.
- Water gently: Water thoroughly until you see water draining from the bottom of the pot.
- Create humidity: Cover the pots with a clear plastic bag (holding it up with stakes so it doesn’t touch the leaves) or place them under a propagation dome.
- Provide light and warmth: Place the pots in a bright location out of direct sunlight. If you have an electric propagator mat, this is where it really shines! This bit of warmth from below can dramatically improve rooting success.
The “Secret Sauce” (Pro Tips)
Here are a few things I’ve learned over the years that can really make a difference for Torreya grandis:
- Bottom heat is key! That gentle warmth from a heating mat is a game changer for encouraging root development. It mimics spring soil temperatures, giving those cuttings the best possible start.
- Don’t overwater, but don’t let them dry out completely. It’s a delicate balance. The soil should remain consistently moist, like a wrung-out sponge, but never waterlogged. Soggy soil is the fast track to rot.
- Be patient with the misting. While you don’t want the leaves to touch the water in the pot, a light misting of the foliage every few days can help keep humidity levels up, especially if your propagation environment isn’t perfectly sealed.
Aftercare & Troubleshooting
Once you start seeing signs of new growth – tiny leaves unfurling or a gentle tug resistance – that’s usually a good indication that roots are forming!
- Gradually acclimate: Once rooted, slowly remove the plastic cover or dome over a week or two. This helps the new plant adjust to normal humidity.
- Transplant carefully: When your little Torreya grandis has a good root system (you might see roots coming out of the drainage holes), it’s time to transplant it into a slightly larger pot with fresh, well-draining soil.
- Watch for rot: The most common problem is root rot, which usually shows up as a blackening and mushy stem base, or the cutting wilting and turning black rather than greening up. This is almost always due to overwatering and poor drainage. If you suspect rot, it’s hard to save, but you can try repotting in fresh, dry soil and adjusting your watering practices drastically.
A Encouraging Closing
Growing Torreya grandis from cuttings is a journey, and like any good journey, it requires a touch of perseverance. Don’t be discouraged if your first attempts aren’t a resounding success. Learn from each one, adjust your approach, and keep at it. The reward of seeing your own little Torreya grandis tree flourish is truly immense. Happy propagating, and enjoy the green miracles you create!
Resource:
https://identify.plantnet.org/k-world-flora/species/Torreya%20grandis%20Fortune%20ex%20Lindl./data