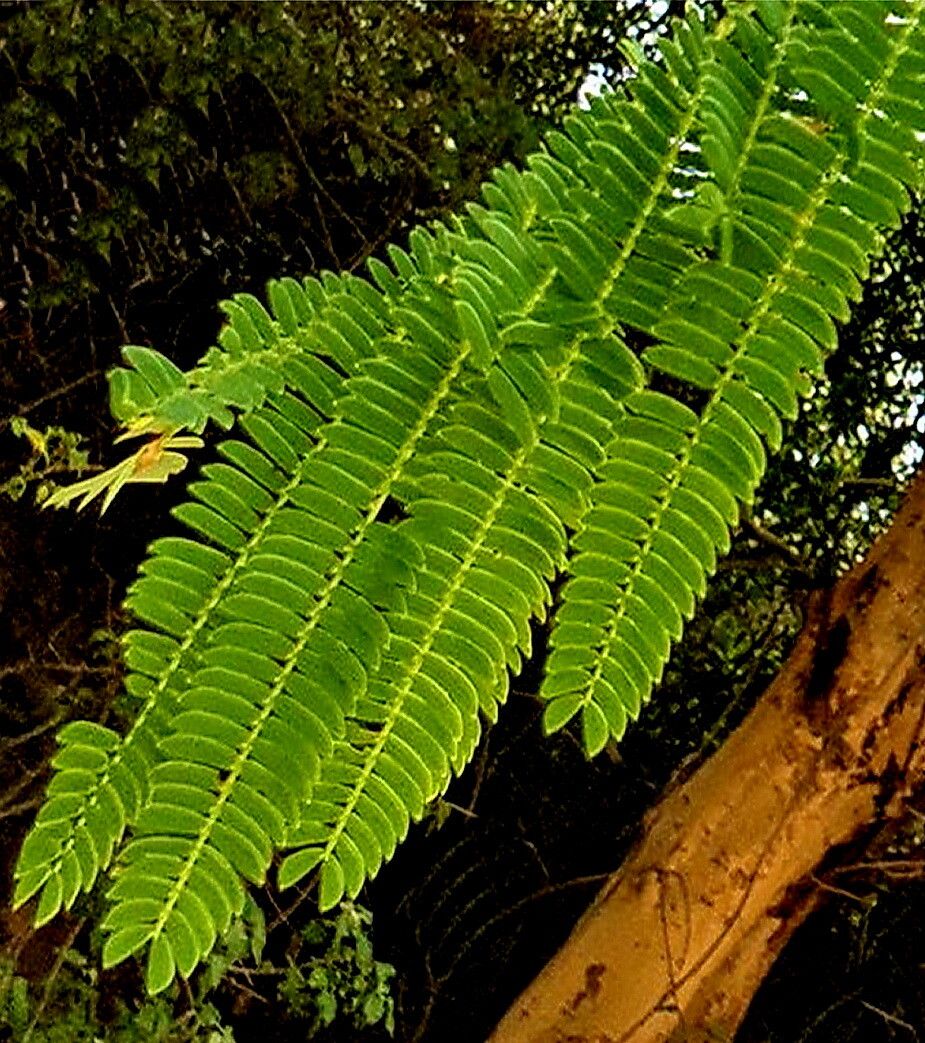
Oh, hello there! It’s wonderful to have you join me. Today, we’re diving into the fascinating world of propagating Senegalia galpinii, also known charmingly as the “Fever Tree” or “Umbrella Thorn Acacia.” If you’ve ever admired its graceful, spreading branches and the delicate, feathery foliage, you’re in for a treat. Growing it from scratch is incredibly satisfying, giving you a little piece of that wild beauty to call your own. Now, is it a walk in the park for a complete newbie? I’d say it leans a touch towards the more challenging side, but with a little guidance and patience, you absolutely can succeed.
The Best Time to Start
Timing is everything in the garden, isn’t it? For Senegalia galpinii, the sweet spot for propagation is generally late spring to early summer. This is when the plant is in its active growing phase, and cuttings will have the most energy to root. You’re looking for shoots that are mature enough to hold their shape but still somewhat flexible – not too woody, not too soft.
Supplies You’ll Need
Gathering your tools beforehand makes the whole process smoother. Here’s what I always have on hand:
- Sharp bypass pruners or a clean, sharp knife: For taking precise cuttings.
- Well-draining potting mix: A mix of perlite, coarse sand, and peat moss is excellent. You can also find specialized cactus/succulent mixes that work well.
- Small pots or seed trays: Ensure they have drainage holes.
- Rooting hormone (optional but recommended): A powder or liquid can significantly boost success.
- Plastic bags or a propagator lid: To maintain humidity.
- Labels and a marker: To keep track of your efforts!
- Watering can with a fine rose: For gentle watering.
Propagation Methods
While Senegalia galpinii can be grown from seed, which can be a bit tricky due to their hard seed coat, propagation via stem cuttings is often more straightforward and yields predictable results.
Stem Cuttings:
- Select your parent plant: Choose a healthy, mature Senegalia galpinii with plenty of vigorous growth.
- Take your cuttings: Using your sharp pruners, take cuttings that are about 4-6 inches long. Look for a stem that has just finished flowering, or a strong, upright shoot. Make the cut just below a leaf node (where a leaf attaches to the stem).
- Prepare the cuttings: Gently remove the lower leaves from the bottom half of the cutting. This prevents them from rotting in the soil or water. If your cutting has any flowers or developing buds, it’s best to pinch them off to direct the plant’s energy towards rooting.
- Apply rooting hormone (optional): Dip the cut end of the stem into rooting hormone powder or liquid, tapping off any excess. This step isn’t strictly necessary for all plants, but it’s a good insurance policy for trickier ones like this.
- Plant the cuttings: Fill your pots with the well-draining potting mix. Make a small hole in the center with your finger or a pencil. Insert the cut end of your prepared cutting into the hole. Firm the soil gently around the base of the cutting to ensure good contact.
- Water gently: Water the soil thoroughly but gently, allowing excess water to drain away.
- Create a humid environment: Place the potted cuttings into a clear plastic bag or cover them with a propagator lid. This traps moisture and creates the humid environment they crave. Ensure the leaves don’t touch the sides of the bag where condensation might collect.
- Find a good spot: Place your pots in a warm, bright location, but out of direct, harsh sunlight. A greenhouse or a bright windowsill is ideal.
The “Secret Sauce” (Pro Tips)
Here are a couple of things I’ve learned over the years that can really make a difference:
- Bottom Heat is your friend: If you have a heat mat designed for seedlings or cuttings, use it! Warming the soil from below encourages root development much faster and more reliably. When I started out without one, I learned the hard way how much difference it makes.
- Don’t forget to ventilate: Even though you want humidity, you don’t want stagnant air, which can lead to fungal diseases. I always recommend briefly opening the plastic bag or propagator lid for a few minutes each day to allow for air circulation. It’s a small step but it’s crucial.
- Patience with the “snap test”: When you think your cuttings might be rooted, give the stem a very gentle tug. If there’s resistance, that’s a good sign roots are forming. If it pulls out easily, it hasn’t rooted yet. Try not to disturb them too much!
Aftercare & Troubleshooting
Once your cuttings have developed a good root system – and this can take anywhere from 4-8 weeks or even longer – you’ll notice new growth appearing.
- Gradually acclimate: Begin by slowly removing the plastic bag or lid over a few days to get them used to normal humidity.
- Transplant carefully: When the new plants are strong enough and have a decent root ball, gently transplant them into slightly larger pots with fresh, well-draining potting mix.
- Watering: Water them as you would an established plant – let the soil dry out slightly between waterings.
- Common problems: The most common issue you’ll encounter is rot. This usually happens if the cuttings are kept too wet or lack proper drainage, or if the humidity is too high for too long without ventilation. Signs of rot include a black, mushy stem base. If you see this, unfortunately, the cutting is likely lost, but don’t despair! You can always try again. Another sign of failure is wilting that doesn’t recover, which could mean it hasn’t rooted or it’s not getting enough moisture.
A Little Encouragement
Propagating plants is a journey, and sometimes it’s one with a few detours. Don’t be discouraged if your first attempts aren’t perfect. Every cutting you take, every pot you fill, is a learning experience. Enjoy the process of nurturing these new little lives. Watch them grow, feel the satisfaction of creating something new, and soon you’ll have your very own Senegalia galpinii to admire. Happy gardening!
Resource: