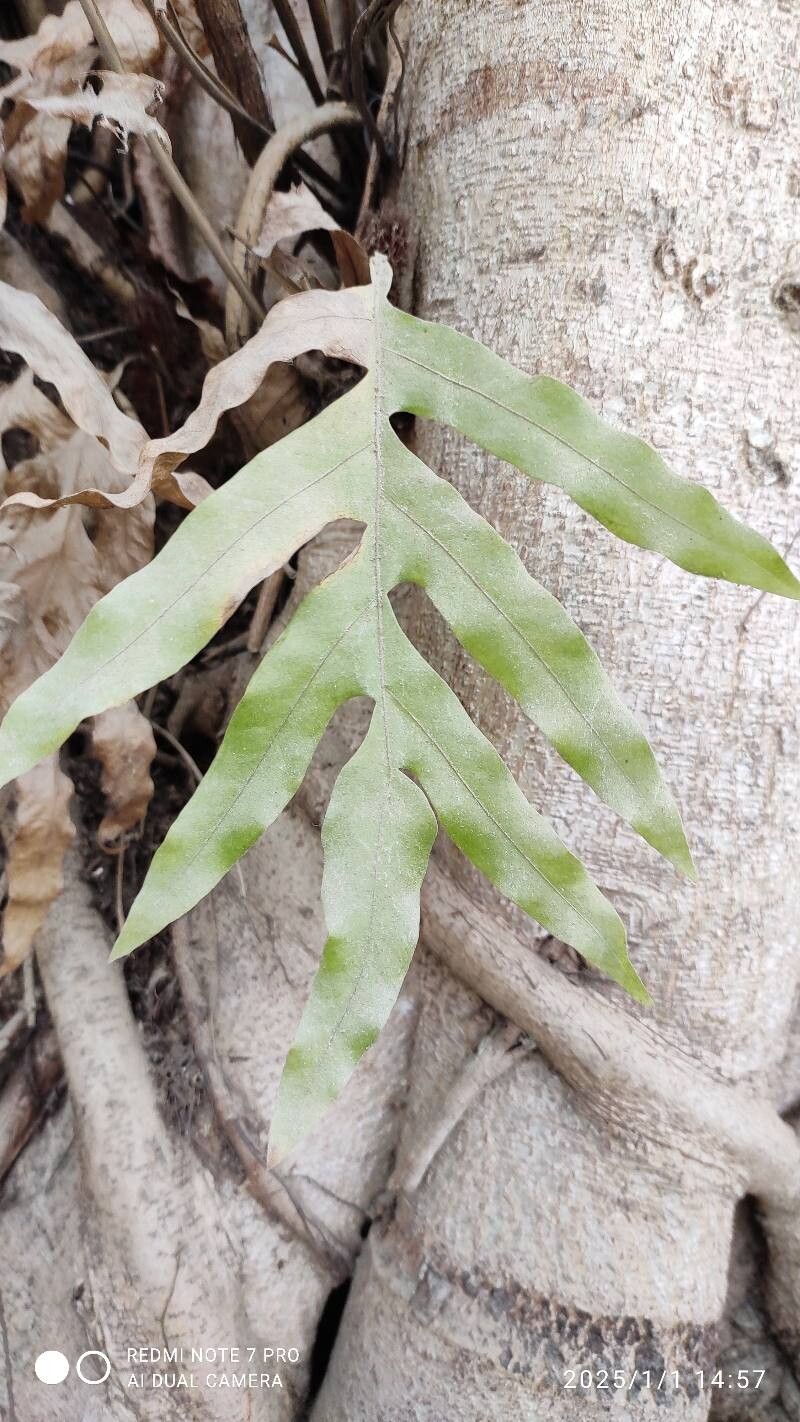
Hey there, fellow plant lovers! Today, I want to chat about a fern that’s really captured my heart: Pleopeltis pleopeltifolia. If you’re looking for a fern with a bit of elegance and a wonderfully unique look, this is it. Its fronds have this lovely, slightly fuzzy texture and a graceful arch that can really elevate any space. And the best part? Sharing this beauty with others by propagating it yourself is surprisingly rewarding, and I’m happy to say, it’s a pretty accessible project for beginners!
The Best Time to Start
When it comes to getting your Pleopeltis pleopeltifolia to cooperate, spring and early summer are your golden tickets. This is when the plant is actively growing and full of vigor. You’ll find it’s much more receptive to being taken from and will put out roots with gusto. Look for healthy, new growth – these are your best candidates.
Supplies You’ll Need
Before we dive in, let’s make sure you have everything to hand. It’s always better to be prepared!
- Sharp, clean pruning shears or a sharp knife: For making clean cuts.
- A light, well-draining potting mix: I like a blend of peat moss, perlite, and a bit of orchid bark. This ensures good aeration.
- Small pots or trays: Whatever you have that can hold your cuttings and retain a little moisture.
- Rooting hormone (optional but helpful): A powder or gel that encourages root development.
- A clear plastic bag or dome: To create a humid environment for your cuttings.
- Water: For watering and, if you choose, water propagation.
- Spray bottle: For misting.
Propagation Methods
Now, let’s get our hands dirty! There are a couple of lovely ways to multiply your Pleopeltis pleopeltifolia.
Method 1: Division
This is hands-down the easiest method for this particular fern. You’re essentially just splitting up an existing plant.
- Gently remove the parent plant from its pot. Turn it on its side and ease it out. If it’s stuck, a gentle tap on the pot’s sides can help.
- Examine the root ball. You’re looking for natural divisions – sections where roots and rhizomes are already separate.
- Carefully tease apart the sections with your fingers or a blunt tool. If you encounter stubborn roots, a clean knife can make a precise cut. Aim for divisions that have at least a few healthy fronds and a good chunk of root system.
- Pot up each new division into its own container with your well-draining potting mix.
- Water thoroughly and place in a bright spot, but out of direct sun.
Method 2: Stem Cuttings (Rhizome Cuttings)
This method is a bit more involved but incredibly satisfying. We’re essentially taking a piece of the underground stem, the rhizome.
- Identify a healthy rhizome on the parent plant. These are the thick, often creeping stems that usually sit just below or on the soil surface.
- Using your clean shears or knife, cut a section of the rhizome that is at least 2-3 inches long and has a few small fronds or developing buds.
- If you’re using rooting hormone, dip the cut end of the rhizome into it.
- Nestle the cut end of the rhizome into your prepared potting mix. The fronds should be sticking up. You can gently pin it down with a small piece of wire or a pebble if it wants to roll.
- Water gently to settle the mix around the rhizome.
- Cover the pot loosely with a clear plastic bag or dome to maintain high humidity. Poke a few holes for ventilation.
- Place in a warm spot with bright, indirect light.
The “Secret Sauce” (Pro Tips)
Here are a few little tricks I’ve picked up over the years that can really make a difference.
- Don’t be afraid of a little mess! When dividing, it’s okay if some soil falls away. The goal is to preserve as many healthy roots as possible. If the roots are a tangled mess, a quick rinse under the tap can reveal where to make clean divisions.
- Bottom heat is your friend for cuttings. If you’re using the rhizome method, placing the pot on a gentle heating mat can significantly speed up root formation. Keep it on a low setting – you don’t want to cook your cutting!
- Humidity, humidity, humidity! Ferns absolutely adore moisture in the air. That plastic bag or dome is crucial. If you don’t have one, you can place your pots in a larger tray filled with pebbles and water, making sure the pot isn’t sitting directly in the water.
Aftercare & Troubleshooting
Once your new little Pleopeltis pleopeltifolia has found its feet (or rhizomes!), it’s time to nurture it.
- Gradually reduce humidity as your cutting starts to show new growth. Once you see tiny new fronds unfurling, you can slowly remove the plastic bag over a few days.
- Keep the soil consistently moist but not waterlogged. This is where that well-draining mix really shines.
- Continue to provide bright, indirect light.
- Watch out for rot! The most common sign of failure is a mushy, black stem or rhizome. This usually means it’s getting too much water and not enough air circulation. If you see this, it’s likely best to discard the cutting and try again. Yellowing leaves on a seemingly rooted baby plant might just be the plant shedding older foliage, but if the whole plant seems sickly, check the moisture levels.
A Encouraging Closing
Propagating plants is a journey, and like any good journey, it has its twists and turns. Don’t get discouraged if your first attempt isn’t perfect. Be patient, observe your new little ferns closely, and most importantly, enjoy the process of growing something new. Watching those tiny fronds unfurl is a reward in itself! Happy growing!
Resource: