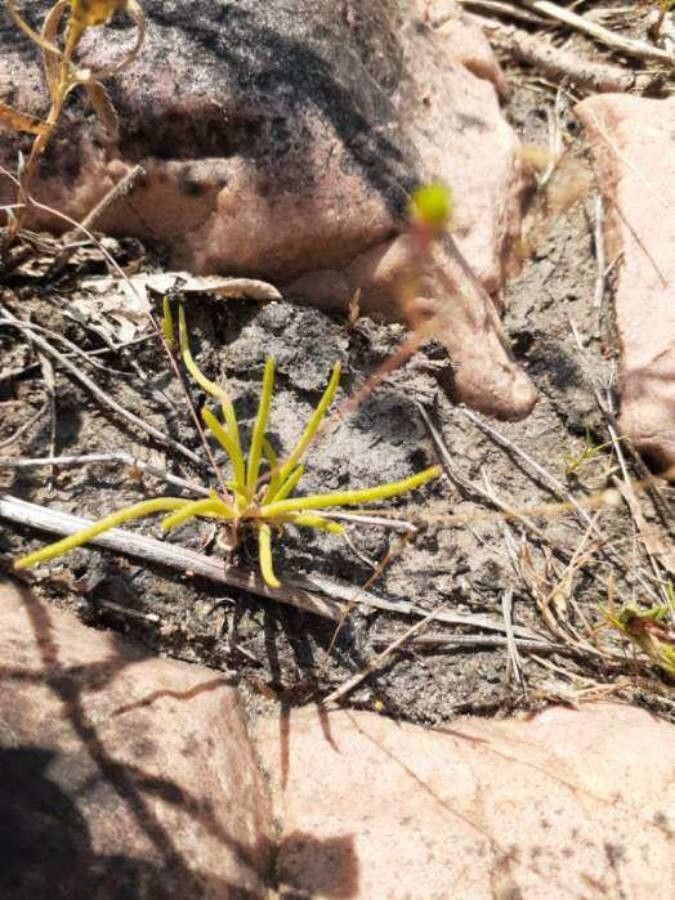
Oh, hello there! Grab your mug, settle in. Today, we’re talking about a little gem that’s captured my heart over the years: Phemeranthus parviflorus. You know, those delicate, star-shaped blooms that carpet your garden with cheerful hues in the warmth of summer? They’re simply delightful, aren’t they? And the best part? They are wonderfully easy to propagate, which means you can fill your garden (and your friends’ gardens!) with these beauties without breaking the bank. If you’re just starting out on your propagation adventure, this plant is an excellent place to begin. You’ll feel like a seasoned pro in no time!
The Best Time to Start
For Phemeranthus parviflorus, my experience tells me that late spring to early summer is truly the sweet spot. This is when the plant is actively growing and has plenty of energy to put into forming new roots. You’re looking for healthy, vigorous stems that are just starting to mature – not the brand new, soft, floppy tips, nor the woody, old growth. Think of it as that perfect middle stage, full of life.
Supplies You’ll Need
You won’t need a whole arsenal of fancy gadgets, that’s for sure! Here’s what I usually have on hand:
- Sharp, clean pruning shears or a sharp knife: A clean cut is crucial to prevent disease.
- Rooting hormone (optional but recommended): This really gives your cuttings a boost. I like to use a powder, but a gel works too.
- Well-draining potting mix: A good starter mix is key. I often use a blend of peat moss, perlite, and a little bit of coarse sand. You can also buy pre-made cactus or succulent mixes.
- Small pots or trays: Clean yogurt cups with drainage holes work in a pinch!
- Watering can or spray bottle: For gentle watering.
- A small plastic bag or clear dome: To create a humid environment for your cuttings.
Propagation Methods
Phemeranthus parviflorus is quite happy to be propagated from stem cuttings. It’s straightforward and usually gives excellent results.
- Take Your Cuttings: Using your sharp, clean shears, select a healthy stem. Make a clean cut just below a leaf node (where a leaf attaches to the stem). You want sections that are typically 4-6 inches long. Remove any lower leaves, as these will just rot when buried in the soil and can invite disease.
- Apply Rooting Hormone (If Using): Dip the cut end of the stem into your rooting hormone, tapping off any excess. This isn’t strictly necessary for Phemeranthus parviflorus, but it definitely speeds things up and increases success.
- Plant Your Cuttings: Prepare your pots or trays with your well-draining potting mix, making sure it’s slightly moist. Insert the cut end of each stem into the soil, about an inch or so deep. You can gently firm the soil around it to ensure good contact. If you’re planting multiple cuttings in one pot, give them a little space – about 2-3 inches apart.
- Create a Humid Environment: This is where the magic happens! Lightly water the soil surface. Then, cover the pot with a clear plastic bag (poke a few small holes for ventilation) or a clear dome. This traps humidity, which is essential for those cuttings to form roots before they dry out.
The “Secret Sauce” (Pro Tips)
Here are a couple of things I’ve learned over the years that really make a difference:
- Bottom Heat is Your Friend: If you have it, placing your pots on a gentle heat mat can significantly speed up root development. It mimics the warmth of summer soil. Just keep an eye on soil moisture so it doesn’t dry out too quickly.
- Don’t Rush the Water: When you first pot your cuttings, mist them lightly rather than drenching them. Overwatering at this stage can lead to rot before roots even have a chance to form. Let the soil surface dry slightly between waterings, but ensure it never gets bone dry inside the propagatior.
Aftercare & Troubleshooting
Once your cuttings have been in their humid environment for a few weeks, you’ll notice new growth appearing – a tell-tale sign that roots are forming! You can gently tug on a cutting; if there’s resistance, you’ve got roots.
Once they have a decent root system, it’s time to gradually acclimatize them to normal conditions. Remove the plastic bag or dome for increasing periods each day over a week. After that, you can treat them as you would a mature plant, watering when the top inch of soil feels dry.
What to watch out for? The most common issue is rot. If you see your cutting turning mushy and black, it’s likely waterlogged or has a fungal infection. Sadly, it’s usually best to discard affected cuttings to prevent it from spreading. Make sure your soil mix is truly draining well and avoid overwatering.
A Encouraging Closing
So there you have it! Propagating Phemeranthus parviflorus is a truly satisfying process, and watching those little cuttings transform into new plants is such a joy. Be patient with yourself, and embrace the learning curve. Every garden thrives with a little bit of your growing magic! Happy propagating!
Resource: