Hey there, fellow plant lovers! Today, we’re diving into the wonderful world of propagating Lophophytum pyramidale. If you’ve ever admired those unique, pagoda-like structures of this fascinating succulent, you’re in for a treat. Growing new plants from your existing treasures is incredibly satisfying, and this one is a fantastic candidate for it.
Why Propagate Lophophytum pyramidale?
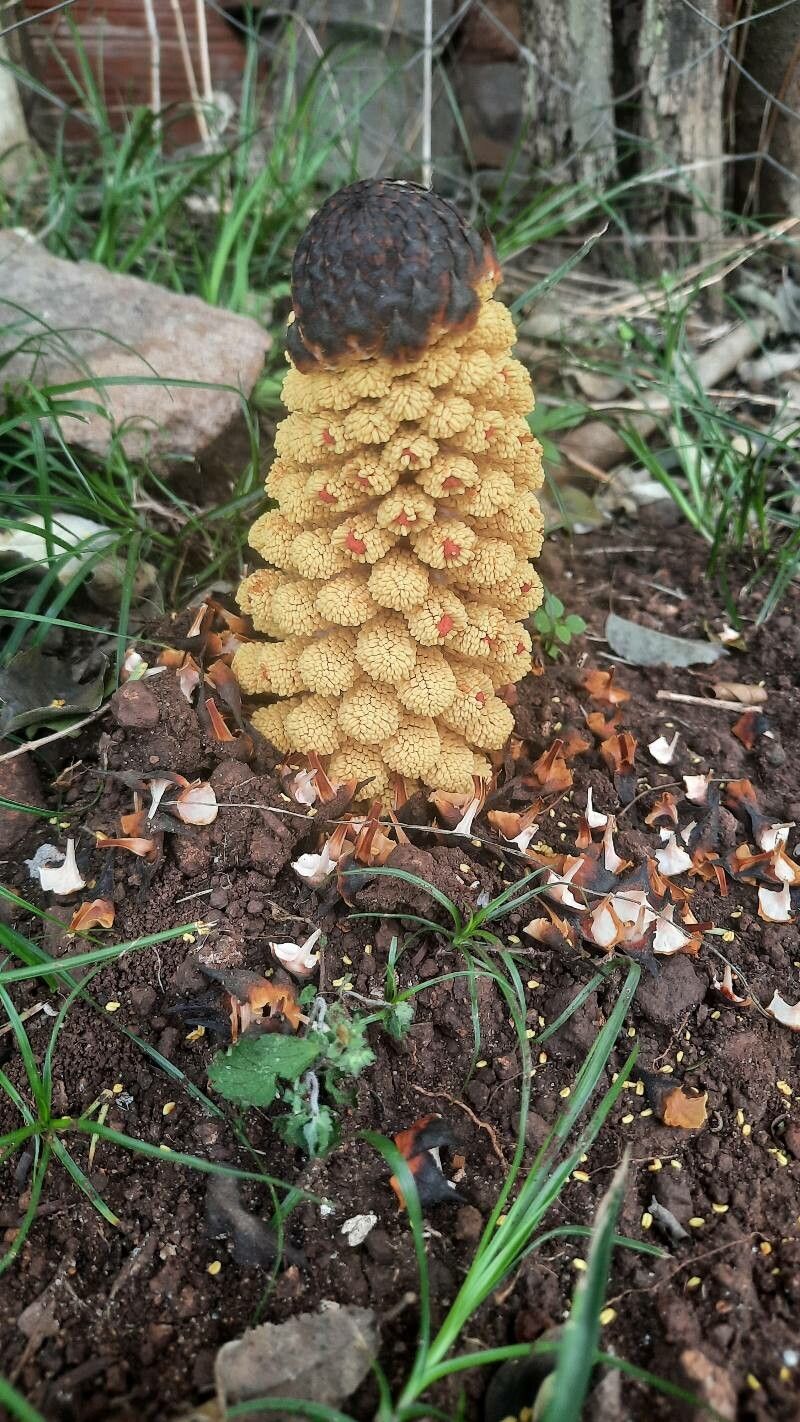
This particular succulent has such an architectural appeal. It’s not your everyday, run-of-the-mill greenery. When you successfully propagate it, you’re essentially duplicating that distinct charm. Plus, there’s a genuine joy in watching a tiny cutting transform into a mature plant, knowing you helped it along its journey. For beginners, I’d say it’s moderately easy. It requires a little attention to detail, but it’s far from intimidating once you understand its needs.
When’s the Best Time to Get Started?
Like most succulents, the prime time for propagating Lophophytum pyramidale is during its active growing season. This usually falls in the late spring through summer. You’ll notice the plant is producing new growth, and it has plenty of energy to dedicate to developing roots. Trying to propagate when it’s dormant in the cooler months is a recipe for disappointment.
What You’ll Need to Gather
Before we get our hands dirty, let’s make sure you have your toolkit ready.
- Sharp, clean pruners or a craft knife: For making clean cuts. Sterilize them with rubbing alcohol!
- Well-draining potting mix: I like a blend of cactus/succulent mix with added perlite or pumice for extra aeration.
- Pots or trays: Small nursery pots or even propagation trays work well. Make sure they have drainage holes.
- Rooting hormone (optional but helpful): A powder or liquid can give your cuttings a good head start.
- Watering can or spray bottle: For gentle watering.
- Labels: To keep track of your new babies and when you started them.
Let’s Get Propagating: Stem Cuttings
The most common and successful method for Lophophytum pyramidale is taking stem cuttings. It’s straightforward and yields great results.
- Select Your Cutting: Look for a healthy stem that’s at least a few inches long. Avoid any that appear discolored or damaged.
- Make the Cut: Using your sterilized pruners or knife, make a clean cut just above a node (where a leaf joins the stem). If you want multiple cuttings, you can take them from various parts of the plant.
- Callus Over: This is a crucial step for succulents! Place your cuttings in a dry, bright spot, out of direct sun, for a few days to a week. You want the cut end to form a dry, scab-like surface. This prevents rot when you plant them.
- Planting: Once callused, you can slightly dip the cut end in rooting hormone powder, if you’re using it. Then, gently insert the callused end into your prepared potting mix. About half an inch to an inch deep is usually sufficient.
- Initial Watering: Do NOT water immediately. Wait for a day or two after planting. Then, give them a very light watering, or even better, a gentle misting.
My “Secret Sauce” Tips
Years in the garden have taught me a few tricks that make a world of difference.
- Let Them Be! Once you’ve planted your cuttings, resist the urge to pull them out to check for roots constantly. Keep them in a bright spot and let them settle in. Those tiny root hairs are fragile!
- Bottom Heat is Your Friend: If you can, place your pots on a gentle heating mat designed for plants. This warmth from below encourages root development significantly. It’s like giving them a warm hug for their roots.
- Air Circulation Matters: Good airflow is key to prevent fungal issues. Make sure the area where your cuttings are is not too stagnant. A small, gentle fan on a low setting can work wonders, especially in humid environments.
Aftercare and When Things Go Wrong
Once you start seeing new growth emerge from the base of your cutting, or if you gently tug and feel resistance, congratulations! You’ve got roots!
- Gradual Watering: Begin watering more regularly, but still allow the soil to dry out between waterings. Think of it as caring for a young plant – it needs consistent moisture but will still suffer from overwatering.
- Bright, Indirect Light: Continue to provide bright, indirect light. As the plant becomes more established, you can slowly introduce it to more direct sunlight, but avoid intense midday sun initially, as it can scorch young plants.
Troubleshooting is part of the fun, and rot is the most common foe. If you see your cutting becoming mushy, yellowing, or developing black spots, it’s likely due to too much moisture or not enough callusing time. Don’t be discouraged if a few don’t make it. It happens to the best of us! Just try again, perhaps with a slightly different approach.
Keep Growing!
Propagating Lophophytum pyramidale is a rewarding process that connects you more deeply with your plants. Be patient, observe them closely, and enjoy watching your new succulents come to life. Happy gardening!
Resource: