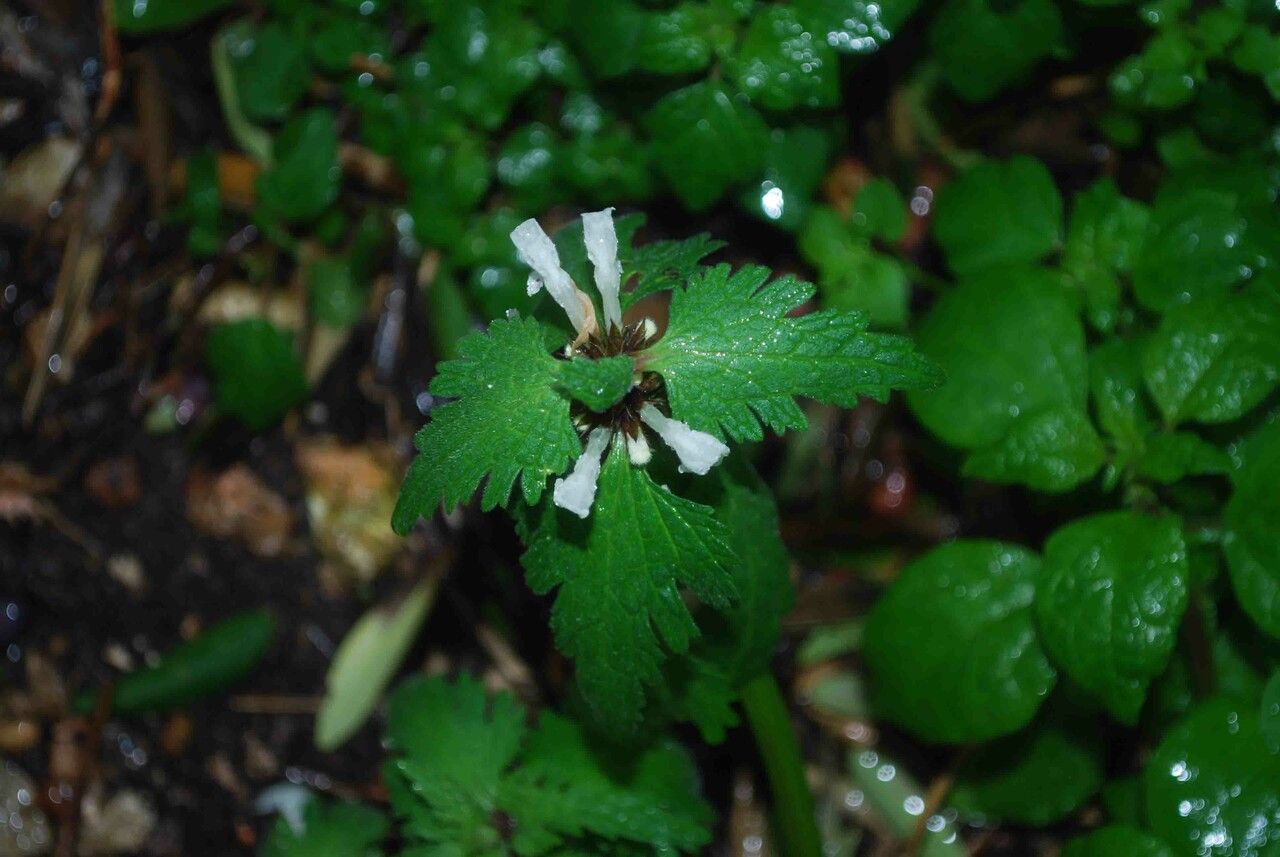
Oh, hello there! Come on in and pull up a chair. I’m so glad you stopped by to talk about Lamium bifidum. If you’re anything like me, you’ve probably fallen head over heels for those heart-shaped leaves, often splashed with silver or cream. Lamium is just such a cheerful groundcover, isn’t it? It brightens up shady spots and spreads that lovely color without a fuss. And the best part? Propagating it is wonderfully rewarding, giving you more of that wonderful foliage to fill your garden beds or share with fellow plant lovers. For beginners, I’d say Lamium is a fantastic friend to start with. It’s incredibly forgiving.
The Best Time to Start
Honestly, Lamium is quite obliging, but if you want the absolute best chance of success, aim for late spring to early summer. This is when the plant is in its most vigorous growth phase. New, non-woody stems are readily available, and they have plenty of energy to put into developing roots. You can also often get away with taking cuttings in early autumn, giving you even more opportunities.
Supplies You’ll Need
Gathering your tools beforehand makes the whole process so much smoother. Here’s what I keep handy:
- Sharp pruning shears or a clean sharp knife: For taking nice, clean cuts.
- Small pots or seed trays: Whatever you have on hand will do. Drainage holes are a must!
- Light, well-draining potting mix: A good general-purpose potting soil mixed with perlite or coarse sand works wonders. I often use a 50/50 blend.
- Rooting hormone (optional but helpful): This encourages faster root development.
- Watering can or spray bottle: For gentle watering.
- Plastic bag or propagator lid: To create a humid environment.
Propagation Methods
Lamium bifidum is a dream to propagate, and stem cuttings are definitely my go-to method. It’s simple and yields great results.
Method: Stem Cuttings
- Take Your Cuttings: Look for healthy, new growth on your Lamium plant. Using your clean shears or knife, snip off pieces that are about 4 to 6 inches long. Try to make the cut just below a leaf node (where a leaf attaches to the stem).
- Prepare the Cuttings: Gently remove the leaves from the bottom half of each cutting. You want to leave just a few leaves at the very top to keep the plant photosynthesizing. If the remaining leaves are very large, I sometimes snip them in half to reduce water loss.
- Apply Rooting Hormone (Optional): Dip the cut end of each stem into your rooting hormone powder. Tap off any excess.
- Plant Your Cuttings: Fill your pots with your prepared potting mix. Make a small hole with your finger or a pencil, and insert the cut end of the stem into the soil. Gently firm the soil around the stem.
- Water Gently: Water the soil thoroughly but gently. You want it moist, not waterlogged.
- Create a Humid Environment: Cover the pots with a plastic bag or a propagator lid. This is crucial! It creates a mini greenhouse effect, keeping the humidity high, which helps prevent the cuttings from drying out before they can form roots. Prop the bag up with little sticks so it doesn’t touch the leaves.
- Provide Light: Place the pots in a brightly lit spot, but out of direct sunlight. A north-facing windowsill is often perfect.
Method: Water Propagation (A fun alternative!)
This works beautifully for Lamium too.
- Follow steps 1 and 2 from the stem cutting method.
- Place Cuttings in Water: Fill a clean jar or glass with water. Ensure that no leaves are submerged below the waterline. This is super important to prevent rot.
- Change Water Regularly: Change the water every few days to keep it fresh and oxygenated.
- Watch for Roots: You’ll start to see tiny white roots emerging from the nodes in a week or two.
- Pot Up When Roots are Established: Once the roots are about an inch long, you can carefully pot them up into your well-draining potting mix, following steps 4-6 from the stem cutting method.
The “Secret Sauce” (Pro Tips)
Here are a couple of little tricks I’ve picked up over the years that really help boost success:
- Bottom Heat is Your Best Friend: If you can manage it, placing your pots on a propagator heat mat can make a world of difference. It encourages root development from below, speeding things up considerably. Just a gentle warmth is all they need.
- Don’t Be Afraid to Pinch: Once your cuttings have rooted and started to show new growth (meaning they have leaves appearing), I like to pinch off the very tip of the main stem. This encourages the plant to branch out, resulting in a bushier, fuller plant from the start.
Aftercare & Troubleshooting
Once you see signs of new growth – tiny leaves unfurling at the top – that’s your cue! Your cuttings have successfully rooted.
- Gradually Acclimate: If you’ve been using a plastic bag, start by opening it up for a few hours each day. Slowly increase the time it’s open over a week. This prevents shocking your new, tender plants.
- Watering: Keep the soil consistently moist but not soggy. Finger-test the soil before watering – if the top inch feels dry, it’s time for a drink.
- Transplanting: Once the roots have filled the pot (you can check by gently tipping one out), you can transplant your new Lamium into their permanent garden spot or larger containers.
Now, what if things go wrong? The most common culprit is rot. This usually happens when the soil is too wet and there isn’t enough air circulation. Ensure you’re using a well-draining mix and don’t overwater. Yellowing leaves can also indicate too much water, or sometimes not enough light. If a cutting looks completely limp and mushy, it’s best to discard it and try again. Don’t get discouraged though; it’s all part of the learning process!
A Little Encouragement
And there you have it! You’re well on your way to multiplying your delightful Lamium. Remember, gardening is a journey, and propagation is a wonderful part of that. Be patient with your little cuttings, give them a little TLC, and before you know it, you’ll have a whole host of beautiful Lamium plants to enjoy. Happy propagating!
Resource:
https://identify.plantnet.org/k-world-flora/species/Lamium%20bifidum%20Cirillo/data