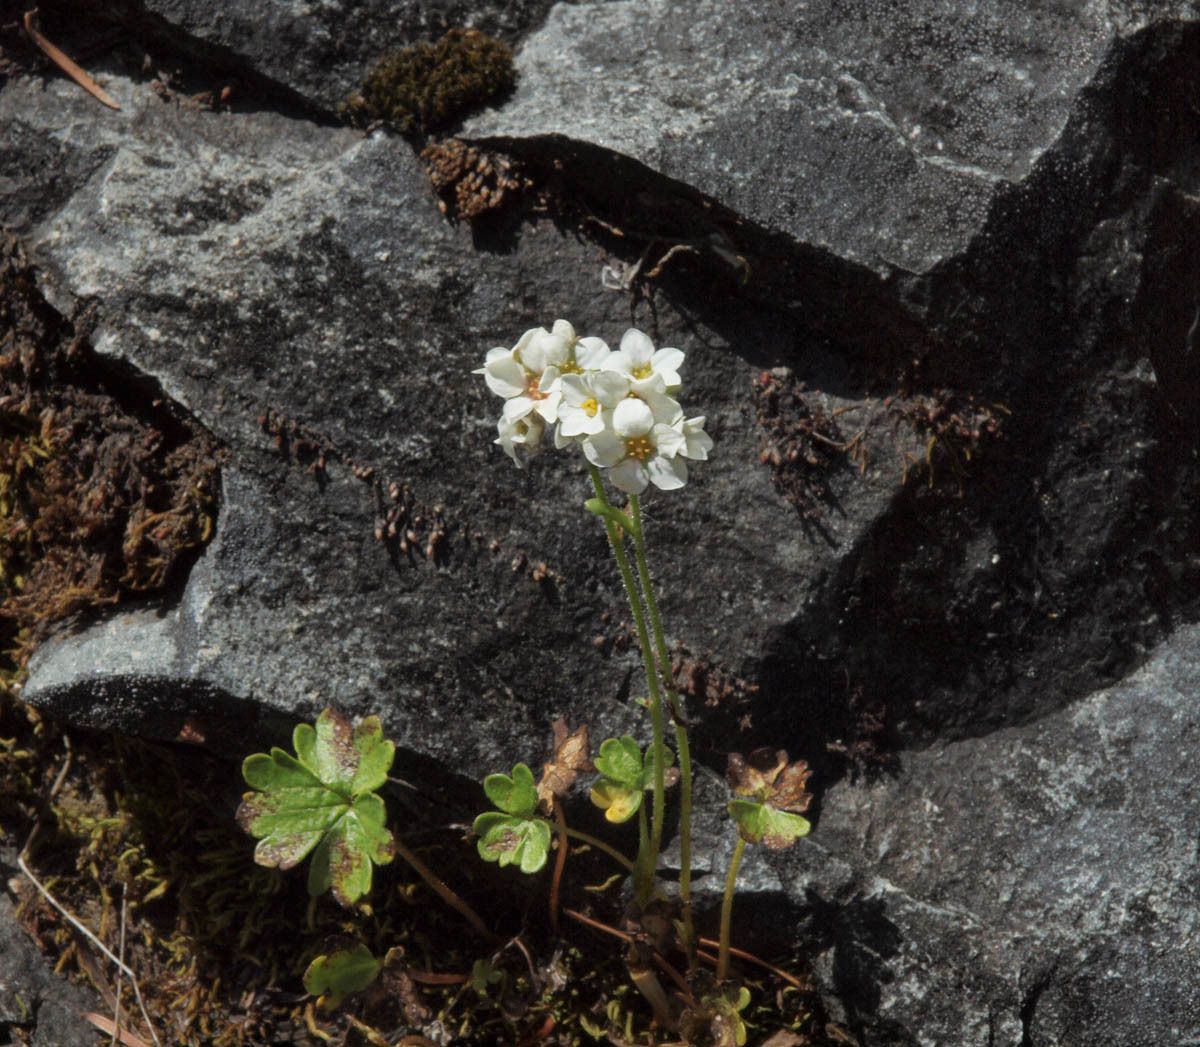
Hey there, fellow plant lovers! If you’ve ever been captivated by the delicate beauty of Hemieva ranunculifolia, with its charming, buttercup-like flowers and lovely foliage, you’re in for a treat. Sharing your love for this gem by propagating it is not only a fantastic way to expand your own collection but also to spread that joy to friends and family. I’ve been growing and propagating plants for two decades now, and I can tell you, Hemieva ranunculifolia is a wonderfully rewarding plant to work with. It’s quite forgiving, which makes it a great choice even if you’re just dipping your toes into the world of plant propagation.
The Best Time to Start
For the highest success rate with Hemieva ranunculifolia, I find that late spring to early summer is truly the sweet spot. This is when the plant is in its most vigorous growth phase, meaning it’s more ready to send out new roots. You want to work with healthy, non-flowering stems during this time.
Supplies You’ll Need
Gathering your supplies beforehand makes the whole process so much smoother. Here’s what I usually have on hand:
- Sharp, clean pruning shears or a sharp knife
- A well-draining potting mix. I like to use a blend of perlite and peat moss, or a commercial seedling mix.
- Small perforated pots or a propagation tray
- Rooting hormone (optional, but it can give you a nice boost)
- A clear plastic bag or a propagation dome
- A spray bottle filled with water
Propagation Methods
Let’s dive into how we can coax new life from your beautiful Hemieva. Stem cuttings are my go-to method for this particular plant.
Stem Cuttings:
- Select your cutting: Choose a healthy stem that is pencil-thick and at least 4-6 inches long. Make sure it’s free from any flowers or buds – we want the plant to focus its energy on root development!
- Make the cut: Using your clean shears or knife, make a clean cut just below a leaf node. A leaf node is that little bump where a leaf attaches to the stem. This is where the magic happens for root formation.
- Prepare the cutting: Gently remove the lower leaves, leaving just two or three at the very top. This prevents the leaves from rotting when they’re in the soil.
- Apply rooting hormone (optional): If you’re using rooting hormone, dip the cut end of the stem into the powder or gel. Tap off any excess.
- Plant the cutting: Fill your small pots or propagation tray with your moistened, well-draining potting mix. Make a small hole in the center with your finger or a pencil.
- Insert the cutting: Gently place the cutting into the hole, ensuring the leaf node where you made the cut is below the soil surface. Pat the soil gently around the stem to secure it.
- Create a humid environment: Water the soil lightly to settle it around the cutting. Then, cover the pot with a clear plastic bag or place it in a propagation dome. This traps humidity, which is crucial for cuttings while they are developing roots.
The “Secret Sauce” (Pro Tips)
Now, for a couple of little tricks I’ve picked up over the years that really seem to make a difference.
- My best tip? Avoid soggy soil at all costs! While cuttings need moisture, they absolutely detest sitting in water. Ensure your mix has plenty of perlite to keep things airy. If you accidentally overwater, gently tip the pot to let excess drain.
- Bottom heat is your friend. If you have a seedling heat mat, placing your propagation tray on it can significantly speed up root development. It provides a nice, consistent warmth that encourages those roots to get going.
Aftercare & Troubleshooting
Once your cuttings are potted, you’ll want to place them in a spot with bright, indirect light. Avoid direct sun, as it can scorch the delicate leaves. Keep the humidity high by misting the inside of the plastic bag or dome every few days, or whenever the soil starts to look dry.
You’ll know your Hemieva cutting is rooting when you see new leaf growth emerging from the top. This usually takes anywhere from 3 to 6 weeks, sometimes a little longer. Gently tugging on the cutting will give you resistance if roots have formed.
The biggest issue you might encounter is rot. This happens when the cutting sits in too much moisture and doesn’t have enough air circulation. If you see a cutting turning black and mushy, unfortunately, it’s time to discard it and try again. That’s why that well-draining mix and avoiding overwatering are so important!
A Encouraging Closing
So there you have it! Propagating Hemieva ranunculifolia is a beautiful way to connect with your plants and gain more of those lovely blooms. Be patient with yourself and your little cuttings. Gardening is a journey, and every new plant you bring into the world is a small victory. Happy propagating!
Resource:
https://identify.plantnet.org/k-world-flora/species/Hemieva%20ranunculifolia%20Raf./data