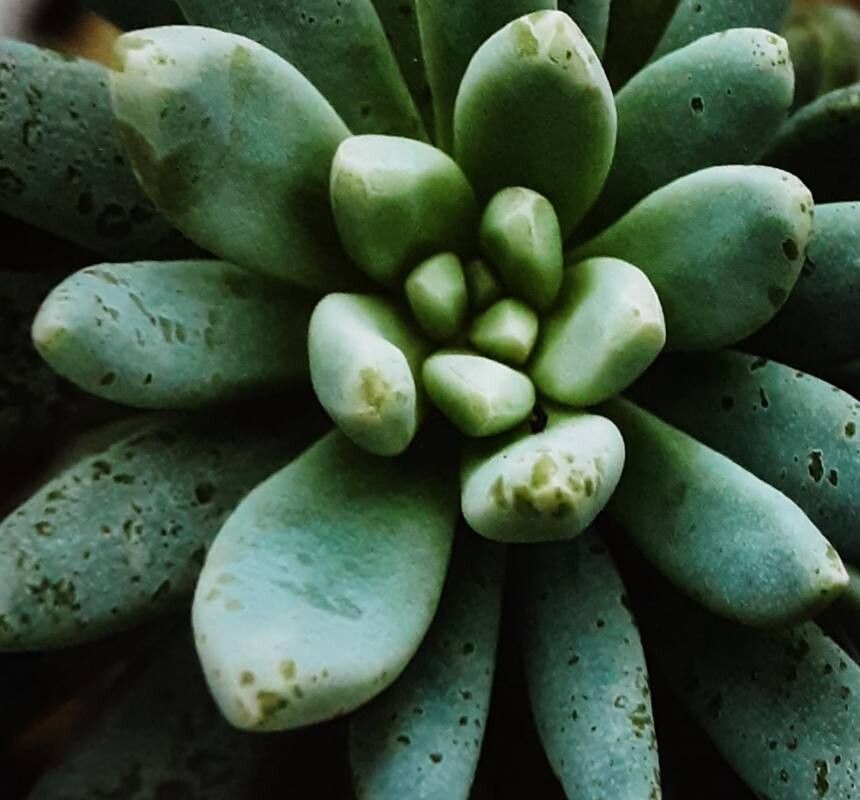
Hello there, fellow plant enthusiasts! If you’ve ever fallen for the charm of Graptopetalum saxifragoides – those delightful rosettes of pale green, sometimes with a blush of pink or orange – you’re in for a treat. These little succulents are like tiny sculptures, and there’s a special kind of joy in making more of them. I’ve been doing this for years, and I can tell you, propagating Graptopetalum saxifragoides is wonderfully rewarding, and thankfully, quite an easy endeavor, even if you’re just dipping your toes into the world of succulents.
The Best Time to Start
For the happiest results, I always find it best to get started in the late spring or early summer. This is when your mother plant is actively growing, and the cuttings have the best chance to root and establish themselves before the cooler weather sets in. You’re essentially catching them at their most vigorous!
Supplies You’ll Need
Here’s what I like to have on hand:
- Well-draining potting mix: A cactus and succulent blend is perfect. You can also mix your own with equal parts potting soil, perlite, and coarse sand.
- Sharp pruning shears or a clean knife: For making neat cuts.
- Rooting hormone (optional but recommended): This can give your cuttings a little boost.
- Small pots or trays: I prefer terracotta pots for their breathability, but plastic works too. Make sure they have drainage holes!
- Terra cotta shards or gravel (optional): For better drainage at the bottom of pots.
- Spray bottle: For gentle misting.
Propagation Methods
Let’s get our hands dirty! There are a couple of ways we can go about this:
1. Stem Cuttings: This is my go-to method and often the quickest way to get new plants.
- Select a healthy stem: Look for a stem that’s about 3-6 inches long and has several leaves.
- Make a clean cut: Using your sharp shears or knife, cut the stem just below a leaf node (where a leaf attaches to the stem).
- Remove lower leaves: Gently pull off the bottom 1-2 inches of leaves from the cutting. You can even toss these into a separate tray – sometimes they’ll sprout little babies too!
- Let it callus: This is crucial! Place the cutting in a dry, well-ventilated spot for 2-5 days. You’ll see a dry, scab-like layer form over the cut end. This prevents rot when you plant it.
- Rooting hormone (if using): Dip the callused end into rooting hormone, tapping off any excess.
- Plant your cutting: Fill your small pot with your well-draining mix. Make a small hole in the soil with your finger or a pencil. Gently insert the callused end of the cutting into the hole, ensuring the leaf nodes are covered. You can plant several cuttings in one pot, giving them a little space.
- Water lightly: Water the soil very sparingly, just enough to settle it around the cutting.
2. Leaf Cuttings (Less reliable but fun to try):
- Gently remove leaves: Wiggle a healthy leaf from the stem until it detaches cleanly. Make sure you get the whole leaf, including the base where it attached to the stem.
- Let leaves callus: Just like stem cuttings, let the leaf ends callus over for 2-5 days.
- Lay them on soil: Place the callused leaves on top of your succulent soil mix in a shallow tray or pot. Don’t bury them.
- Mist lightly: Mist the soil surface very gently every few days. You should eventually see tiny new plantlets and roots emerge from the base of the leaf.
The “Secret Sauce” (Pro Tips)
Alright, here are a couple of things I’ve learned over the years that make a big difference:
- Don’t rush the watering: This is probably the most common mistake new propagators make. Resist the urge to water frequently! Wait until the soil is completely dry before giving it a light drink. Overwatering is the quickest way to rot your precious cuttings.
- Embrace the “dry start”: For stem cuttings, after planting, I often leave them bone dry for about a week or two before the very first light watering. This encourages the roots to actively search for moisture, making them stronger.
Aftercare & Troubleshooting
Once you see those little roots forming (you might feel a gentle tug when you lightly pull on a cutting, or see new growth), you can start watering a bit more regularly, but still only when the soil is dry. For leaf cuttings that have sprouted, you can gently transplant them into their own small pots once they’re a decent size and have established roots.
What if things go wrong?
The most common enemy here is rot. If your cutting looks mushy, dark, or smells bad, it’s likely rotted. This usually means too much moisture and not enough airflow. If you catch it early, you might be able to cut away the rotten part and re-callus the healthy section, but sometimes it’s best to just try again. Yellowing leaves on a cutting usually mean it hasn’t rooted yet and might need a bit more time. Don’t give up!
A Welcoming Conclusion
Growing new plants from cuttings is such a satisfying cycle, isn’t it? It’s a testament to nature’s resilience and your own green thumb. Be patient with your little Graptopetalum saxifragoides babies. They have their own timeline. Watch them closely, enjoy the process, and soon you’ll have a whole collection of these charming succulents to admire – and maybe even share! Happy propagating!
Resource:
https://identify.plantnet.org/k-world-flora/species/Graptopetalum%20saxifragoides%20Kimnach/data