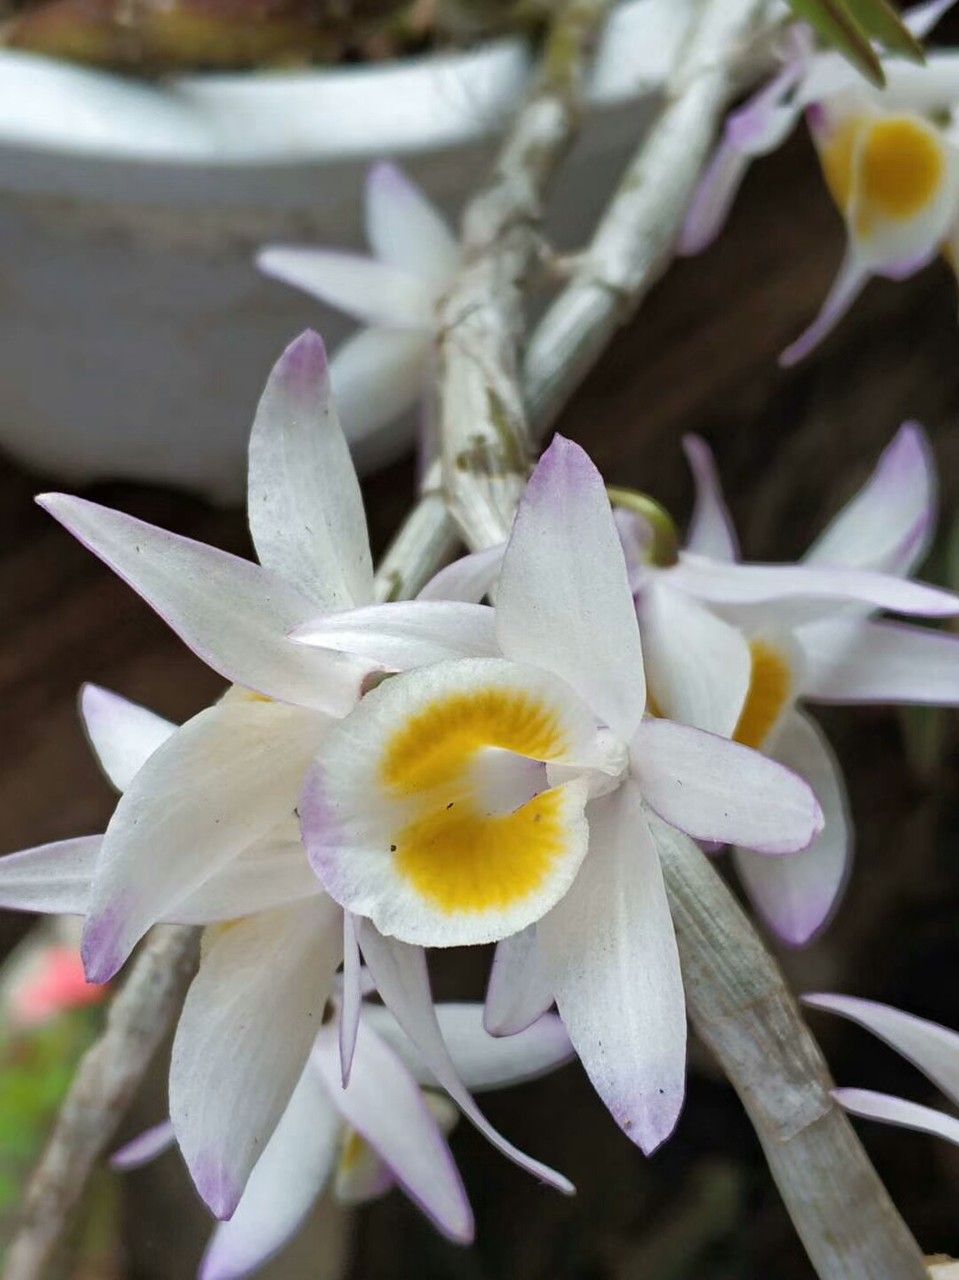
Hello, fellow plant enthusiasts! Today, I want to talk about a gem in the orchid world: Dendrobium crepidatum. If you’re drawn to its delicate charm and delightful fragrance, you’re in for a treat. Propagating this beauty is a wonderful way to share its magic and expand your own collection. Now, I’ll be honest, Dendrobium crepidatum is a little more on the rewarding side of propagation, meaning it’s not always a walk in the park for absolute beginners, but with a little guidance, you’ll be successful. The joy of seeing a tiny new shoot emerge is truly special.
The Best Time to Start
When it comes to Dendrobium crepidatum, the sweet spot for propagation is typically spring, as new growth begins to emerge. You’ll often see these plump, new shoots, called keikis (which actually means “baby” in Hawaiian), forming on established plants. That’s your cue! Starting when the plant is actively growing ensures it has the energy to put into developing roots. Avoid attempting this when the plant is dormant or stressed.
Supplies You’ll Need
Here’s what you’ll want to have on hand before you get started:
- Sharp, sterile pruning shears or a scalpel. Cleanliness is key to preventing disease.
- A good quality orchid potting mix. This usually includes bark, perlite, and sometimes charcoal. You want something that drains exceptionally well.
- A rooting hormone (optional but recommended). It can give your cuttings a helpful boost.
- Small pots or seedling trays.
- A spray bottle for misting.
- Clear plastic bags or a propagator lid. To maintain humidity.
- A fungicide (optional, for peace of mind).
Propagation Methods
Dendrobium crepidatum is most commonly propagated through stem cuttings and sometimes by dividing mature plants. Let’s dive into stem cuttings, as they’re the most straightforward for creating new plants from existing ones.
Stem Cuttings
- Identify Your Source: Look for healthy, mature canes (stems) on your Dendrobium crepidatum. You’re looking for canes that have at least two or three nodes (where leaves emerge from the stem). Ideally, you’ll find a cane that has finished its growth cycle for the season.
- The Cut: Using your sterile shears, carefully make a clean cut. If you’re taking a section of a cane, aim to cut about an inch above and an inch below a healthy node. You want to isolate sections that include at least one node, preferably two.
- Prepare the Cuttings: Remove any lower leaves if they are yellowing or damaged. You can then gently dip the cut ends into your rooting hormone, tapping off any excess.
- Planting: Fill your small pots or seedling trays with your well-draining orchid mix. Make a small hole in the mix and insert the cutting so that the node(s) are just covered. If you have a two-node cutting, you can orient it vertically, ensuring at least one node is facing upwards.
- Watering and Humidity: Water your newly potted cuttings gently. Then, place them in a humid environment. This is crucial. A clear plastic bag placed loosely over the pot (to allow for some air circulation) or a propagator lid works wonders. You want to maintain high humidity levels, around 70-80%.
The “Secret Sauce” (Pro Tips)
As you get more comfortable, here are a few things I’ve learned that really make a difference:
- Don’t let the leaves of your cutting touch the water if you’re considering water propagation (though stem cuttings in medium are more typical for this species). With stem cuttings in potting mix, the key is keeping the mix consistently moist but not soggy.
- Bottom heat is a game-changer! If you have a seedling mat or a warm windowsill that gets gentle sun, place your pots on it. This encourages root development from below. Aim for a consistent temperature around 75-80°F (24-27°C).
- Patience is paramount, and I mean real patience. Sometimes, you might not see any new roots for weeks, or even a couple of months. Resist the urge to constantly dig around or disturb the cutting. Trust the process.
Aftercare & Troubleshooting
Once you start seeing signs of new roots – which you might spot peeking through the drainage holes or see a tiny new leaf emerging from the node – your cutting is on its way! At this stage, you can gradually reduce the humidity a little and increase the light exposure slightly. Continue to water when the potting mix starts to feel dry to the touch.
The most common issue you’ll encounter is rot. This happens when the cuttings are too wet or the environment is too stagnant. If you notice your cutting looking mushy or turning black, it’s likely succumbed to rot. Unfortunately, at that point, it’s usually a goner. Prevention is key: ensure excellent drainage and good air circulation. If you encounter it, remove the affected cutting immediately to prevent it from spreading.
A Bittersweet Farewell (for now!)
Propagating Dendrobium crepidatum is a journey, not a race. There will be moments of anticipation, perhaps a little doubt, but ultimately, the reward of nurturing a new life is incredibly fulfilling. Be patient, observe your cuttings, and trust your instincts. Happy propagating, and may your homes be filled with the delicate beauty of these wonderful orchids!
Resource: