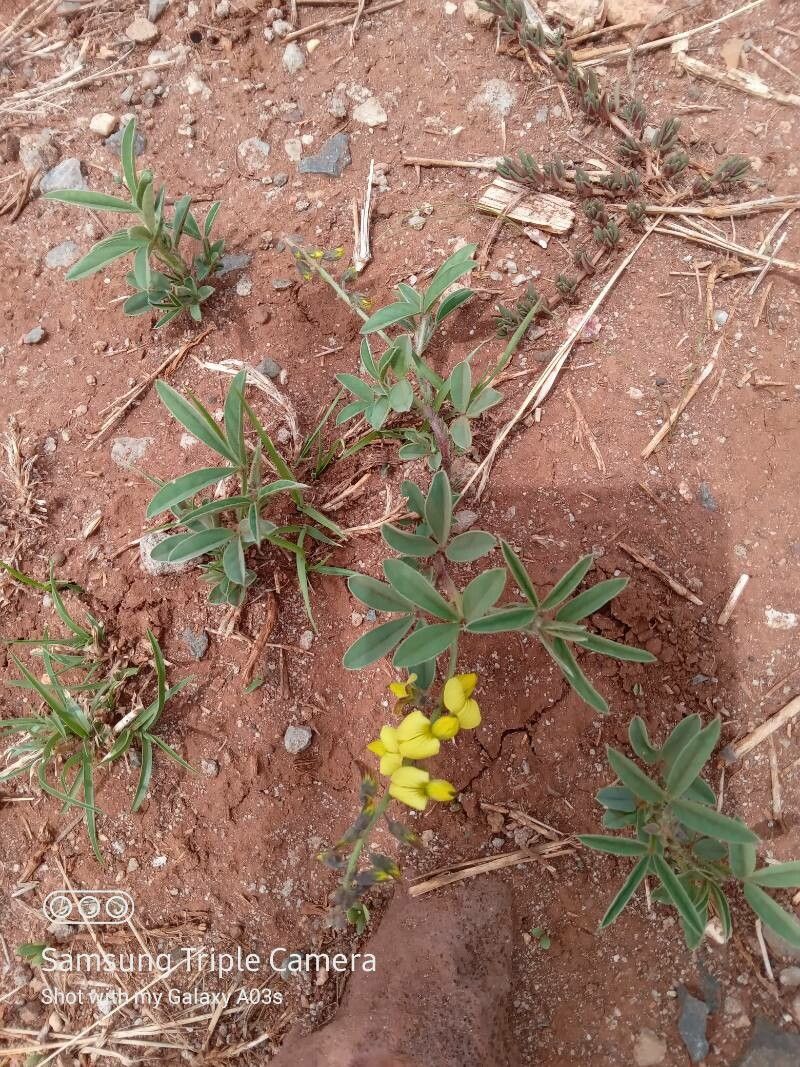
Oh, Crotalaria uguenensis! You know, it’s one of those plants that just makes you smile. Those beautiful, bright yellow blooms, like little bursts of sunshine, are a real showstopper. Plus, it’s a nitrogen-fixer, which is fantastic for your garden’s soil health. And propagating it yourself? That’s a truly rewarding experience, like watching a tiny miracle unfold right before your eyes. Good news for you – it’s actually quite forgiving, even for beginners. You’ll be sending cuttings to friends in no time!
The Best Time to Start
For the highest success rate with Crotalaria uguenensis, I always recommend taking cuttings in late spring or early summer. This is when the plant is in its active growth phase. You want to catch it when it’s feeling energetic and ready to put out new roots. Avoid taking cuttings from flowering stems; look for nice, healthy, non-flowering growth.
Supplies You’ll Need
Here’s a little kit I usually gather:
- Sharp pruning shears or a clean knife: Sanitation is key to preventing disease.
- Potting mix: A well-draining, sterile potting mix is crucial. I often use a blend of equal parts peat moss or coco coir, perlite, and a bit of compost.
- Rooting hormone powder or gel (optional but recommended): This really gives your cuttings an extra boost.
- Small pots or trays: Clean ones, of course!
- Plastic bags or a propagator: To create a humid environment.
- Watering can or spray bottle: For gentle watering.
Propagation Methods
Crotalaria uguenensis is wonderfully suited to stem cuttings. Here’s how I do it:
-
Take the Cuttings: Select healthy, vigorous stems that are about 4-6 inches long. Using your clean shears or knife, make a clean cut just below a leaf node. A leaf node is that little bump where a leaf attaches to the stem. This is where the magic of root formation is most likely to happen. Remove the lower leaves, leaving just 2-3 at the top. This prevents them from rotting in the soil.
-
Prepare for Rooting: If you’re using rooting hormone, dip the cut end of the stem into it, tapping off any excess.
-
Plant Your Cuttings: Fill your clean pots with your moistened potting mix. Make a small hole in the center with your finger or a pencil. Gently insert the prepared cutting into the hole, ensuring at least one leaf node is buried in the soil. Firm the soil gently around the base of the cutting.
-
Create Humidity: Water the soil lightly. Then, to keep things nice and humid, I like to place a plastic bag loosely over the pot, secured with a rubber band, or use a propagator lid. Make sure the leaves don’t touch the sides of the bag.
-
Location, Location, Location: Place your potted cuttings in a bright, indirect light location. Avoid direct sunlight, which can scorch those tender new leaves. A warm spot is also beneficial.
The “Secret Sauce” (Pro Tips)
Want to give your Crotalaria cuttings an edge? Here are a couple of things I’ve learned over the years:
- The Gentle Touch with Water: When you water, don’t let the leaves sit in water. This is a surefire way to encourage rot. Water the soil, not the foliage. A gentle misting every so often is fine, but let the soil dry out slightly between waterings.
- Bottom Heat is Your Friend: If you can, place your pots on a heat mat designed for seedlings. Crotalaria loves a bit of warmth from below. It really encourages those roots to get going. It’s like a little spa treatment for your cuttings!
Aftercare & Troubleshooting
Once your cuttings have been in their pots for a few weeks, you can gently tug on them. If you feel resistance, that’s a good sign roots have formed! At this point, you can remove the plastic bag or propagator lid gradually over a few days to help them acclimatize to normal humidity.
Keep the soil consistently moist but not waterlogged. As they grow, you can begin to fertilize with a diluted liquid fertilizer.
Now, what if things go wrong? The most common issue is rot. If you see your cuttings turning mushy, blackening, or falling over, it’s usually a sign of too much moisture or poor air circulation. Ensure your soil drains well, and don’t overwater. If you catch it early, you might be able to save it by removing the rotted parts and repotting in fresh, dry soil. Sometimes, though, nature has its own plans, and that’s okay too!
A Little Encouragement
Don’t get discouraged if every single cutting doesn’t make it. Gardening is an adventure, and propagation is a wonderful way to learn and connect with plants. Be patient, observe your cuttings closely, and enjoy the process of bringing new life into your garden. Happy propagating!
Resource:
https://identify.plantnet.org/k-world-flora/species/Crotalaria%20uguenensis%20Taub./data