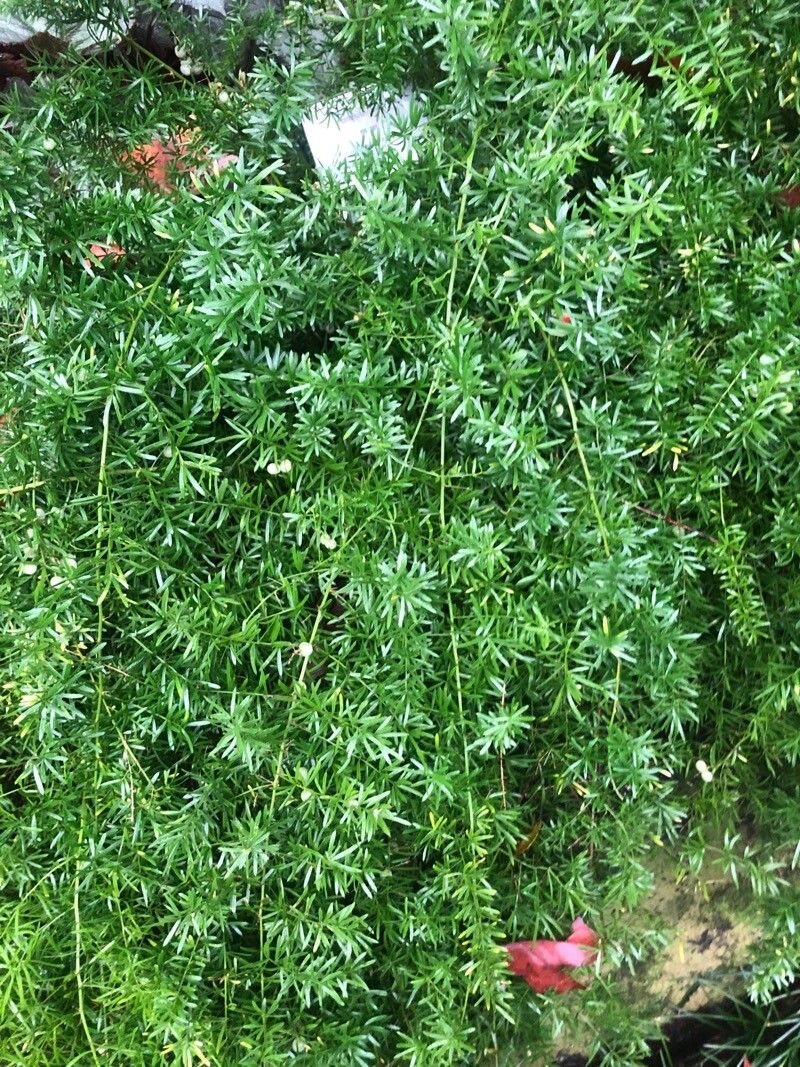
Oh, Asparagus fern! If you’ve ever seen those cascading clouds of delicate greenery, you know why this plant is such a charmer. Whether it’s the arching stems of ‘Sprengeri’ or the more upright, feathery fronds of ‘Myers’, it adds such a lovely softness to any space. And the best part? Bringing more of that beauty into your home by propagating it yourself is surprisingly rewarding, and dare I say, quite doable for beginners!
The Best Time to Start
For the highest success rates, I like to propagate Asparagus ferns in the spring or early summer. This is when the plant is actively growing and has the energy reserves to put into developing new roots. Think of it as giving your new little plants the best possible start with plenty of warm sunlight and growth happening all around them.
Supplies You’ll Need
Gathering your supplies beforehand makes the whole process smooth sailing. Here’s what I always have on hand:
- Sharp pruning shears or a clean knife: For making nice, clean cuts.
- Well-draining potting mix: I often use a mix of equal parts potting soil and perlite, or a specialized cactus/succulent mix.
- Small pots or trays: With drainage holes, of course!
- Rooting hormone (optional but recommended): A little boost can make a big difference.
- Clear plastic bags or a propagation dome: To create a humid environment.
- Spray bottle: For misting.
- Water: For rinsing and misting.
Propagation Methods
There are a couple of great ways to increase your Asparagus fern family. I find division to be the most straightforward for home gardeners, but stem cuttings can also work wonderfully.
Division: My Go-To Method
This is perfect for when your Asparagus fern is looking a little crowded in its pot or you simply want more plants.
- Gently remove the plant from its pot. Flip it over and tap the sides. If it’s really stuck, a gentle wiggle should do the trick.
- Inspect the root ball. You’ll see that it has thick, fleshy tubers just like its edible asparagus cousins!
- Carefully tease the root ball apart. You can use your fingers or a blunt tool to gently separate clumps. The goal is to ensure each section has some roots and at least one healthy shoot or stem. Don’t be afraid to get a little rough, but try to minimize tearing the tubers.
- Pot up each division. Plant them in their own pots with fresh, well-draining soil. Water them in gently.
Stem Cuttings: A Bit More Patience
This method takes a little more time but can be very satisfying.
- Take cuttings. From a healthy, mature plant, select stems that have at least 2-3 nodes (the small bumps where leaves emerge). Using your sharp shears, make a clean cut just below a node. Cuttings about 4-6 inches long work well.
- Prepare the cuttings. Remove any lower leaves, leaving just a couple at the top. If you’re using rooting hormone, dip the cut end into it.
- Plant the cuttings. Insert the cut end into your well-draining potting mix. You can fit a few cuttings into one pot, spaced a couple of inches apart.
- Create a humid environment. Water the soil lightly and then cover the pot with a clear plastic bag or a propagation dome. Make sure the leaves don’t touch the plastic; you can use small stakes to prop it up.
The “Secret Sauce” (Pro Tips)
Here are a couple of things I’ve learned over the years that really help boost your propagation success:
- Bottom heat is your friend for cuttings: If you’re struggling with stem cuttings, try placing their pot on a seedling heat mat. This consistent warmth from below encourages root development much faster than relying on ambient room temperature alone.
- Don’t let the leaves touch the water (for water propagation): While I didn’t detail water propagation here, if you ever try it, it’s crucial that the foliage of your cuttings doesn’t sit in the water. This will lead to rot before roots even have a chance to form. Only the cut stem should be submerged.
Aftercare & Troubleshooting
Once your divisions are potted or your cuttings show signs of rooting (you might feel a gentle tug when you lightly pull a stem), it’s time to treat them like tiny, precious individuals.
Continue to keep the soil consistently moist but not soggy. For cuttings, you can gradually acclimate them to lower humidity by opening the plastic bag for a few hours each day over a week or two, before removing it entirely.
The most common issue you’ll encounter is rot, especially with cuttings. It looks like a mushy, black stem. This is usually a sign of too much moisture and not enough air circulation. If you see this, remove the affected cutting immediately so it doesn’t spread. For divisions, if a section looks sickly, ensure its soil is draining well and try to keep it in a bright, indirect light spot. Sometimes, a struggling division might just need time to recover.
A Little Encouragement
Propagating plants is a journey of patience and observation. Don’t get discouraged if not every attempt is a home run. Celebrate the successes, learn from the less successful ones, and most importantly, enjoy the process of growing new life. Happy propagating!
Resource:
https://identify.plantnet.org/k-world-flora/species/Asparagus%20densiflorus%20(Kunth)%20Jessop/data