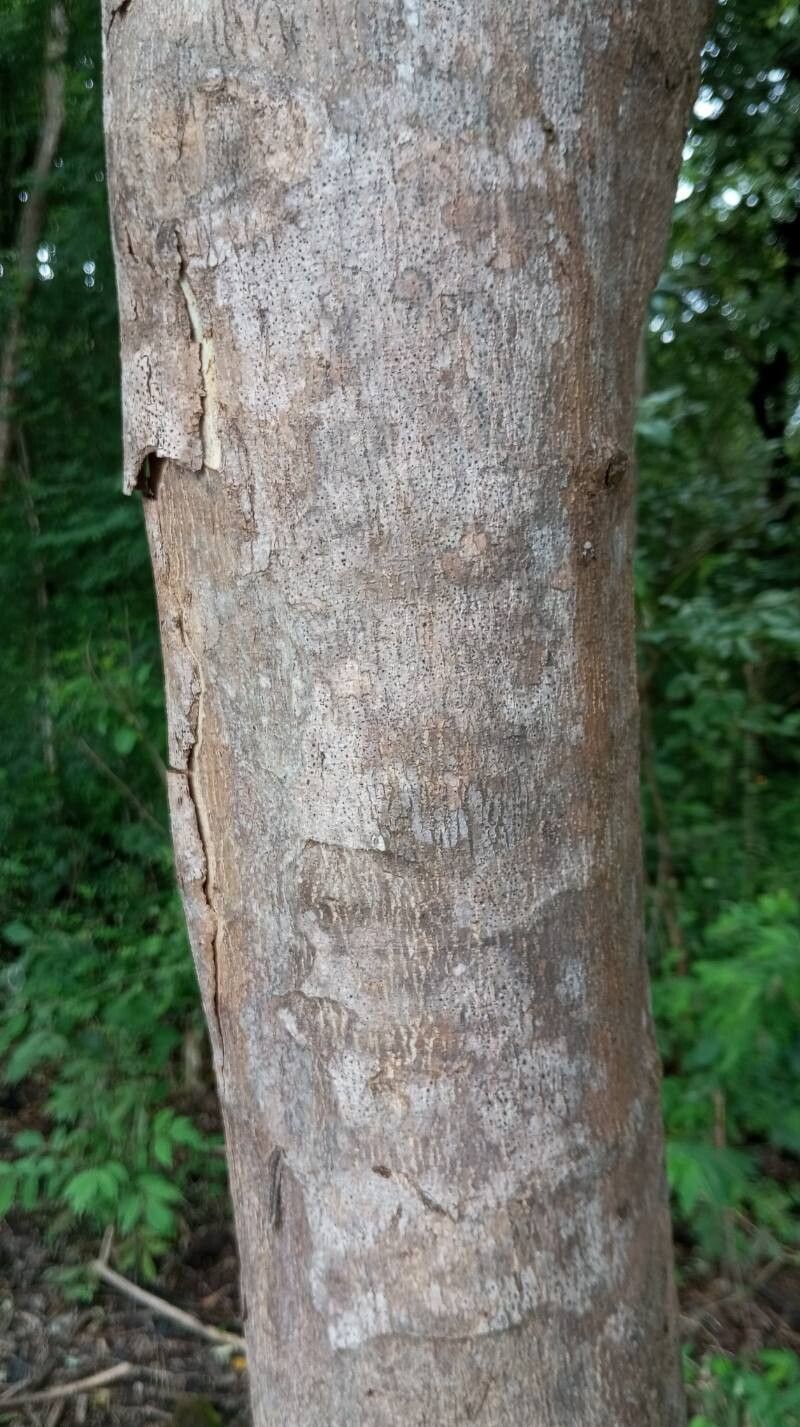
Oh, you’re interested in Trichilia americana! What a fantastic choice. This gorgeous plant, often known for its glossy, rich green foliage and sometimes delicate fragrance, brings such a wonderful vibrancy to any space. It’s truly a rewarding plant to grow, and even more so when you can create more of them yourself. Don’t worry, while it might sound a bit technical, propagating Trichilia can be a wonderfully achievable project, even for those just dipping their toes into plant parenthood.
The Best Time to Start
I find the late spring to early summer is our golden window for propagating Trichilia americana. This is when the plant is actively growing, buzzing with energy. Think of it like your own enthusiastic self after a good night’s sleep – ready to tackle anything! Using cuttings taken during this period gives them the best chance to root quickly and thrive.
Supplies You’ll Need
Here’s what I always have on hand when I’m getting ready to propagate:
- Sharp, clean pruning shears or a sharp knife: For precise cuts that heal well.
- Rooting hormone (optional but helpful): I like to use a powder or gel formulation.
- Well-draining potting mix: A blend of perlite, peat moss, and a bit of compost works wonders. You can also buy pre-made “seed starting mix” or “cuttings mix.”
- Small pots or trays: With drainage holes, naturally!
- Plastic bags or a humidity dome: To create that steamy environment.
- Water: For misting and watering.
Propagation Methods
Let’s get our hands dirty! I usually have the most success with stem cuttings for Trichilia.
Stem Cuttings
- Select a healthy stem: Look for a piece of stem that’s about 4-6 inches long. It should be firm, not woody, but not overly soft either. Ideally, it will have at least a couple of sets of leaves.
- Make the cut: Using your sharp shears or knife, make a clean cut just below a leaf node. A leaf node is where a leaf attaches to the stem. This is where the magic of root development often begins.
- Prepare the cutting: Gently remove the lower leaves, leaving just a couple of leaves at the very top. If your leaves are very large, you can even cut them in half to reduce water loss.
- Apply rooting hormone (if using): Dip the cut end of the stem into your rooting hormone, tapping off any excess.
- Plant the cutting: Make a small hole in your prepared well-draining potting mix. Insert the cutting, ensuring the leaf nodes where you removed the leaves are buried. Gently firm the soil around the stem.
- Create a humid environment: Water the soil lightly until it’s moist but not waterlogged. Then, cover the pot with a plastic bag, taping it around the rim to seal in the humidity, or place it under a humidity dome. Make sure the leaves don’t touch the sides of the bag if possible!
- Place it in bright, indirect light: No direct sun for these little ones, please! A bright windowsill that doesn’t get harsh rays is perfect.
Water Propagation (for the patient!)
Sometimes, you can get Trichilia to root in water, though it can take a bit longer and requires careful monitoring.
- Follow steps 1-3 above for preparing your stem cuttings.
- Place the cutting in a glass of water: Make sure the leaf nodes are submerged, but try to keep the leaves themselves out of the water as much as possible.
- Change the water regularly: Every few days, refresh the water to keep it clean and oxygenated.
- Watch for roots: This method can take several weeks, so patience is key! Once you see good root development, you can transplant it into potting mix.
The “Secret Sauce” (Pro Tips)
Here are a couple of things I’ve learned over the years that really give propagation a boost:
- Bottom Heat is Your Friend: If you have a propagation mat or can place your pots on top of a gently warm surface (like a router that’s on, but be cautious!), it encourages root growth. Warmth from below mimics the soil temperature during the growing season and makes a huge difference.
- Don’t Be Afraid to “Wiggle”: After about 4-6 weeks, give your cutting a gentle tug. If you feel resistance, that’s a good sign roots are forming! If it pulls out easily, it might not have rooted yet, and you can try again.
Aftercare & Troubleshooting
Once you see those first little roots peeking out of the bottom of the pot, or notice new growth appearing, it’s time for a slightly different approach.
- Gradual Acclimation: This is crucial! If you’ve been using a plastic bag or dome, gradually remove it over a week or two. Start by taking it off for an hour or two each day, then gradually increase the time. This helps the new plant adjust to normal humidity levels.
- Watering: Water your new plant whenever the top inch of soil feels dry. Avoid overwatering, as this is a common cause of root rot.
- Light: Continue to provide bright, indirect light.
- Troubleshooting: The most common issue you’ll face is rot. If your cutting looks black, mushy, or has a foul smell, it’s likely rotted. Unfortunately, there’s no coming back from that, so it’s time to try again. Yellowing leaves can sometimes mean too much water or not enough light.
A Little Encouragement
Propagating plants is a wonderful journey of learning and patience. Don’t get discouraged if your first few attempts don’t yield instant success. Every cutting is a learning opportunity, and the joy of watching a tiny piece of a plant transform into a whole new, thriving specimen is simply unmatched. So, give it a try, enjoy the process, and happy gardening!
Resource: