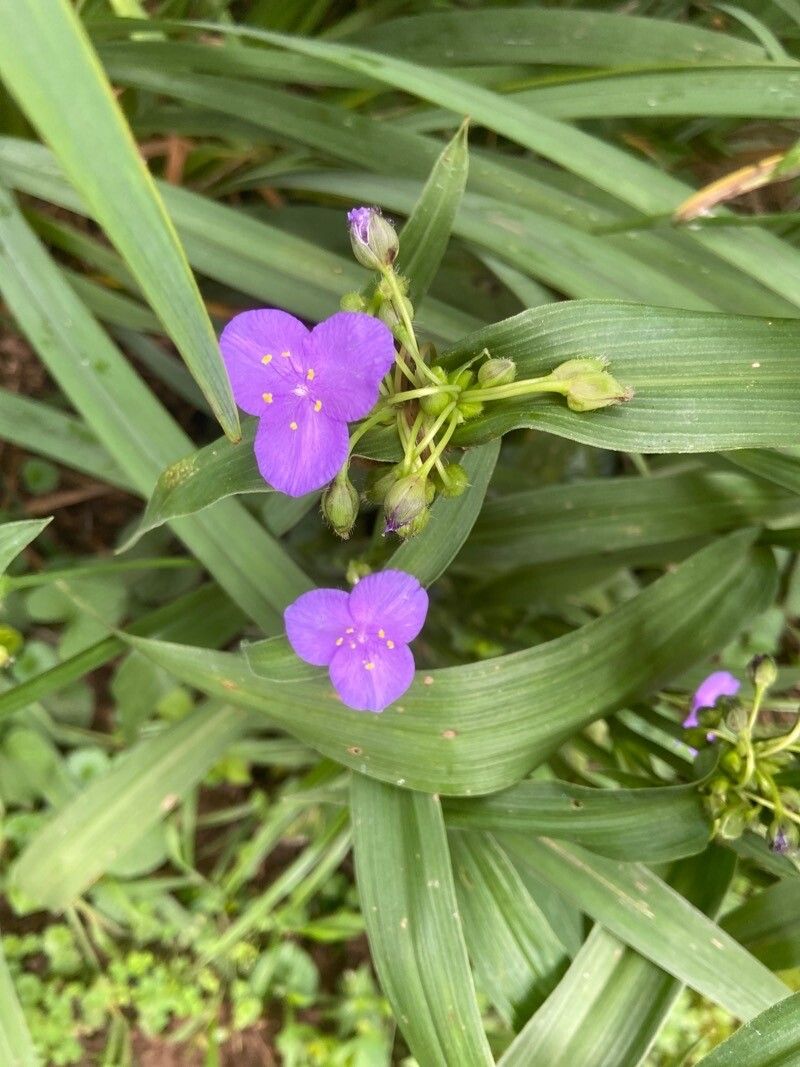
Oh, hello there! Come on in, pull up a chair. I’ve got a fresh pot of coffee brewing, and I’m just bursting to talk about one of my absolute favorite plants: Tradescantia gigantea. You know, the one with those gorgeous, deep purple leaves that can get absolutely huge if you give them a little love? They bring such a dramatic splash of color to just about any space, indoors or out. And the best part? They’re surprisingly easy to share!
Propagating Tradescantia gigantea is incredibly rewarding. You get to watch a tiny sliver of a plant transform into a whole new, vibrant specimen. Honestly, if you’ve ever thought about getting your hands dirty with propagation, this is a fantastic plant to start with. Beginners, you’re in for a treat!
The Season for Success: When to Get Started
I’ve found the sweet spot for propagating these beauties is late spring through summer. This is when the plant is really in its active growth phase. Everything is waking up, fueled by sunshine and warmth, and that energy translates beautifully into new root development. You can certainly try it at other times, but you’ll see the fastest, most robust results when you catch your plant in its prime growing season.
Your Propagation Toolkit: What You’ll Need
Don’t worry, it’s not a complicated list. Most of these you probably already have lying around.
- Sharp Pruning Shears or a Clean Knife: For making clean cuts. Dull tools can bruise the stems.
- A Well-Draining Potting Mix: I like a mix of standard potting soil with perlite or orchid bark added. About a 50/50 ratio works wonders. It keeps things from getting waterlogged.
- Small Pots or Seed Trays: For your new cuttings. Anything from tiny yogurt cups with drainage holes poked in them to actual nursery pots will do.
- Rooting Hormone (Optional but recommended): A little dip in this powder or gel can give your cuttings an extra boost, especially if you’re propagating a bit later in the season.
- A Spray Bottle: For misting your cuttings.
- Clear Plastic Bags or a Propagator (Optional): To create a humid environment.
Getting Those Roots Growing: Propagation Methods
Tradescantia gigantea is incredibly forgiving, and you have a couple of lovely ways to multiply your plant.
Stem Cuttings: The Classic Approach
- Take a Cutting: Find a healthy stem on your mature plant. Using your sharp pruning shears or a clean knife, make a cut just below a leaf node. A leaf node is where a leaf attaches to the stem – this is where roots will emerge. Aim for cuttings that are around 4-6 inches long.
- Prepare the Cutting: Gently remove the lower leaves from the bottom half of the cutting. You can leave the top few leaves. If your leaves are particularly large and heavy, you can even cut them in half to reduce water loss.
- Apply Rooting Hormone (If using): Dip the cut end of the stem into your rooting hormone, tapping off any excess.
- Planting Time: Make a small hole in your prepared potting mix using your finger or a pencil. Insert the cut end of the stem into the hole and gently firm the soil around it.
- Water and Cover: Water the soil gently until it’s moist but not soggy. If you have them, slip a clear plastic bag over the pot, supported by stakes or chopsticks so it doesn’t touch the leaves. This creates a mini-greenhouse. Alternatively, place the pot in a propagator.
Water Propagation: Watching Roots Appear
This is a fun one because you get to watch the magic happen!
- Take a Cutting: Similar to stem cuttings, select a healthy stem and cut it just below a leaf node, aiming for a 4-6 inch piece.
- Remove Lower Leaves: Strip off the leaves from the bottom half of the cutting.
- Into the Water: Place the cuttings in a clean jar or vase filled with lukewarm water. Make sure the leaf nodes are submerged, but crucially, don’t let any leaves touch the water. They’ll just rot.
- Find a Spot: Place the jar in a bright spot, but out of direct, harsh sunlight. Change the water every few days to keep it fresh and prevent bacterial growth.
- Wait for Roots: You should start seeing tiny white roots emerge from the leaf nodes in a couple of weeks. Once the roots are about an inch long, they’re ready for the potting mix!
The “Secret Sauce”: My Insider Tips
Over the years, I’ve picked up a few tricks that seem to make all the difference.
- Don’t Overcrowd: When planting multiple cuttings in one pot, give them a little breathing room. They need good air circulation to prevent fungal issues. Plus, they’ll establish better without competing for resources.
- Bottom Heat is a Game Changer: If you can, place your pots on a seedling heat mat. This gentle warmth from below encourages root development like nothing else. It really speeds things up and increases your success rate, especially with those water-cuttled plants when you move them to soil.
- Patience with Those Water Cuttings: When you transfer your water-propagated cuttings into soil, they might look a little sad for a few days. This is totally normal! They need to adjust to life in the soil. Don’t panic and keep them consistently moist (but not wet) and avoid direct sun for the first week.
Aftercare and Troubleshooting: Nurturing Your New Shoots
Once you see those lovely new roots appearing – congratulations! It’s time for a little extra TLC.
- For Stem Cuttings: Continue to keep the soil consistently moist but not waterlogged. Mist the leaves occasionally if you’re not using a plastic cover. Once they feel firmly rooted when you give them a gentle tug, you can start treating them like a mature plant.
- For Water Propagations: Gently plant your rooted cuttings into your well-draining potting mix, as you would a stem cutting. Water thoroughly, then reduce watering frequency slightly. The goal is consistently moist soil, letting the top inch or so dry out between waterings.
- Troubleshooting Rot: The most common issue you’ll encounter is stem rot. This usually happens from too much moisture and poor air circulation. If you see a cutting turning black or mushy, remove it immediately. Ensure your soil is well-draining and that your pots have drainage holes. Overwatering is the usual culprit here. If your leaves are yellowing and dropping, it might be a sign of too much direct sun or inconsistent watering.
Keep Growing!
And there you have it! Propagating Tradescantia gigantea is such a joyful process. Don’t be discouraged if your first few attempts aren’t perfect. Nature has a way of teaching us, and with a little patience and practice, you’ll be a Tradescantia-propagating pro in no time. Enjoy the journey and the beautiful, abundant plant life you’ll create! Happy gardening!
Resource:
https://identify.plantnet.org/k-world-flora/species/Tradescantia%20gigantea%20Rose/data