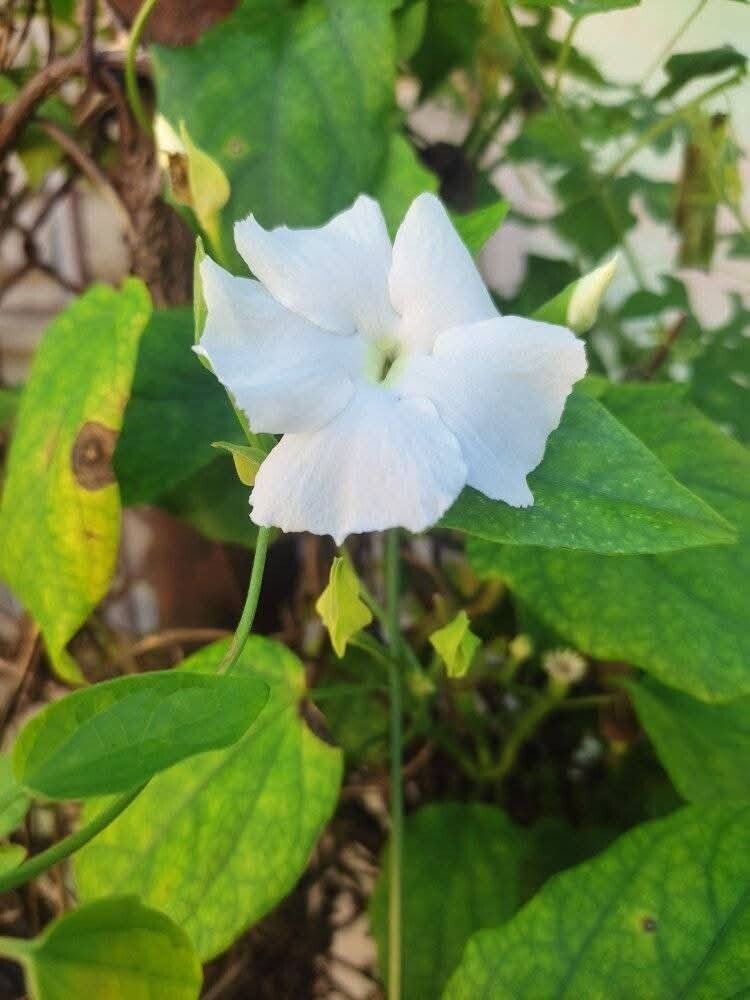
Oh, Thunbergia fragrans! You know, that absolutely divine vine with its sweet, intoxicating fragrance and delicate white flowers? I’ve been growing it for years, and it never fails to brighten my garden and my spirits. Not only is it a joy to behold, but propagating it is also incredibly rewarding. It’s a wonderful way to share its beauty with friends or simply expand your own patch of fragrant paradise. And the best news? For us gardeners, Thunbergia fragrans is genuinely quite easy to propagate, even for those just starting out!
The Best Time to Start
When it comes to getting the best results, timing is everything. For Thunbergia fragrans, I find the late spring through early summer is ideal. This is when the plant is in full swing of its growing season, bursting with energy and readiness to put out new shoots. You’ll be working with vigorous, healthy stems that are primed to root.
Supplies You’ll Need
Before we get our hands dirty, let’s gather our supplies. A little preparation goes a long way!
- Sharp pruning shears or snips: Clean cuts are key for healthy propagation.
- A small trowel or dibber: For gently making holes in your potting mix.
- Rooting hormone (optional but helpful): A little boost can speed things up.
- A good quality potting mix: I like a free-draining mix, often a blend of potting soil, perlite, and a little peat moss.
- Small pots or seed trays: With drainage holes, of course!
- A clear plastic bag or propagator: To create a humid environment.
- Soft water or filtered water: Sensitive roots appreciate it!
Propagation Methods
Now for the fun part – actually making new plants! Thunbergia fragrans is wonderfully cooperative, and I typically rely on stem cuttings.
Stem Cuttings
This is my go-to method, and it’s incredibly effective.
- Take your cuttings: Select healthy, non-flowering stems from your established plant. Look for stems that are about 4-6 inches long. Make a clean cut just below a leaf node (where a leaf attaches to the stem).
- Prepare the cuttings: Gently remove the lower leaves, leaving just a couple of sets at the top. This prevents them from rotting in the soil. If you’re using rooting hormone, dip the cut end into the powder now.
- Plant the cuttings: Fill your small pots with your prepared potting mix. Use your trowel or dibber to make a hole, and then carefully insert the cutting, ensuring the cut end is in contact with the soil. Gently firm the soil around the stem.
- Water gently: Water thoroughly but gently. You want the soil to be moist, not waterlogged.
- Create humidity: Place a clear plastic bag over the pot, or put the pot inside a propagator. This creates a mini greenhouse effect, keeping the humidity high, which is crucial for cuttings to root before they dry out. You can prop the bag up with a few twigs or skewers so it doesn’t touch the leaves.
The “Secret Sauce” (Pro Tips)
Here are a couple of little tricks I’ve picked up over the years that make a big difference:
- Bottom Heat is Your Friend: If you have access to a propagation mat or can place your pots on top of a gently warm appliance (like a gently used router!), this provides gentle bottom heat. It encourages root development far more effectively than just ambient room temperature.
- Watch the Leaves! When you water, be sure those leaves don’t dip into the water left in the saucer. Any leaves sitting in stagnant water are prone to rot, and we want to encourage those cuttings to develop roots, not decay!
Aftercare & Troubleshooting
Once your cuttings are planted, place them in a bright location, but out of direct, harsh sunlight. Keep an eye on the moisture level – the soil should remain consistently moist but not soggy.
You’ll know your cuttings are rooting when you see new growth appearing at the tip, usually within 3-5 weeks. You might also encounter a gentle tug when you try to lightly pull on a stem. Once they’ve developed a good root system, you can carefully transplant them into slightly larger pots.
The most common issue you might face is rot. If your cuttings turn mushy or develop black spots, it’s usually a sign of too much moisture and not enough air circulation. Don’t be discouraged! Snip off the rotted portion, if salvageable, and try again with slightly amended soil or better drainage.
A Encouraging Closing
So there you have it! Propagating Thunbergia fragrans is a journey that’s as delightful as the plant itself. Be patient, observe your little cuttings, and celebrate every bit of new growth. You’ll be rewarded with beautiful, fragrant blooms and the deep satisfaction of nurturing new life. Happy gardening!
Resource:
https://identify.plantnet.org/k-world-flora/species/Thunbergia%20fragrans%20Roxb./data