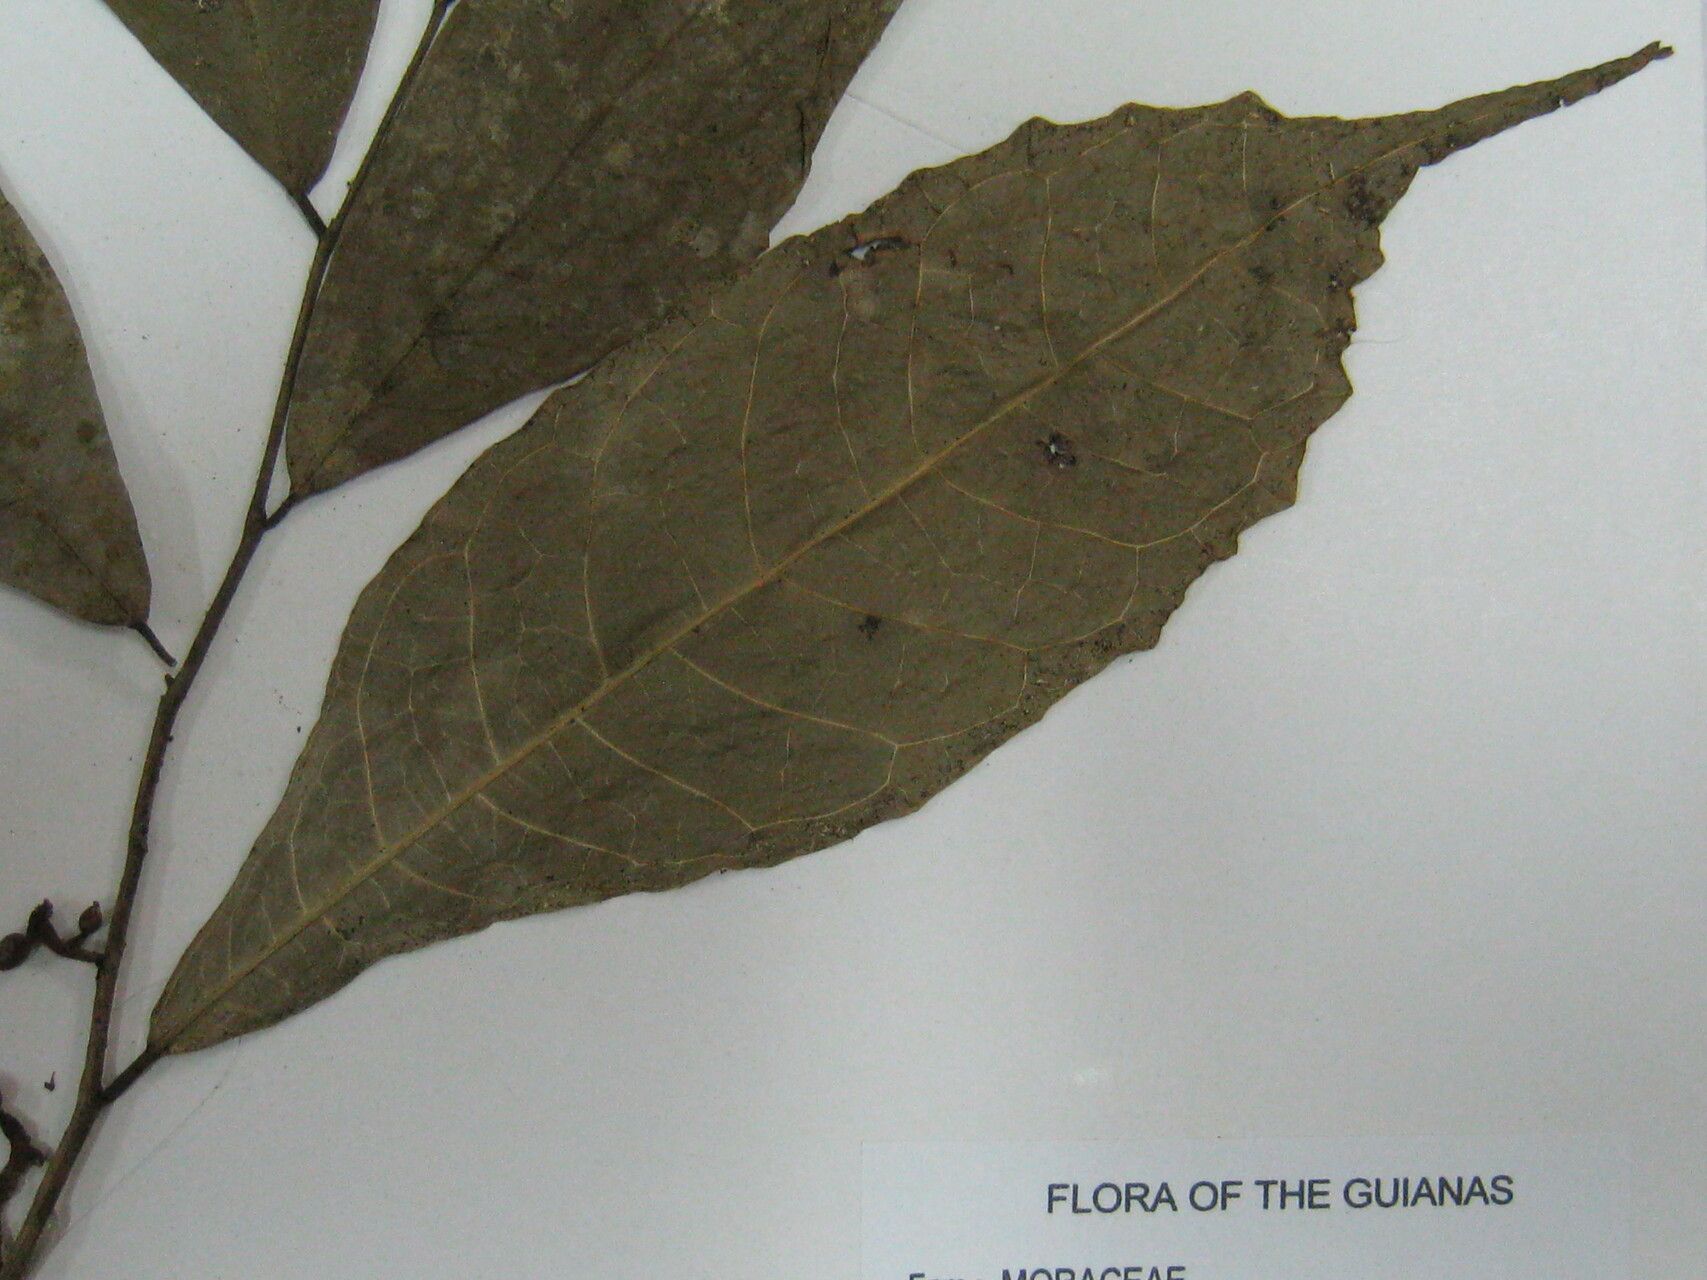
Oh, Sorocea muriculata! What a delightful plant to get your hands on. If you’re a fan of unique foliage and a touch of the exotic, you’re in for a treat. They have these gorgeous, textured leaves that just add so much character to a plant collection. And the best part? Sharing that beauty by propagating your own is incredibly rewarding. Think of it as creating little bits of your garden magic to gift or just to expand your own green haven. For those of you just starting out, I’d say Sorocea muriculata is a moderately forgiving plant to propagate, but with a little guidance, you’ll be a pro in no time!
The Best Time to Start
Good news! The sweet spot for propagating Sorocea muriculata usually falls during its active growing season, which means spring and early summer are your best friends. When the plant is really putting on new growth, it has more energy and resources to dedicate to developing roots. You can sometimes get away with it in late summer, but I find you get the best results when the days are getting longer and warmer.
Supplies You’ll Need
Before we get our hands dirty, let’s gather our tools:
- Sharp Pruning Shears or a Clean Knife: For taking clean cuts.
- Rooting Hormone (Optional but Recommended): A little boost can make a big difference.
- Well-Draining Potting Mix: I like a mix of peat moss, perlite, and orchid bark for my Sorocea. You want it to be airy!
- Small Pots or Propagation Trays: Clean pots are a must to prevent disease.
- Water: For watering and maybe for a temporary water propagation.
- Plastic Bag or Clear Dome: To create a humid environment for your cuttings.
- Spray Bottle: For misting.
Propagation Methods
I’ve found success with a couple of different methods for Sorocea muriculata. Let’s dive in!
Stem Cuttings
This is my go-to method for Sorocea.
- Select a Healthy Stem: Look for a mature, but not woody, stem. You want a piece that has at least two or three leaf nodes. A node is where a leaf emerges from the stem.
- Make the Cut: Using your clean shears or knife, make a cut just below a leaf node. This is where those magical root-forming cells are!
- Prepare the Cutting: Gently remove the lower leaves, leaving just a couple at the top. If the remaining leaves are very large, you can carefully cut them in half to reduce water loss. Dip the cut end in rooting hormone, tapping off any excess.
- Plant Your Cutting: Fill your small pots with your well-draining mix. Make a small hole with your finger and insert the cutting, ensuring at least one leaf node is below the soil surface. Gently firm the soil around the cutting.
- Create Humidity: Water the soil lightly and then cover the pot with a clear plastic bag or a propagation dome. Poke a few small holes in the bag for ventilation.
Water Propagation (Use with Caution)
While some plants root beautifully in water, I find Sorocea can be a bit more prone to rot this way. If you try it, be extra vigilant.
- Select and Prepare: Follow steps 1 and 2 above for taking your cutting.
- Place in Water: Remove all but one or two leaves at the top. Place the cutting in a glass of room-temperature water, making sure no leaves will be submerged. The nodes should be exposed to the air but close to the water.
- Change Water Regularly: This is crucial! Change the water every 2-3 days to keep it fresh and prevent bacterial growth.
- Watch for Roots: You should see tiny root nubs emerge from the nodes. Once the roots are about an inch long, it’s time to carefully transplant them into soil.
The “Secret Sauce” (Pro Tips)
Here are a few things I’ve learned over the years that can really boost your success with Sorocea:
- Bottom Heat is Your Friend: If you have the means, placing your pots on a gentle heat mat can significantly speed up root development. It mimics the warm soil of spring and gives those struggling roots a much-needed push.
- Don’t Overwater, Ever! This is probably the biggest killer of cuttings. The soil should be consistently moist but never soggy. Stick your finger in about an inch; if it feels dry, give it a light watering. And if you’re doing water propagation, those leaves above the water? They stay above the water. Any leaf touching the water is an invitation for goo.
- Be Patient with the Potting Mix: When you’re using a potting mix, make sure it’s super airy. Think chunky! Adding perlite or orchid bark to your regular potting soil will give those tender new roots the oxygen they need to breathe and grow strong.
Aftercare & Troubleshooting
Once you start seeing new leaf growth, that’s a fantastic sign! It means your cutting has probably started to root.
- Gradual Acclimation: Slowly introduce your new plant to less humid conditions. Open the plastic bag or dome a little more each day over a week.
- Care Like the Parent Plant: Once it’s acclimated, start treating it like your mature Sorocea. Water when the top inch of soil is dry and provide it with bright, indirect light.
The most common sign of a failing cutting is wilting and mushy stems, often accompanied by a foul smell. This is usually a sign of rot due to overwatering or poor air circulation. If you see this, sadly, it’s time to start again. Don’t get discouraged! Every gardener has had cuttings that just didn’t make it.
A Encouraging Closing
Propagating plants is a journey, my friends. It’s about connection with nature, patience, and a little bit of hopeful waiting. Celebrate every little sign of life, learn from any setbacks, and most importantly, enjoy the process of coaxing new life from your beloved Sorocea muriculata. Happy propagating!
Resource:
https://identify.plantnet.org/k-world-flora/species/Sorocea%20muriculata%20Miq./data