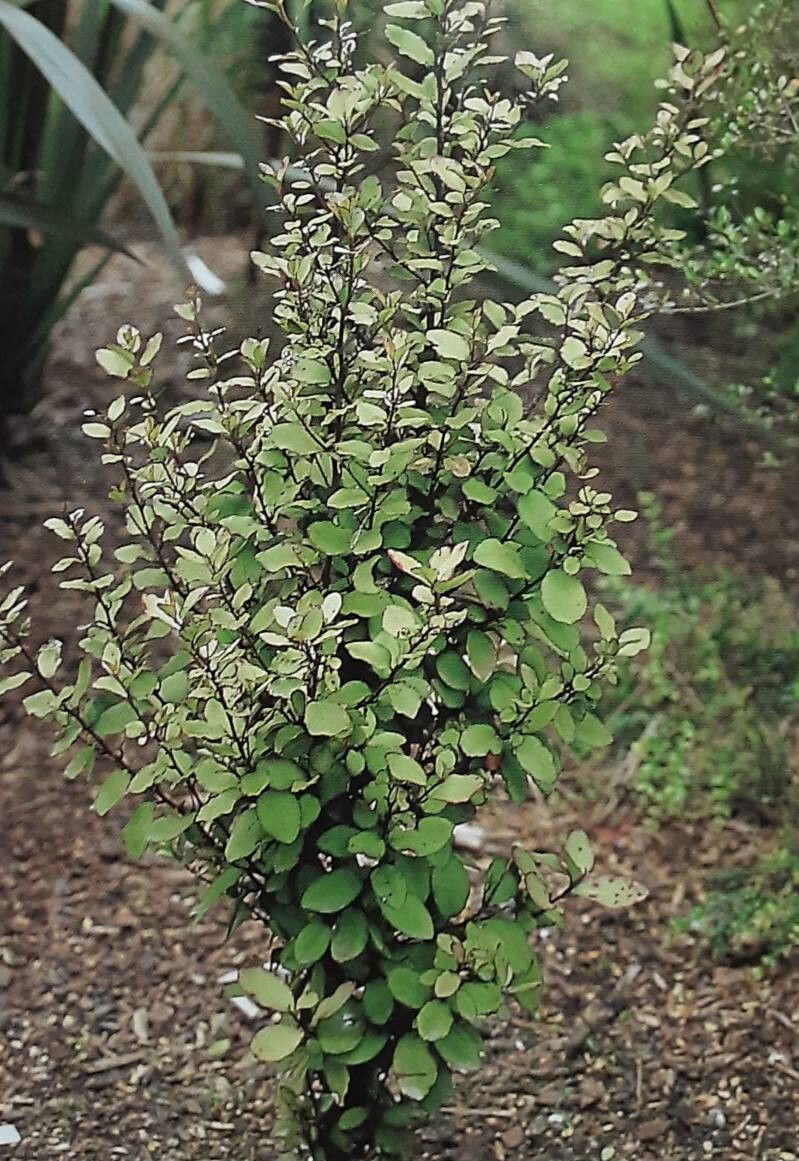
Hello fellow garden enthusiasts! Today, we’re diving into the delightful world of Pseudowintera colorata, often called the Pepper Tree or Horopito. I’ve always been drawn to its glossy, evergreen leaves, splashed with a beautiful bronze and ochre. It’s a real stunner, especially when the winter chills bring out its more vibrant hues. Propagating this beauty from your existing plants is incredibly satisfying. And I’m happy to report, it’s surprisingly straightforward, even for those of you just starting out on your propagation journey.
The Best Time to Start
For the highest success rate with your Pseudowintera colorata, aim to take cuttings in late spring or early summer. This is when the plant is actively growing, and fresh, semi-hardwood stems are just perfect for rooting. They’ve developed a bit but are still pliable enough to readily form new roots. Avoid taking cuttings from very soft, new growth or from old, woody stems.
Supplies You’ll Need
Gathering your tools before you begin makes the whole process so much smoother. Here’s what I always keep on hand:
- Sharp, clean pruning shears or a sharp knife: Crucial for making clean cuts that will heal well.
- Rooting hormone (optional but recommended): A little boost can significantly speed up root development. I like the powdered kind.
- A potting mix: A good starting point is a 50/50 blend of perlite and peat moss or coco coir. This airy mix provides excellent drainage, which is key. You can also buy specific cuttings compost.
- Small pots or trays: Seedling trays or small pots (around 3-4 inches) work perfectly. Make sure they have drainage holes!
- A clear plastic bag or a propagation dome: This helps maintain humidity around your cuttings.
- A watering can with a fine rose: For gentle watering.
- Labels and a pen: To keep track of your projects!
Propagation Methods: Stem Cuttings
This is my go-to method for Pseudowintera colorata, and it’s generally the most successful.
- Select Your Stems: Look for healthy, vigorous stems that are about pencil-thick. You want to take cuttings that are semi-hardwood, meaning they’re not brand new and floppy, but not completely woody either. They should snap rather than bend.
- Make the Cut: Using your clean shears or knife, take cuttings about 4-6 inches long. Make the cut just below a leaf node (where a leaf attaches to the stem). This is where rooting hormones are most potent.
- Prepare the Cuttings: Gently remove the lower leaves, leaving just two to four leaves at the top of the cutting. This reduces water loss. If the remaining leaves are very large, you can even cut them in half.
- Dip in Rooting Hormone (Optional): If you’re using rooting hormone, dip the cut end of the stem into the powder, tapping off any excess.
- Plant Your Cuttings: Fill your pots or trays with your prepared potting mix. Make a hole in the soil with a pencil or your finger. Insert the cutting into the hole, making sure the leaf nodes you removed are buried. Gently firm the soil around the base of the cutting.
- Water Gently: Water the soil thoroughly, but be careful not to dislodge the cuttings.
- Create Humidity: Cover the pots or trays with your clear plastic bag or propagation dome. This creates a mini-greenhouse effect, keeping the humidity high. If using a bag, you can use stakes to keep it from touching the leaves.
The “Secret Sauce” (Pro Tips)
Here are a couple of things I’ve learned over the years that can really make a difference:
- Don’t let the leaves touch the water. If you’re doing water propagation (which I generally avoid for this plant, as soil cuttings are more successful long-term), ensure the leaves are well above the water line. Rot can set in quickly if they’re submerged. For soil cuttings, this means ensuring your leaves are clipped low enough so they don’t droop into the soil surface if it gets a bit damp.
- Bottom heat is your friend. While not strictly necessary, placing your tray of cuttings on a heated propagator mat can dramatically speed up root formation. It mimics the warmth of spring soil, and the warmth encourages those roots to get moving.
Aftercare & Troubleshooting
Once your cuttings are potted and covered, place them in a bright spot out of direct sunlight. You’ll want to mist them occasionally or check the humidity within the bag. The goal is consistently moist, but not waterlogged, soil.
You’ll know your cuttings have taken when you see new growth appearing. This can take anywhere from 4 to 8 weeks, sometimes longer. Once they have a good bit of new foliage, you can start to gradually acclimatize them to normal room conditions by opening the bag or dome a little more each day over a week. Water them as you would a young plant, allowing the top layer of soil to dry out slightly between waterings.
The most common issue you might encounter is rot. If your cuttings turn black and mushy, it’s usually a sign of too much moisture and poor drainage or airflow. If you see this happening, remove the affected cutting immediately to prevent it from spreading. Also, ensure your pots have good drainage to prevent waterlogging.
A Little Patience Goes a Long Way
Propagating plants is a journey, and like any good journey, it requires a little patience. Don’t be discouraged if not every cutting takes. Keep trying, observe what works for your environment, and most importantly, enjoy the process of growing something new! Happy gardening!
Resource:
https://identify.plantnet.org/k-world-flora/species/Pseudowintera%20colorata%20(Raoul)%20Dandy/data