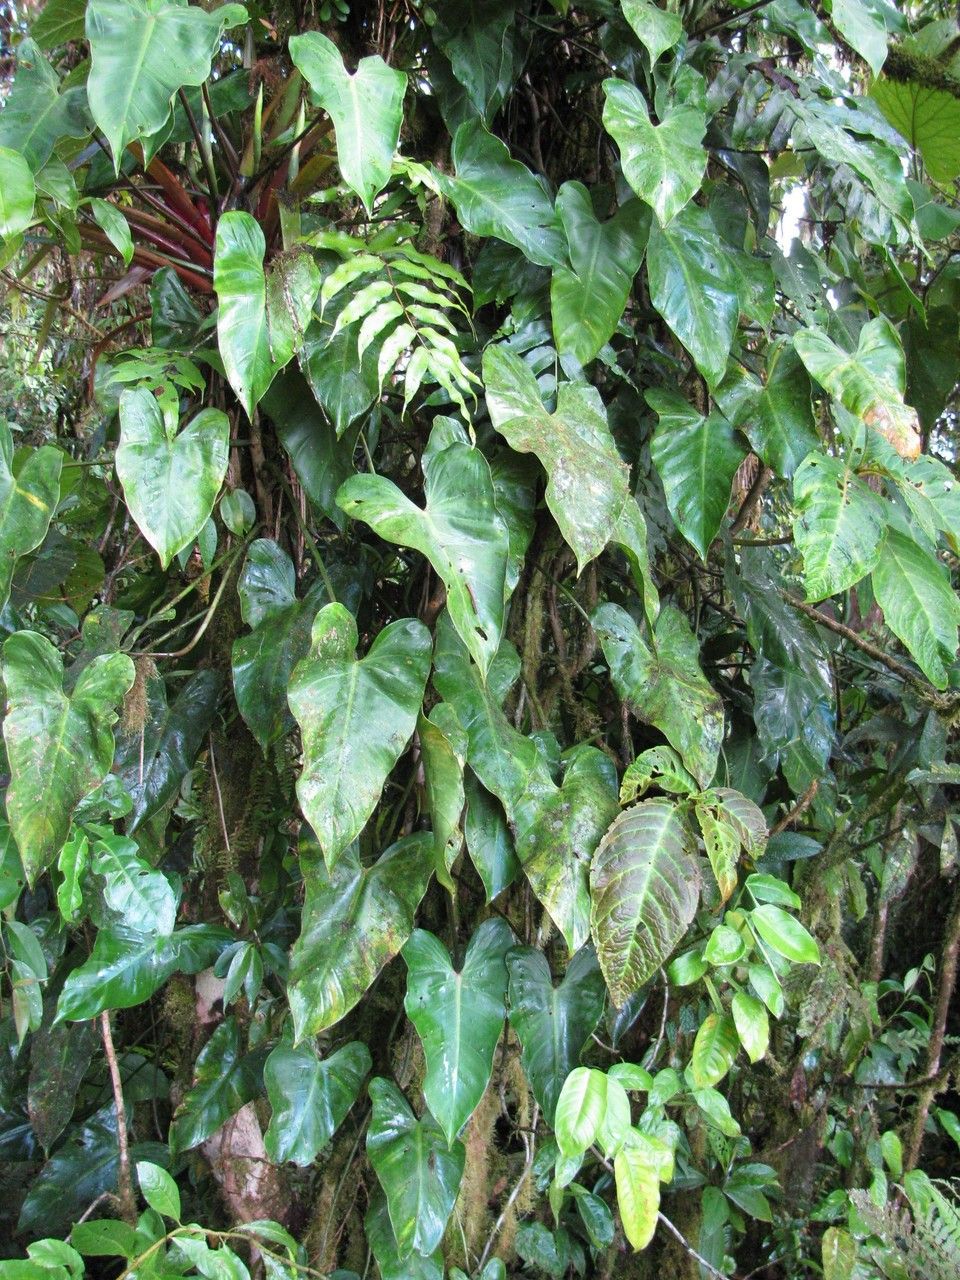
Hello there, fellow plant lovers! Today, we’re going to dive into the delightful world of Philodendron cotonense. If you’ve ever admired those lush, velvety leaves in their rich green glory, you’re not alone. This plant has a way of stealing hearts with its understated elegance. And guess what? Propagating it is not only incredibly rewarding, but it’s also a fantastic way to share your love for plants with friends or simply to fill your home with even more of this tropical beauty. I’ve found P. cotonense to be quite accommodating, making it a joy for both seasoned and newer propagators.
When to Get Your Hands Dirty
The best time to think about propagating your P. cotonense is during its active growing season. For most of us, this means spring and summer. The plant is brimming with energy then, and new cuttings will have the best chance of rooting quickly. Avoid the colder, darker months if you can; while it’s not impossible, you might find yourself waiting a bit longer for those first signs of roots.
What You’ll Want to Gather
Before we get started, let’s make sure you have everything you need. A little preparation goes a long way!
- Sharp Pruning Shears or a Clean Knife: For making clean cuts. Sterilize them to prevent disease!
- Well-Draining Potting Mix: I love a mix of peat moss, perlite, and orchid bark. It keeps things airy.
- Small Pots or Propagation Trays: Anything you have will work, really, as long as it drains.
- Rooting Hormone (Optional but Recommended): A little dip can give your cuttings a boost.
- Clear Plastic Bag or Humidity Dome: To create a mini-greenhouse.
- Water: For water propagation.
- A Clear Jar or Vase: If you’re opting for water propagation.
Let’s Grow! Propagation Pathways
There are a couple of favorite ways I like to propagate Philodendron cotonense. They’re both pretty straightforward and yield great results.
Method 1: Stem Cuttings (My Go-To!)
This is my absolute favorite because you can get multiple new plants from one mother plant.
- Find a healthy stem on your P. cotonense. Look for one that has at least two to three healthy leaves and, crucially, a node. A node is a little bump on the stem where a leaf grows from; this is where the roots will sprout.
- Using your sterilized shears or knife, make a clean cut about half an inch below the node.
- If your cutting has very large leaves, you can optionally cut them in half. This reduces water loss while the cutting is trying to establish roots.
- Now for the rooting hormone. If you’re using it, dip the cut end of the stem into the powder, tapping off any excess.
- Pot your cutting in your prepared, moist potting mix. Make sure the node is buried in the soil.
- Water gently to settle the soil around the stem.
- Create a humid environment. Cover the pot with a clear plastic bag or a humidity dome. You can prop up the bag with stakes so it doesn’t touch the leaves. Place it in a spot with bright, indirect light – no direct sun, please!
Method 2: Water Propagation
This is a visually satisfying method because you can watch the roots grow!
- Follow steps 1 and 2 from the stem cutting method. Make sure you have a node present.
- Remove any leaves that would sit below the waterline. This is super important to prevent rot.
- Place the cutting in a clear jar or vase filled with room-temperature water.
- Position the jar in a spot with bright, indirect light.
- Change the water every few days to keep it fresh and oxygenated. You’ll start seeing roots emerge from the node in a couple of weeks.
- Once the roots are at least an inch or two long, you can plant your cutting in a pot with well-draining soil, just like you would a stem cutting.
The “Secret Sauce” – Insider Tips
Here are a few little nuggets of wisdom I’ve picked up over the years that really make a difference.
- My absolute non-negotiable rule for water propagation? Never let the leaves dip into the water. Even if it means trimming off a lower leaf, do it. Leaves submerged will rot and can take your whole cutting with them.
- If you’re potting your cuttings, bottom heat can work wonders. A small heating mat placed under your pots can significantly speed up root development. It mimics the warmth of a tropical soil bed and gives those roots a real kickstart.
Nursing Your New Sprouts & What to Watch For
Once your P. cotonense cutting has developed a good root system – you’ll feel a gentle tug when you try to lift it, or you’ll see new leaf growth appearing – it’s time to treat it like a young plant. Continue to water it when the top inch of soil feels dry and keep it in that bright, indirect light.
Now, about troubleshooting. The most common issue you’ll face is rot. If your cutting looks limp, mushy, or has yellowing leaves that are falling off easily, it’s a sign of too much moisture or poor air circulation. If you see this in a water cutting, carefully pull it out, trim off any rotten parts with your clean shears, and put it back in fresh water. For soil cuttings, you might need to repot it into drier soil and adjust your watering schedule. Don’t be discouraged if a cutting doesn’t make it; it happens to all of us! It’s all part of the learning curve.
Propagating Philodendron cotonense is a wonderfully accessible and satisfying gardening adventure. Remember to be patient, give your cuttings the right conditions, and you’ll soon be rewarded with new, beautiful plants. Enjoy the process, and happy growing!
Resource: