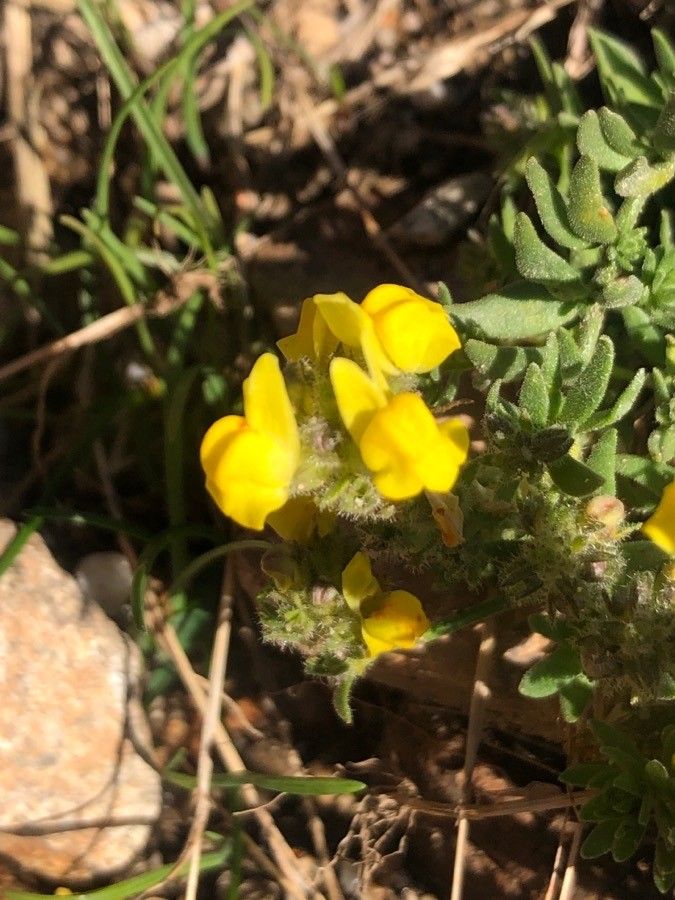
Hello, fellow plant lovers! Today, I want to talk about a little gem that’s brought so much joy to my garden: Linaria saxatilis. Isn’t she just a delight? Those delicate, snapdragon-like flowers, often in shades of pink, purple, or white, are simply captivating. And the way they spill over edges and tumble down walls? Pure magic.
If you’re looking for a way to multiply this beauty, or perhaps share it with friends (which is one of my favorite garden pastimes!), propagating Linaria saxatilis is a wonderfully rewarding endeavor. For beginners, I’d say it’s moderately easy. It’s not quite “stick it in the ground and walk away,” but with a little care, you’ll be successful.
The Best Time to Start
When it comes to getting the most bang for your propagation buck, late spring to early summer is your sweet spot. Wait until the plant has had a good season of growth and is actively putting out new shoots. These young, flexible stems are much more receptive to rooting than older, woody bits. You want to catch them at their peak vigor.
Supplies You’ll Need
Before we get our hands dirty, let’s gather our tools. Everything you need should be readily available at your local garden center or nursery.
- Sharp, clean pruning shears or a sharp knife: For taking neat cuttings.
- Rooting hormone (optional but recommended): A little boost can really speed things up.
- Small pots or seed trays: Clean, with drainage holes, of course!
- Well-draining potting mix: I like a mix of seed-starting mix and perlite (about 50/50) to ensure good aeration. You could also use a commercial “succulent and cactus” mix.
- Spray bottle: For keeping things moist without waterlogging.
- Plastic bag or propagator lid: To create a mini greenhouse environment.
- Labels: Don’t forget to label what you’ve planted!
Propagation Methods
Linaria saxatilis is quite obliging and responds well to stem cuttings. This is my go-to method.
Stem Cuttings:
- Select your stems: Look for healthy, non-flowering shoots that are about 4-6 inches long. They should still be a little bit flexible, not stiff and woody.
- Make the cut: Using your sharp shears or knife, take a clean cutting just below a leaf node. A leaf node is where a leaf attaches to the stem – this is where the magic of roots happens!
- Prepare the cutting: Gently remove the lower leaves from the bottom half of the cutting. You want to expose the nodes where roots will hopefully emerge. If your cutting has any flower buds, pinch those off too. We want all the plant’s energy focused on root development.
- Apply rooting hormone (if using): Dip the cut end of the stem into your rooting hormone powder. Tap off any excess.
- Planting: Fill your small pots or trays with your prepared potting mix. Make a small hole in the center with a pencil or your finger. Insert the cut end of the stem into the hole, ensuring at least one leaf node is below the soil surface. Gently firm the soil around the cutting.
- Water and cover: Water the soil thoroughly but gently. Then, place a clear plastic bag over the pot or cover. This creates a humid environment that helps prevent the cuttings from drying out before they can root. You can support the bag with sticks or skewers so it doesn’t touch the leaves.
The “Secret Sauce” (Pro Tips)
Now, for a couple of tricks I’ve learned over the years that can give you an extra edge:
- Bottom heat is your friend: If you have a heated propagator or can place your pots on a warm windowsill (not direct hot sun, just gentle warmth), this can SIGNIFICANTLY speed up root formation. It mimics spring warmth and encourages those roots to get moving.
- Don’t overwater, but don’t let them dry out: This is a delicate balance. The soil should remain consistently moist but not soggy. If the leaves look limp, they’re probably too dry. If the soil feels like a sponge and there’s no drainage, you’re headed for rot. A good rule of thumb is to water when the top half inch of soil feels dry to the touch.
Aftercare & Troubleshooting
Once your cuttings have been in their cozy, humid environment for a few weeks, you might start to see new leaf growth. That’s a great sign! It usually means roots are forming. You can gently tug on a cutting to feel for resistance – if it holds its ground, it’s rooted!
Once you see good root development (pulling on it gives resistance), it’s time to gradually acclimate your new plants to normal conditions. Remove the plastic bag for short periods at first, increasing the time each day. Continue to keep the soil moist. When they are sturdy enough to handle, you can pot them up into larger containers.
What if things go wrong? The most common culprit is rot. If your cuttings turn mushy, black, and fall apart, they’ve likely been too wet. This is why that well-draining soil and careful watering are so crucial. If you see a cutting looking perpetually wilted and limp, it’s probably not going to make it. Don’t be disheartened; just try again!
A Encouraging Closing
Propagating plants is a journey, and like all good journeys, it’s about the experience. Be patient with your little Linaria saxatilis cuttings. Nature works on its own timetable, and sometimes it takes a little longer than we expect. But the satisfaction of growing a new plant from a tiny piece of another? That’s a joy that never gets old. Happy gardening, and enjoy nurturing these new beginnings!
Resource:
https://identify.plantnet.org/k-world-flora/species/Linaria%20saxatilis%20(L.)%20Chaz./data