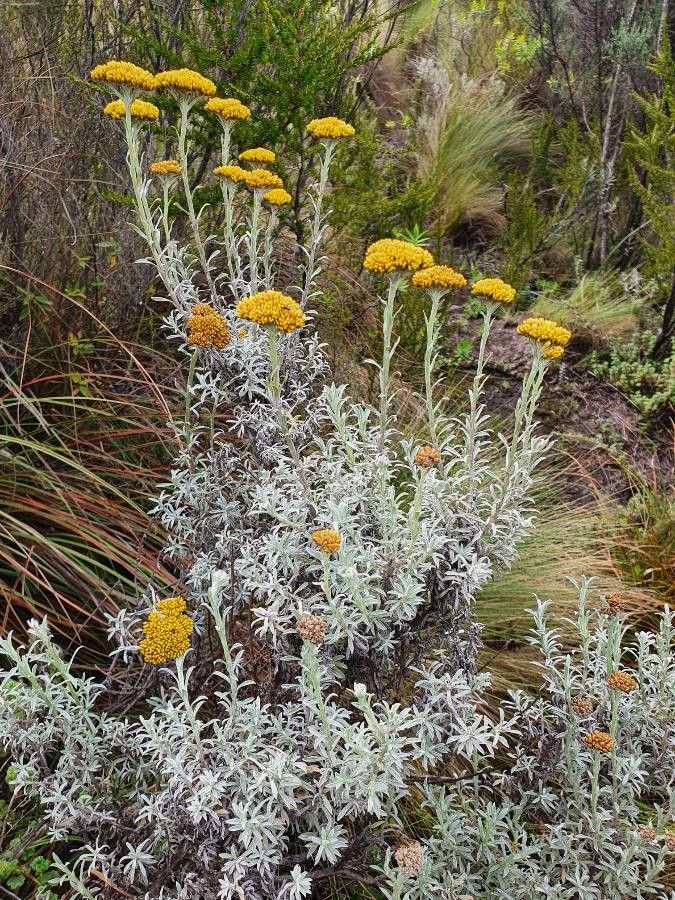
Oh, hello there! Grab a mug, settle in. We’re going to chat about a real gem of the garden: Helichrysum odoratissimum. You know, the one with those wonderfully fragrant, silvery leaves that smell like curry or roasted nuts, depending on who you ask? It’s such a joy to have around, and honestly, propagating it is surprisingly rewarding. For those of you just dipping your toes into the world of plant propagation, I’d say Helichrysum odoratissimum is a pretty friendly companion to start with. It’s not overly fussy, and seeing those little roots emerge is such a thrill!
The Best Time to Start
For the highest success rate with Helichrysum odoratissimum, spring is your best friend. Think about when your plants are really waking up after winter. That fresh, vigorous new growth is just bursting with life and ready to be turned into new little plants. Late spring, just as things are warming up nicely, is usually ideal. You want healthy, non-flowering shoots for cuttings.
Supplies You’ll Need
Before we get our hands dirty, let’s gather our tools. Having everything ready makes the process so much smoother.
- Sharp Pruning Shears or a Craft Knife: For clean cuts.
- Seed Starting Mix or a Well-Draining Potting Mix: Think gritty and airy. A good blend is roughly 50% peat moss or coco coir and 50% perlite or coarse sand.
- Small Pots or Seed Trays: Clean ones are important!
- Rooting Hormone (Optional but Recommended): It gives your cuttings a nice little boost.
- Watering Can with a Fine Rose or Mister: To water gently.
- Plastic Bags or a Propagator Lid: To create a humid environment.
- Labels and a Marker: So you don’t forget what you planted where!
Propagation Methods
We’ll focus on the easiest and most successful way to get more Helichrysum odoratissimum: stem cuttings.
Stem Cuttings
This is my go-to method for this lovely plant.
- Take Your Cuttings: In late spring, look for healthy, non-flowering stems on your established plant. You want shoots that are about 3-4 inches long and feel somewhat firm, not floppy. Using your clean shears or knife, make a clean cut just below a leaf node (that’s where a leaf joins the stem).
- Prepare the Cuttings: Gently remove the leaves from the bottom half to two-thirds of the cutting. You want to expose those little leaf nodes, as that’s where the roots will likely form. If you have any very large leaves at the top, you can even snip them in half to reduce water loss.
- Apply Rooting Hormone (Optional): Dip the cut end of the stem into a small amount of rooting hormone powder or gel. Tap off any excess.
- Plant Your Cuttings: Fill your small pots or trays with your well-draining mix. Make a small hole in the center with a pencil or your finger. Gently insert the cutting, ensuring the leaf nodes are buried in the soil. Firm the soil gently around the base.
- Water Gently: Water the soil lightly, just enough to settle the mix around the cuttings. You don’t want to drench it.
- Create Humidity: Cover the pots with a clear plastic bag, securing it with a rubber band, or use a propagator lid. This creates a lovely humid microclimate that helps prevent the cuttings from drying out. Place the pots in a bright spot, but out of direct, harsh sunlight.
The “Secret Sauce” (Pro Tips)
Here are a few little tricks I’ve picked up over the years that can really make a difference:
- Don’t Let Those Leaves Touch the Water (if water propagating): Although I’m recommending soil here, if you ever try water propagation, be sure that no leaves are submerged. They’ll just rot and likely take your cutting down with them.
- Bottom Heat is Your Friend: If you have a seedling heat mat, popping your trays on it can significantly speed up root formation. It mimics the warmth of spring soil.
- Patience with the Parent Plant: Don’t be tempted to take too many cuttings from one small plant at once. Give it time to recover and produce more growth.
Aftercare & Troubleshooting
Once your cuttings are planted, keep them in that bright, indirect light. Check the soil moisture regularly – it should always be slightly damp, never waterlogged. Mist the leaves occasionally if the humidity seems to be dropping.
After a few weeks, you should start to see signs of life. Gently tugging on a cutting will reveal resistance if roots have formed. If you see those lovely new leaves unfurling, that’s a great sign! Once they have a good root system and are starting to look more established, you can carefully transplant them into individual pots.
The most common issue you might encounter is rot. This usually happens if the soil is too wet and there’s not enough air circulation. If a cutting looks mushy or develops black spots, it’s best to discard it to prevent it from spreading. Don’t be discouraged if a few don’t make it; it’s all part of the learning process!
A Encouraging Closing
So there you have it! Propagating Helichrysum odoratissimum is a straightforward and incredibly satisfying endeavor. Be patient with your little cuttings, celebrate every new leaf, and soon you’ll have a garden full of that wonderful, silvery fragrance. Happy propagating!
Resource:
https://identify.plantnet.org/k-world-flora/species/Helichrysum%20odoratissimum%20(L.)%20Sweet/data