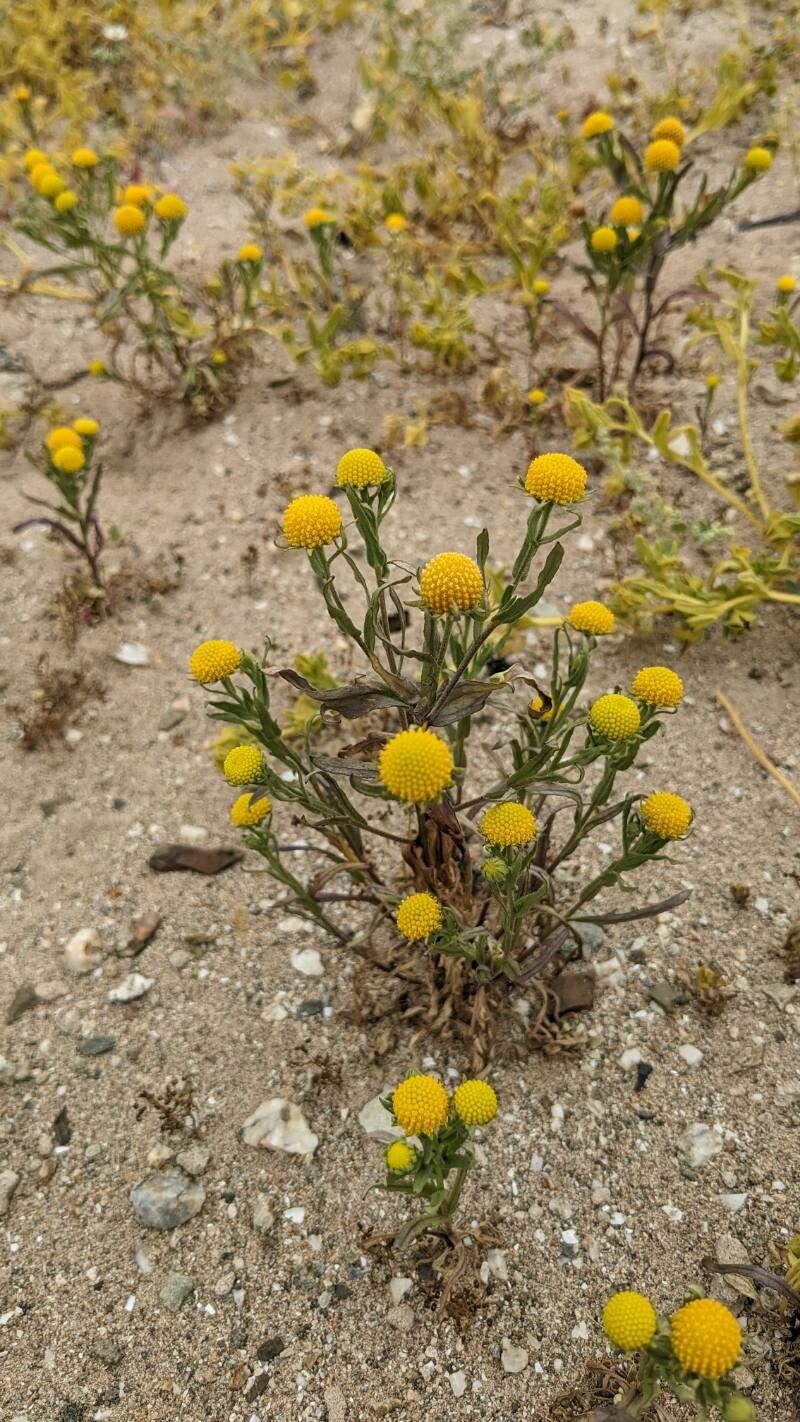
Oh, hello there! Come pull up a chair. Let’s talk about Heleniums, specifically Helenium atacamense. If you haven’t met this one, you’re in for a treat. Its bright, cheerful daisy-like flowers are simply a joy, and they bloom with such enthusiasm, especially the native Andean varieties like atacamense. There’s something wonderfully satisfying about taking a plant that brings you so much delight and nurturing new life from it. It’s a fantastic way to fill your garden, share with friends, or just marvel at the magic of growth. Now, I wouldn’t exactly call Helenium atacamense a beginner’s plant for propagation, but with a little patience and these tips, you’ll find it quite manageable.
The Best Time to Start
For Heleniums, especially atacamense, late spring to early summer is usually your golden window. Think about when the plant is actively growing after its initial spring burst, but before it gets too hot and stressed. The young, tender shoots are most receptive to rooting. You can also divide established clumps in early spring as soon as the soil is workable, which is another excellent propagation opportunity.
Supplies You’ll Need
Gathering your tools beforehand makes the whole process so much smoother. Here’s what I like to have on hand:
- Sharp pruning shears or a clean knife: For taking cuttings and dividing. Make sure they’re sterile!
- Potting mix: A light, well-draining mix is key. I often use a blend of equal parts potting soil, perlite, and a bit of compost. For stem cuttings, a seed-starting mix works wonders.
- Small pots or seed trays: Clean ones, please! For cuttings, 3-4 inch pots are perfect.
- Rooting hormone (optional but recommended): This can give your cuttings a helpful boost. Look for a powder or gel.
- Watering can with a fine rose: For gentle watering.
- Plastic bags or a propagator lid: To create a humid environment for cuttings.
- Labels and a marker: To keep track of what you’ve planted and when.
- A tray for the pots: To catch excess water.
Propagation Methods
While you can sometimes get Heleniums from seed, division and stem cuttings are generally more reliable and quicker for propagating specific cultivars or ensuring you get the exact same plant.
Division: The ‘Big Chop’ Method
This is my favorite for established Heleniums.
- Dig Them Up: In early spring, as soon as you see new growth emerging, carefully dig up the entire plant using a spade. Try to go all the way around to avoid damaging too many roots.
- Clean Up: Gently shake off excess soil so you can see the root structure more clearly.
- Find Your Divisions: Look for natural breaks in the clump where you can see healthy roots and shoots. You want each section to have a good portion of roots and at least a few healthy buds or stems.
- Divide with Care: You can often pull the sections apart with your hands. For tougher clumps, use your sharp knife or spade to cut through any tangled roots. Ensure each division has roots and at least one eye or shoot.
- Replant Immediately: Get your divisions back into the ground or into pots filled with good soil without delay. Water them in well.
Stem Cuttings: The ‘Baby Plant’ Approach
This method is excellent for increasing your stock or when you want to start with young, vigorous plants.
- Select Your Stems: In late spring or early summer, choose healthy, non-flowering stems that are about 4-6 inches long. Look for stems that are semi-hardwood – they should be firm but not woody. I often take them from the sides of the plant, leaving the main stems to flower.
- Make the Cut: Using your clean shears, make a cut just below a leaf node (where a leaf attaches to the stem). This is where roots are most likely to form.
- Prepare the Cuttings: Carefully remove the lower leaves, leaving only the top two or three. This prevents them from rotting in the soil. If you’re using rooting hormone, dip the cut end into it now.
- Pot Them Up: Fill small pots with your well-draining potting mix (or seed-starting mix). Make a hole in the center with a pencil or your finger.
- Insert Cuttings: Gently place each cutting into the hole, ensuring the leaf nodes are below the soil surface. Firm the soil gently around the base of the cutting.
- Hydrate and Cover: Water the pots thoroughly until water runs out the bottom. Then, place the pots into a plastic bag or cover them with a propagator lid to maintain high humidity. Prop the bag open slightly or ensure there are some air holes to prevent mold.
The “Secret Sauce” (Pro Tips)
Here are a couple of things I’ve learned over the years that really help boost success:
- Think “Fresh Green”: For stem cuttings, always aim for the newest, most vigorous growth. Older, woody stems are much less likely to root. If you accidentally take a stem with a flower bud, pinch it off. The plant needs to focus its energy on making roots, not flowers.
- Bottom Heat is Your Friend (for cuttings): While not strictly essential, placing your pots of cuttings on a heat mat can significantly speed up root development. It mimics the warmth of spring soil and encourages those roots to form more quickly. Just make sure the heat isn’t too intense – you don’t want to cook your cuttings!
- Don’t Let Leaves Touch the Water (if you’re experimenting with water propagation): Heleniums aren’t the easiest to root in plain water, but if you try, make sure the leaves are above the waterline. Rotting leaves will quickly foul the water and kill your cutting. But honestly, for Heleniums, I strongly recommend soil.
Aftercare & Troubleshooting
Once you see signs of life – new leaf growth on cuttings or vigorous shoots on divisions – you’re on the right track!
- For Divisions: Continue to water them regularly, especially during dry spells. They might look a bit droopy for a few days as they settle in, but with consistent moisture and sun, they should perk up.
- For Cuttings: Slowly acclimate your cuttings to open air over a week or two by gradually lifting the lid or opening the bag for longer periods. Once they feel firmly rooted (give a gentle tug, and there’s resistance), you can transplant them into larger pots or their final garden spots. Keep watering them consistently.
Now, what if things go wrong? The most common issue is rot. This usually happens when cuttings are kept too wet, lack drainage, or don’t have enough air circulation. If a cutting turns black and mushy, it’s unfortunately a goner. Don’t be discouraged! Just pull it out, clean your pot, and try again, adjusting your watering or humidity levels. If your divisions are wilting and not recovering, check their water status and ensure they’re in good soil.
A Encouraging Closing
Propagating Helenium atacamense, like many gardening endeavors, is a journey of patience and observation. Don’t be afraid to experiment! Each plant, each season, and each gardener has a slightly different rhythm. Enjoy the process of nurturing these cheerful blooms, and relish the satisfaction of knowing you helped them flourish. Happy gardening!
Resource:
https://identify.plantnet.org/k-world-flora/species/Helenium%20atacamense%20Cabrera/data