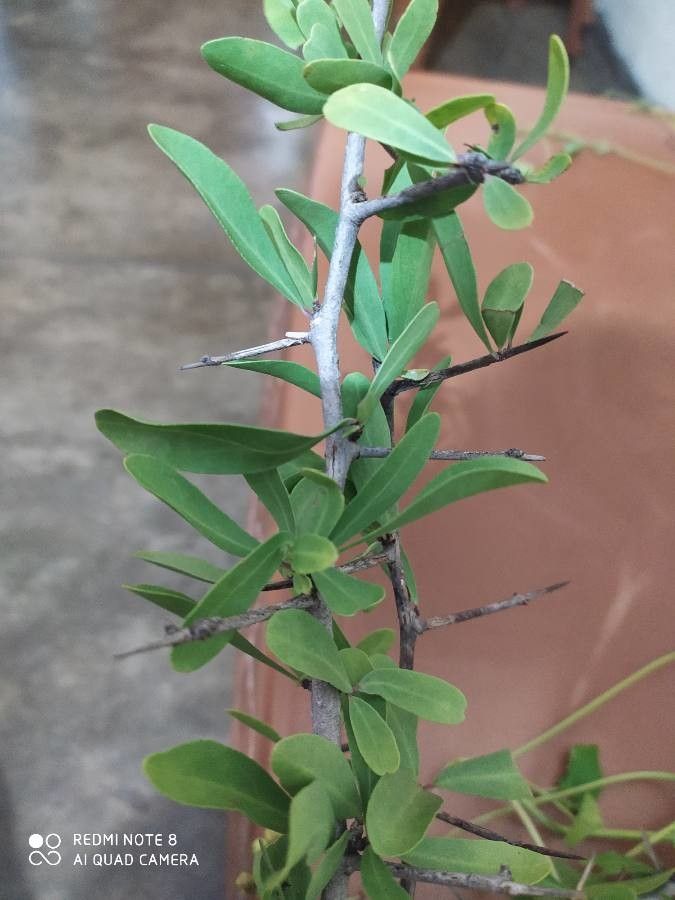
Hey there, fellow plant lovers! It’s so nice to virtually pull up a chair and chat about one of my favorite little treasures: Gymnosporia emarginata. You might know it by its common name, the Natal Holly, or just love it for its glossy, evergreen leaves and the delicate white flowers it dangles in warmer months. I find its compact, shrubby habit and the promise of a little garden success truly delightful.
If you’re new to the plant propagation dance, I’d say Gymnosporia emarginata is a moderately easy plant to get started with. It’s not quite as foolproof as some of the super-vigorous growers, but with a little patience and a few key steps, you’ll be rewarded with your own little Holly clones.
The Best Time to Start
For the absolute best chance of success with Gymnosporia emarginata, I always reach for my secateurs when the plant is in an active growth phase. Think late spring through early summer, after the flush of new growth has hardened off just a touch. This means the stems are still flexible enough to root, but they’ve developed enough to have some reserves. Avoid propagating from old, woody stems or during the plant’s dormant period.
Supplies You’ll Need
Gathering your supplies beforehand makes the whole process so much smoother! Here’s what I always have on hand:
- Sharp, clean pruning shears or a sharp knife: Essential for making clean cuts that heal well.
- Rooting hormone powder or gel: A little boost can significantly improve success rates.
- A good, well-draining potting mix: I like to use a blend of equal parts peat moss or coco coir, perlite, and coarse sand. This ensures good aeration and prevents waterlogging.
- Small pots or seed trays: Cleanliness is key here!
- A plastic bag or propagation dome: To create a humid environment for your cuttings.
- Water: For misting and keeping things hydrated.
- (Optional, but highly recommended) A heat mat: Bottom warmth can really speed up root development.
Propagation Methods
I’ve had the most luck with stem cuttings for Gymnosporia emarginata. It’s straightforward and rewarding.
- Take Your Cuttings: Select healthy, non-flowering shoots from your mature plant. Aim for pieces that are about 4-6 inches long. Make your cut just below a leaf node. A leaf node is where a leaf attaches to the stem – root hormones and new roots prefer to form here.
- Prepare the Cuttings: Gently strip off the lower leaves, leaving just 2-3 leaves at the very top. This reduces water loss through transpiration. You can even clip the remaining leaves in half if they’re very large.
- Apply Rooting Hormone: Dip the cut end of each stem into your rooting hormone. Tap off any excess – you don’t need a thick coating.
- Plant Your Cuttings: Fill your pots with your prepared potting mix and moisten it thoroughly. Make a small hole in the center of the soil with a pencil or your finger. Insert the calloused end of the cutting into the hole, and gently firm the soil around it.
- Create Humidity: Water your cuttings in gently. Then, cover the pots with a clear plastic bag, securing it around the rim of the pot with a rubber band, or place them under a propagation dome. This traps moisture and creates a mini-greenhouse effect.
The “Secret Sauce” (Pro Tips)
Here are a couple of things I’ve learned over the years that really make a difference:
- Don’t let the leaves touch the water droplet inside the bag! If you’re using a plastic bag, try to prop it up a bit so the leaves don’t rest against any condensation. This helps prevent fungal issues.
- Bottom heat is your best friend. Placing your pots on a heat mat set to around 70-75°F (21-24°C) can dramatically speed up the rooting process. It mimics the warmth of spring soil and gives those nascent roots a real push.
- Be patient with the leaves. If you see a leaf or two start to yellow and drop, don’t panic! It’s often just the plant shedding older foliage as it focuses energy on root development. As long as you have a few healthy leaves remaining, there’s still hope.
Aftercare & Troubleshooting
Once your cuttings have been potted up, place them in a bright spot out of direct sunlight. Misting the foliage and the inside of the plastic bag daily will help maintain humidity.
You’ll know your cuttings have rooted when you see new leaf growth or gently tug on the stem and feel a slight resistance. This usually takes anywhere from 4 to 8 weeks, sometimes longer.
The most common issue you’ll encounter is rot. Signs of this include mushy, brown stems, or leaves that quickly turn black and shrivel. This is usually caused by too much moisture and not enough airflow. If you see rot, sadly, you’ll probably need to discard that cutting. It’s a good reminder to ensure that excellent drainage and not overwatering is key!
Happy Propagating!
And there you have it! Propagating Gymnosporia emarginata is a wonderful way to increase your collection or share these lovely plants with friends. Remember to be patient, observe your cuttings closely, and don’t be discouraged if not every single one takes. That’s just part of the gardening adventure! Enjoy the process, and I hope you have a whole new batch of Natal Hollies to admire soon.
Resource: