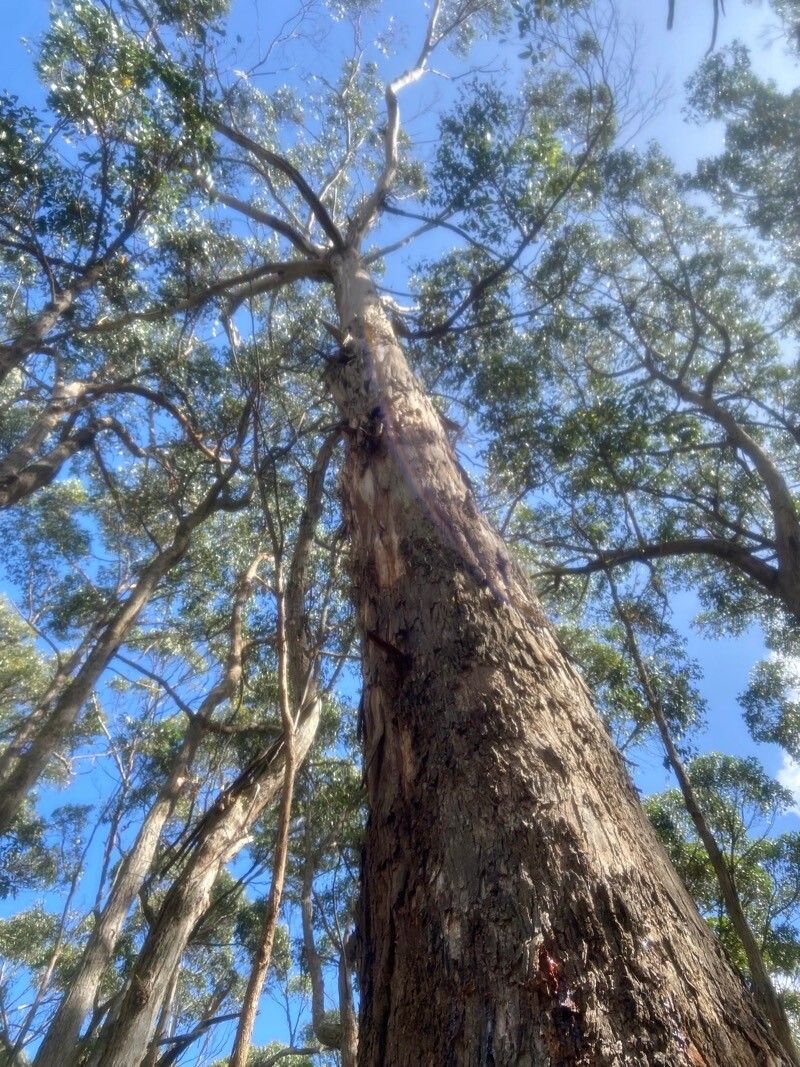
Oh, Eucalyptus brookeriana! What a treat for the senses. If you’ve ever admired its lovely, often silvery-blue foliage and the delightful fragrance that fills the air when you brush past it, you’re not alone. Bringing this Australian native into your own garden or simply multiplying your existing beauties is incredibly satisfying. I’ve been nurturing plants for two decades, and there’s always a special joy in coaxing new life from a parent plant, especially something as graceful as Brooker’s Gum. Now, is it a walk in the park? For absolute beginners, it can be a touch tricky, but with a little care and attention, you’ll be a pro in no time.
The Best Time to Start
For Eucalyptus brookeriana, the sweet spot for propagation is generally the late spring through early summer. This is when the plant is actively growing, producing lovely new shoots. You want to be taking cuttings from semi-hardwood. That means the stems are neither brand new and flimsy nor old and woody. They should be somewhat firm, bending just a little without snapping easily. Think of a nice, green pencil – that’s about the right stage.
Supplies You’ll Need
Here’s what you’ll want to have on hand to give your cuttings the best chance:
- Sharp, clean pruning shears or a sharp knife: Essential for making clean cuts that heal well.
- Rooting hormone powder or gel: This isn’t always strictly necessary, but it can give your cuttings a significant boost.
- Potting mix: A well-draining mix is key. I like to use a seed starting mix blended with some perlite or coarse sand. A ratio of about 2 parts seed mix to 1 part perlite/sand works wonders to prevent waterlogging.
- Small pots or propagation trays: Clean containers are a must to avoid disease. Yogurt pots with drainage holes poked in will even do in a pinch!
- Plastic bags or a propagation dome: To create a humid environment for your cuttings.
- Labels and a permanent marker: So you know what you planted and when.
- A tray or shallow dish: For watering from the bottom.
Propagation Methods
We’ll focus on the most reliable method for Eucalyptus brookeriana, which is stem cuttings.
- Select Your Cuttings: Early in the morning, when the plant is hydrated, head out to your Brooker’s Gum. Look for healthy, non-flowering shoots that are about 4-6 inches long.
- Make Your Cut: Using your sharp, clean shears, make a cut just below a leaf node (where a leaf attaches to the stem). A clean cut prevents disease and encourages root development.
- Prepare the Cutting: Gently remove the lower leaves from the cutting, leaving just a few at the top. This prevents them from rotting in the soil. If your leaves are particularly large, you can even cut them in half to reduce water loss.
- Apply Rooting Hormone: Dip the cut end of the stem into your rooting hormone powder or gel. You only need a thin coating. Tap off any excess.
- Plant Your Cuttings: Fill your pots or trays with your prepared, moistened potting mix. Make a hole in the center with a pencil or your finger, and gently insert the cutting. Firm the soil around it so it stands upright.
- Create Humidity: Water the pots gently from the top to settle the soil. Then, place the pots inside a clear plastic bag or cover them with a propagation dome. Seal it loosely.
- Find a Spot: Place your cuttings in a bright location, but out of direct sunlight. A greenhouse shelf or a windowsill that gets indirect light is perfect.
The “Secret Sauce” (Pro Tips)
- Bottom Heat is Your Friend: Eucalyptus can be a bit slow to root, and applying gentle bottom heat can make a world of difference. A seedling heat mat placed under your propagation tray will significantly speed up root formation by keeping the soil temperature consistently warm.
- Don’t Drown Your Leaves: If you’re using a plastic bag, ensure that no leaves are touching the inside of the bag. This is a prime spot for mildew to develop, which can kill your cutting before it even has a chance to root. You might need to use stakes to prop up the bag a bit.
- Patience with Watering: While you want the soil to be consistently moist, avoid soggy conditions. Overwatering is a common killer. I like to water from the bottom by placing the pots in a shallow tray of water for about 15-20 minutes, allowing the soil to wick up moisture. Let the soil dry out slightly between waterings.
Aftercare & Troubleshooting
Once your cuttings have begun to show signs of life – new growth at the top is the best indicator – it’s time to start acclimating them.
- Gradual Acclimation: Over a week or two, gradually remove the plastic bag or dome for increasing periods each day. This helps the new plant adjust to lower humidity.
- Continued Light Watering: Continue to water from the bottom, ensuring the soil is moist but not waterlogged.
- The Root Check: You can gently tug on a cutting; if you feel resistance, roots have likely formed. Alternatively, you might see roots poking out of the drainage holes.
- Troubleshooting: The most common problem you’ll encounter is rot. This usually happens from overwatering and poor air circulation. If your cutting turns black and limp, it’s likely rotted. Don’t be too disheartened; try again with a fresh cutting and ensure your potting mix drains well and you’re not overwatering. Another sign of trouble is wilting that doesn’t recover. This could be due to too much heat, lack of humidity, or insufficient light.
A Encouraging Closing
Propagating Eucalyptus brookeriana is a journey, and like all good journeys, it requires a little patience and a lot of hope. Don’t be discouraged if your first few attempts aren’t perfect. Every cutting you take, every step you learn, brings you closer to having your own grove of these magnificent trees. So, grab your shears, find those perfect semi-hardwood cuttings, and get planting. You’ve got this, and the reward of nurturing new life is truly unparalleled. Happy gardening!
Resource:
https://identify.plantnet.org/k-world-flora/species/Eucalyptus%20brookeriana%20A.M.Gray/data