Hello my fellow plant enthusiasts! I’m so excited to chat with you today about a truly spectacular plant: the Erythroxylum pulchrum. Its vibrant foliage and delicate blooms are a sight to behold, and the satisfaction of creating more of these beauties yourself? Pure gardening joy! Now, I won’t sugarcoat it; Erythroxylum pulchrum can be a tad particular when it comes to propagation, which makes it a rewarding challenge for those looking to step up their propagation game. It’s not an everyday “stick a cutting in water” kind of plant, but with a little care and attention, you’ll be well on your way to success.
The Best Time to Start
Timing is everything, isn’t it? For Erythroxylum pulchrum, the sweet spot is when the plant is in its active growth phase. Think late spring through summer. This is when the plant is naturally channeling its energy into producing new shoots and leaves, meaning your cuttings will have a much better chance of taking root. Avoid propagating when the plant is stressed, like during a heatwave or right after repotting.
Supplies You’ll Need
Gathering your tools beforehand makes the whole process smoother. Here’s what I usually have on hand:
- Sharp, clean pruning shears or a craft knife: For making clean cuts. Sterilize them with rubbing alcohol!
- Rooting hormone (optional, but recommended): A powder or gel can give your cuttings a helpful boost.
- Well-draining potting mix: A blend of equal parts peat moss or coco coir and perlite or coarse sand works beautifully. You want something airy that won’t keep moisture trapped.
- Small pots or seed trays: With drainage holes, of course.
- A mister or spray bottle: For humidity.
- Clear plastic bags or a propagation dome: To create a mini greenhouse effect.
- A heat mat (optional, but highly beneficial): This provides gentle bottom warmth.
Propagation Methods
I find that stem cuttings are the most reliable method for Erythroxylum pulchrum. Here’s how I do it:
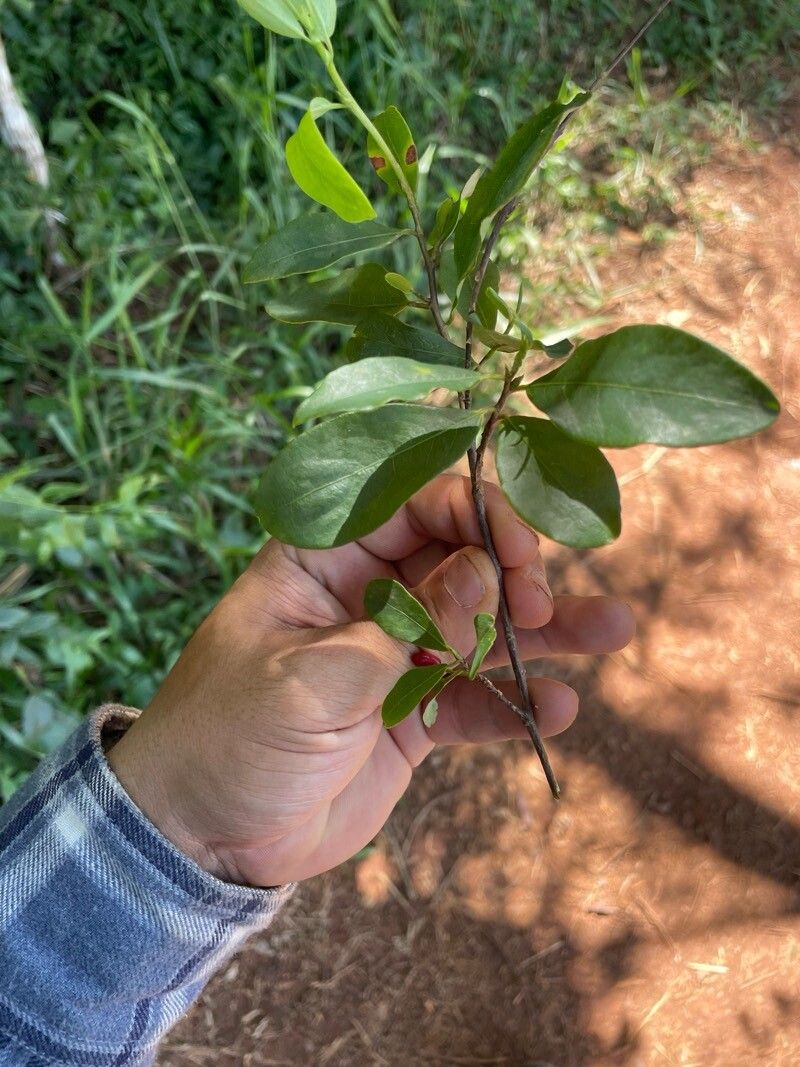
- Select Your Cuttings: Look for healthy, semi-hardwood stems. These are stems that are no longer bright green and soft but haven’t yet turned completely woody and brown. Aim for cuttings that are about 4-6 inches long and have at least two to three sets of leaves.
- Make the Cut: Using your sterilized shears or knife, make a clean cut just below a leaf node (where a leaf attaches to the stem). This is where the magic of root development often happens.
- Prepare the Cuttings: Gently remove the lower leaves from the cutting, leaving just the top one or two sets. This prevents them from rotting when buried in the soil.
- Apply Rooting Hormone (If Using): Dip the cut end of the stem into the rooting hormone, tapping off any excess.
- Plant Your Cuttings: Fill your pots or trays with the well-draining potting mix. Make a small hole with a pencil or your finger and gently insert the cutting. Firm the soil around the base of the cutting to ensure good contact.
- Water Gently: Water the soil thoroughly but avoid waterlogging.
- Create a Humid Environment: Place the pots inside a clear plastic bag or under a propagation dome. Make sure the leaves don’t touch the plastic.
The “Secret Sauce” (Pro Tips)
Here are a few things I’ve learned over the years that can really make a difference:
- Warmth, Warmth, Warmth! Erythroxylum pulchrum absolutely loves a bit of bottom heat. Placing your pots on a heated propagation mat set to a consistent temperature of around 70-75°F (21-24°C) can drastically speed up root formation. If you don’t have a mat, try placing them in a warm spot, like on top of a gently running refrigerator.
- Patience is a Virtue (and a Necessity!): These beauties can be slow to root. Don’t be tempted to pull them up every few days to check for roots! I usually give them a good 6-8 weeks, sometimes even longer, before I start to get anxious. Resist the urge!
- Think Like a Forest Floor: Imagine how happy a plant would be with good airflow and moist, but not soggy, soil. While we want high humidity, occasional ventilation is key to prevent fungal issues. Open the plastic bag for an hour or so each day or every other day.
Aftercare & Troubleshooting
Once you see new growth emerging from your cuttings, that’s a fantastic sign that roots have formed!
- Gradual Acclimation: Begin to gradually acclimate your new plants to normal room humidity. This means slowly opening the plastic bag or propagation dome a little more each day over the course of a week or two.
- Continue to Water: Keep the soil consistently moist but not waterlogged. They are still tender!
- Watch for Rot: The most common sign of failure is rot. If your cutting turns black and mushy at the base, it’s likely succumbed to rot. This often happens from too much moisture and poor air circulation. If you see this, sadly, it’s usually best to discard the affected cutting. You can try to prevent it by ensuring good drainage and providing that vital airflow we talked about.
So there you have it! Propagating Erythroxylum pulchrum is a journey. It requires a bit of patience and a watchful eye, but the reward of nurturing a new life from a simple cutting is truly special. Don’t be discouraged if your first attempt isn’t perfect. Every gardener learns from their experiences. Happy propagating, and may your new Erythroxylum pulchrum‘s flourish!
Resource:
https://identify.plantnet.org/k-world-flora/species/Erythroxylum%20pulchrum%20A.St.-Hil./data