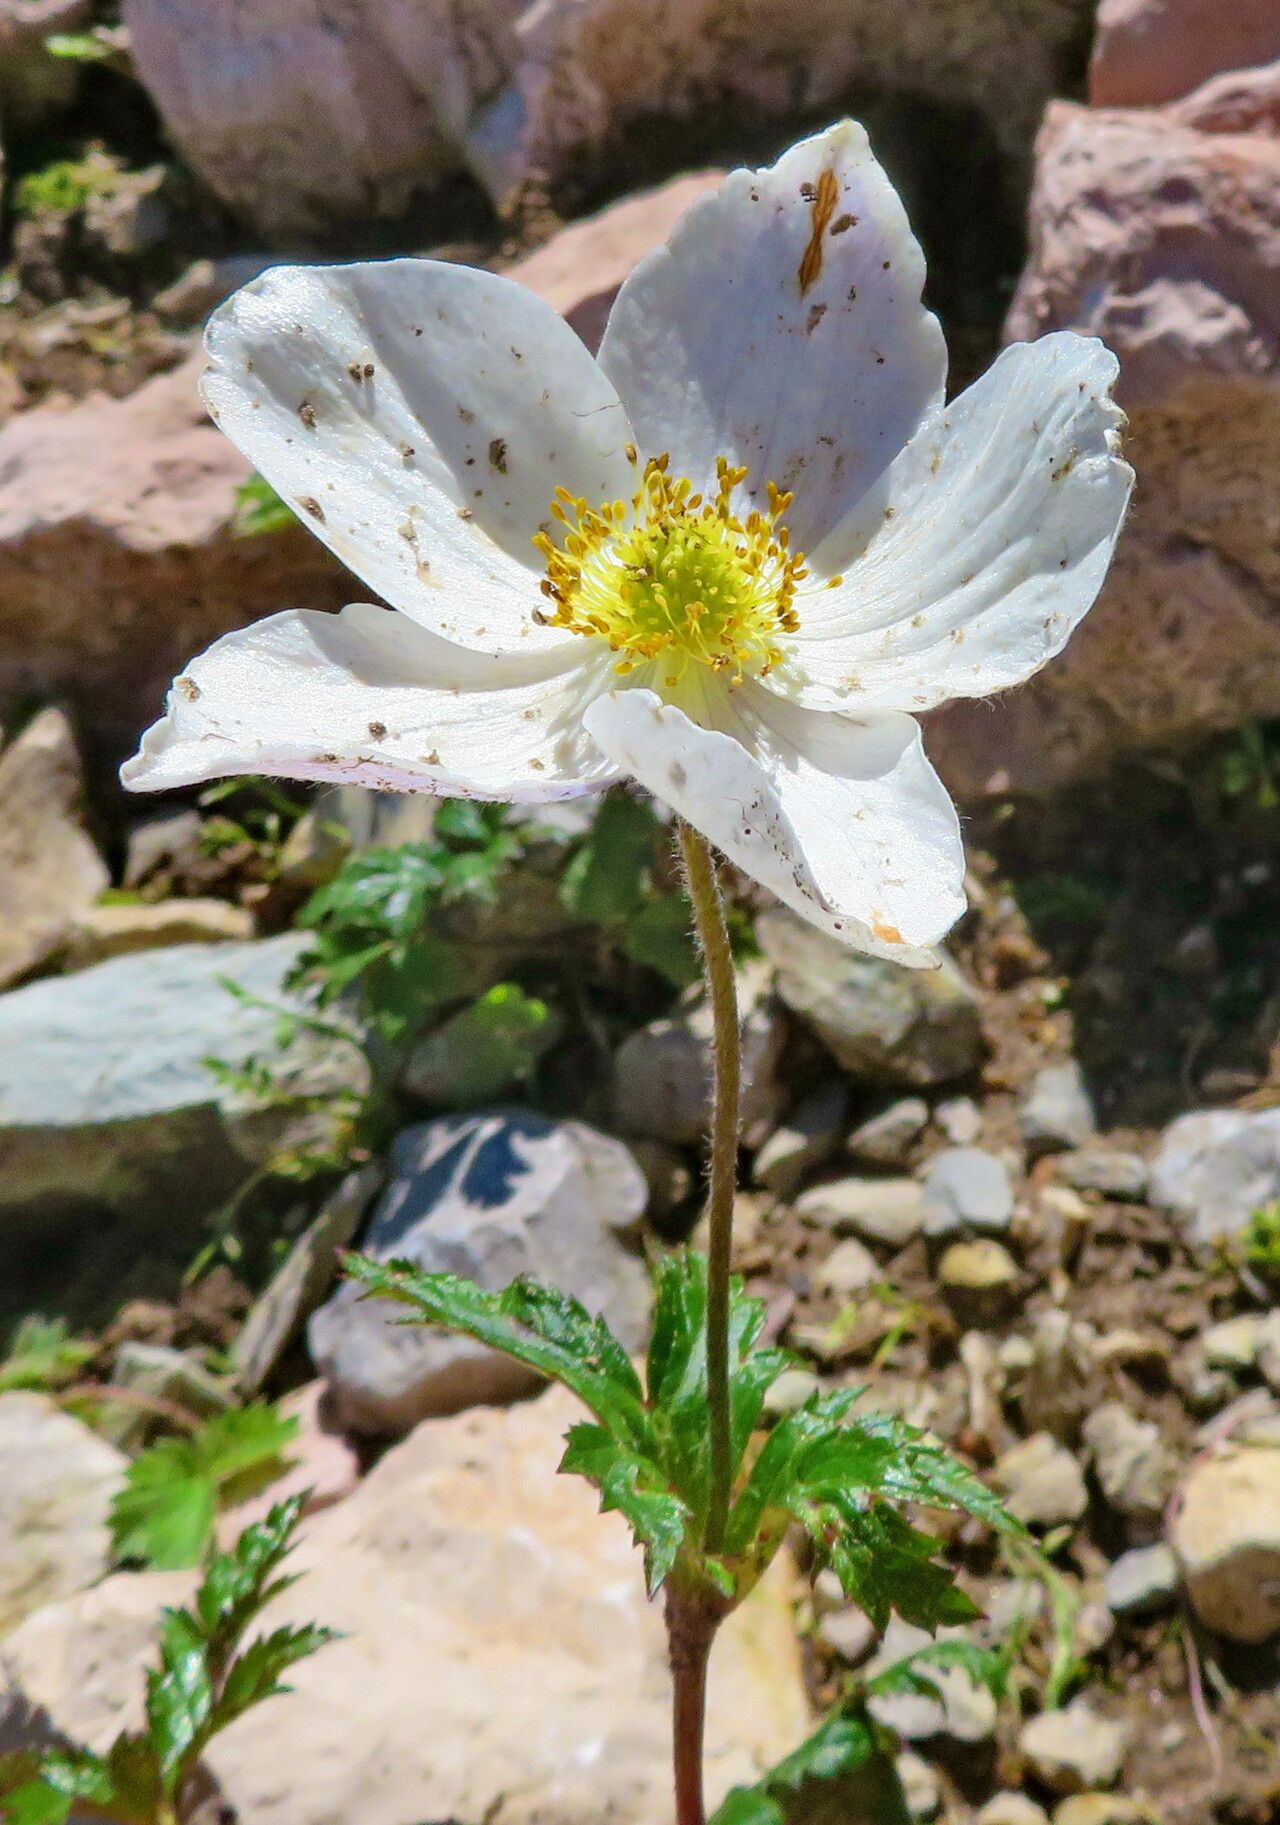
Hey there, fellow garden enthusiasts! It’s me, your friendly neighborhood plant lover, back with another way to fill your garden with beautiful blooms. Today, we’re diving into the wonderful world of Eriocapitella rupicola, sometimes known as Japanese anemones. If you’ve ever seen these elegant, delicate-looking flowers gracing a garden, you know their charm. They have this almost ethereal quality, nodding their heads in the breeze with such grace.
Propagating them is a truly rewarding endeavor. It’s like creating little pieces of your garden to share, or to fill in those bare spots you’ve been meaning to address. And the good news? While they can be a little particular, I’ve found that with a few key steps, getting new plants from your existing ones is totally achievable, even for those of you just starting out. Let’s get our hands dirty!
The Best Time to Start
For Eriocapitella rupicola, I find the absolute best time to propagate is in late spring or early summer. This is when the plant is actively growing but before it puts all its energy into flowering. You want to catch it in that vigorous vegetative phase. Waiting until after they’ve finished blooming in the fall can also work, but you might have slightly less energy reserves in the cuttings then. Spring it is, for the best bang for your buck!
Supplies You’ll Need
Here’s a little kit to have ready. Nothing too fancy, just the essentials:
- Sharp Pruning Shears or a Clean Knife: For making clean cuts.
- A Well-Draining Potting Mix: I love mixing equal parts perlite and peat moss or kokodama for this. It keeps things airy.
- Small Pots or Seed Trays: Clean ones are crucial to prevent disease.
- Rooting Hormone (Optional but Recommended): A powder or gel can really help kickstart root development.
- Watering Can with a Fine Rose: Gentle watering is key.
- Plastic Bags or a Mini Greenhouse: To keep humidity up.
- Labels: So you don’t forget what you’ve planted where!
Propagation Methods
I’ve had success with a couple of methods for Eriocapitella rupicola, but the one that usually gives me the most reliable results is stem cuttings.
Taking Stem Cuttings
- Find Healthy Stems: Look for stems that are not flowering or just starting to bud. They should be firm and green, not woody.
- Make Your Cut: Using your clean shears or knife, make a cut just below a leaf node. This is where the plant naturally wants to sprout new roots. Aim for cuttings that are about 4-6 inches long.
- Prepare the Cutting: Gently remove the lower leaves. You only want to leave one or two sets at the very top. This prevents them from rotting in the soil or water.
- Apply Rooting Hormone (Optional): Dip the cut end into your rooting hormone. Tap off any excess.
- Plant Your Cuttings: Fill your small pots with your prepared potting mix. Make a small hole with your finger or a pencil.
- Insert and Firm: Gently place the cutting into the hole and lightly firm the soil around it.
- Water Gently: Give them a good, but not flooding, watering. You want the soil to be consistently moist, not soggy.
- Create a Humid Environment: Cover the pot with a plastic bag, being careful it doesn’t touch the leaves, or place it in a small greenhouse. This creates that perfect humid microclimate.
- Find a Spot: Place the pots in a location that receives bright, indirect light. Avoid direct sun, as it can scorch the delicate cuttings.
Division (For the Ambitious Gardener)
If you have a larger, established clump of Eriocapitella rupicola, you can also try division.
- Dig Carefully: In late spring or early summer, carefully dig up the entire clump. Try to disturb the roots as little as possible.
- Separate the Roots: Gently tease apart the root ball. Look for sections that have their own healthy roots and shoots. You can often use your hands for this. If it’s stubborn, a clean trowel can help.
- Replant Immediately: Plant the divided sections as you would your original plant, in well-prepared soil. Water them in well.
The “Secret Sauce” (Pro Tips)
Here are a couple of things I’ve learned over the years that make a real difference:
- Bottom Heat is Your Friend: For stem cuttings, placing your pots on a heat mat can significantly speed up root formation. It mimics that nice warm spring soil and gives the roots a serious nudge.
- Don’t Over-Water, But Keep it Consistent: This is a tough balance! The goal is consistently moist, not waterlogged. If the soil dries out completely, your cuttings will likely perish. If it’s too wet, rot is your enemy. I often check by gently pressing the soil with my finger. If it feels dry an inch down, it’s time for a little drink.
- Air Circulation is Key (Once Rooted): While humidity is vital for rooting, once you see signs of new growth (tiny leaves emerging), it’s a good idea to gradually introduce more air circulation by opening the bags or vents a little more each day. This helps prevent fungal issues.
Aftercare & Troubleshooting
Once you start seeing tiny new leaves emerging from your cuttings, that’s a fantastic sign that roots have formed!
- Gradual Acclimation: Slowly remove the plastic bag or open the greenhouse vents over a few days. This helps the new plants adjust to normal room or garden humidity.
- First Potting Up: When the new plants have a few sets of true leaves and are looking robust, you can pot them up into slightly larger containers with your regular potting soil.
- Watering: Continue to water them regularly, allowing the top inch of soil to dry out between waterings.
- Patience with Transplanting: Hold off on planting them directly into their final garden spot until they are well-established and the risk of frost has passed.
Now, what if things go wrong? The most common issue you’ll run into is rot. If your cuttings turn mushy and black, or develop mold, it’s usually a sign of too much moisture and not enough air circulation. In this case, it’s often best to discard the affected cuttings to prevent the rot from spreading. Don’t get discouraged! For every cutting that doesn’t make it, another will thrive.
Happy Rooting!
So there you have it – your guide to bringing more of those enchanting Eriocapitella rupicola beauties into your world. It might take a little patience, a keen eye, and maybe a bit of trial and error, but the joy of nurturing a new plant from a tiny cutting is simply unmatched. Go ahead, grab your shears, and get started. Your garden will thank you for it!
Resource: