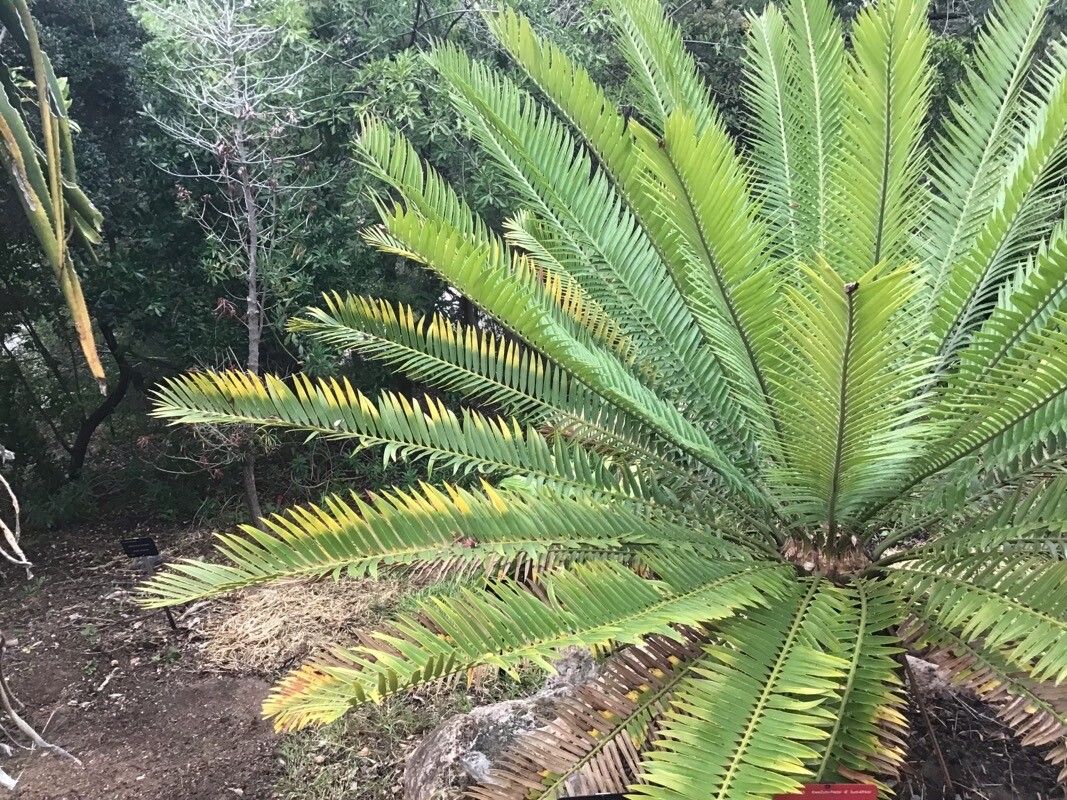
Hello there, fellow plant lovers! Today, we’re diving into the fascinating world of Encephalartos aemulans. If you’ve ever seen this magnificent cycad gracing a garden, you know its appeal. Those majestic, deeply serrated leaves reaching skyward are simply breathtaking. Propagating them, while it might sound a bit daunting, is incredibly rewarding. You get a whole new plant to admire, or perhaps to share with a fellow enthusiast. Now, for the honest truth: Encephalartos aemulans isn’t exactly a beginner’s cake-walk in the propagation department. It takes a little patience and the right approach, but with this guide, you’ll be well on your way!
When to Give Them a Gently Nudge
The best time to start propagating your Encephalartos aemulans is during its active growth phase. Think late spring into summer. This is when the plant is full of energy, and any new bits you work with have the best chance of taking hold and developing roots. You’ll often find the ideal candidates for propagation are pups that have naturally emerged at the base of a mature plant.
Your Propagation Toolkit
Here’s what you’ll want to have on hand before you begin:
- Sharp, sterile pruning shears or a clean utility knife: Essential for making clean cuts.
- Rooting hormone (optional, but recommended): A good quality powder or gel can give your cuttings a boost.
- Well-draining potting mix: Think a blend of coarse sand, perlite, and a bit of peat or coco coir. Our goal is to avoid soggy feet at all costs!
- Small pots or propagation trays: For housing your new babies.
- Clear plastic bags or a propagation dome: To create a humid environment.
- Watering can with a fine rose or a spray bottle: For gentle watering.
- A warm spot: Think a bright location that receives indirect sunlight.
Bringing Your Encephalartos aemulans to Life: Division is Key
For Encephalartos aemulans, the most successful method for propagation is division of readily available pups. These are the offsets that naturally grow at the base of the mother plant.
- Assess the Mother Plant: Look for healthy, established pups that are at least a few inches in diameter. They should have their own discernible leaves.
- Gently Excavate: Carefully dig around the base of the pup you wish to separate. You want to expose its connection to the mother plant. Use your hands or a small trowel.
- Make the Cut: With your sharp, sterile tool, carefully sever the pup from the mother plant. Try to ensure the pup has some of its own root system attached if possible. If not, don’t despair, it can still root!
- Allow to Callus: This is a crucial step! Place the separated pup in a dry, shaded, and well-ventilated spot for several days to a week. This “callusing” process allows the cut surface to dry out and form a protective layer, which helps prevent rot. It’s like giving the plant a little scab to heal over.
- Potting Up: Once callused, you can pot your pup. Use your well-draining mix in a small pot. You want the pot to be just large enough for the pup and its roots without being too big.
- Planting Depth: Plant the pup so that the base is sitting just at the soil line, or slightly above. You don’t want to bury it too deeply, as this can encourage rot.
- Initial Watering & Humidity: Water very sparingly at first. You want the soil to be barely moist. Then, cover the pot with a clear plastic bag or place it under a propagation dome to maintain high humidity.
- Patience is a Virtue: Place the pot in a warm, bright location with indirect sunlight. Now, you wait. It can take months for a pup to establish itself and show signs of new growth.
My “Secret Sauce” for Success
Over the years, I’ve learned a few tricks that make a world of difference:
- The “Air Layering” Trick (for larger pups): If a pup is really well-developed but still attached, sometimes I’ll gently loosen its soil a bit and pack some damp sphagnum moss around its base, wrapping it in plastic. This encourages a root system to form before separating. You can then cut it off and plant it, and it’s usually much happier.
- Don’t Overwater, Ever! This is the golden rule for cycads. They absolutely despise wet feet. It’s far better to underwater a new cutting than to overwater it. I usually wait until the soil feels almost dry before giving it a tiny drink.
- Bottom Heat is Your Friend: A gentle, consistent warmth from below can significantly speed up root development. A seedling heat mat placed under your propagation tray creates the perfect cozy environment for those roots to get going.
Nurturing Your New Arrival & What to Watch For
Once you start seeing signs of new growth—tiny new leaves emerging—it’s a good sign!
- Gradual Acclimation: Once new growth appears, slowly begin to acclimate your new plant to normal humidity levels. Gradually open the plastic bag or ventilation on your dome over a week or two.
- Watering Routine: Continue to water very moderately. Allow the top inch or so of soil to dry out between waterings.
- Fertilizing: Wait until you see consistent new growth for a few months before considering a very dilute, balanced liquid fertilizer. Cycads aren’t heavy feeders.
The most common sign of failure is rot. If you notice the base of your pup turning mushy, black, or smelling foul, it’s usually a sign of too much moisture. Unfortunately, once rot sets in, it’s very difficult to save. It’s a humbling reminder to always err on the side of dryness.
Propagating Encephalartos aemulans is a journey, not a sprint. There will be moments you question your sanity, but the thrill of seeing a new cycad sprout from your efforts is unmatched. Be patient, observe your plant, and trust the process. Happy propagating!
Resource:
https://identify.plantnet.org/k-world-flora/species/Encephalartos%20aemulans%20Vorster/data