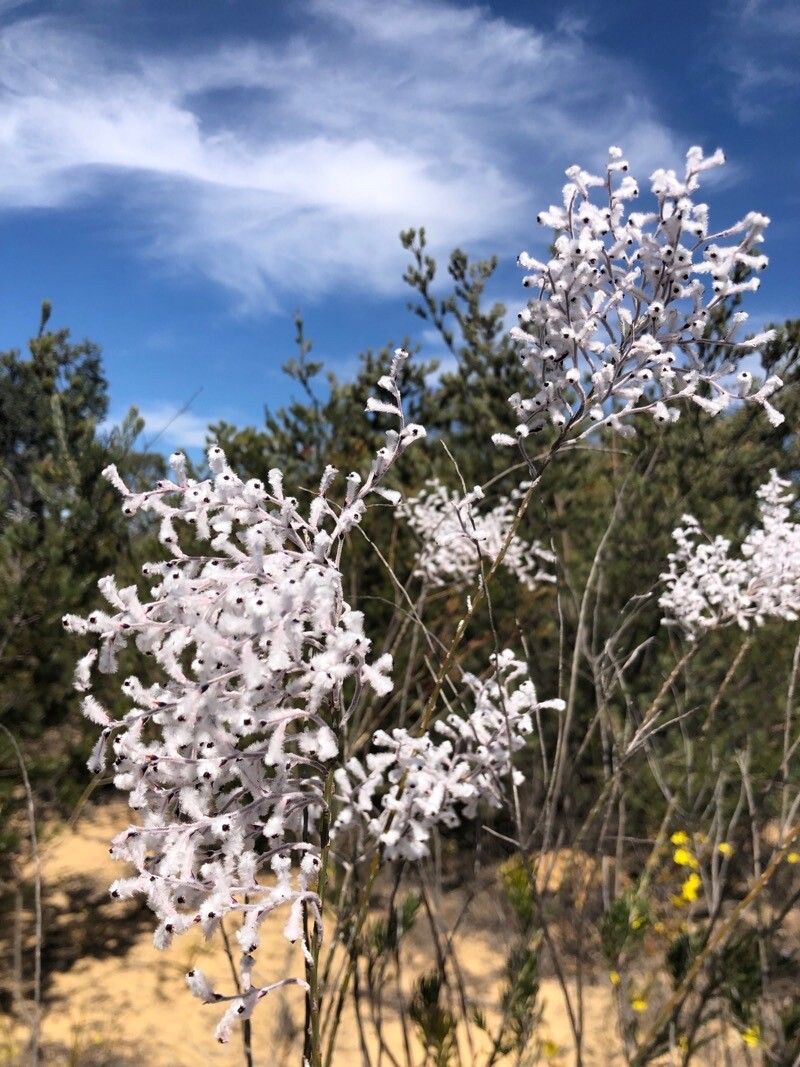
Hello, fellow plant enthusiasts! Today, we’re diving into the delightful world of Conospermum incurvum, often called the “Curly Conospermum” or “Featherbush.” If you’ve ever seen this stunner with its delicate, wispy foliage and charming flower plumes, you know exactly why I’m so excited about it. Propagating these beauties feels like unlocking a little gardening magic, and trust me, it’s a much more rewarding experience than buying yet another pot from the nursery.
Now, I won’t lie to you – Conospermum incurvum can be a tad particular. It’s not the absolute easiest plant for a brand-new beginner, but with a little careful attention and the right approach, you’ll be surprised at how successful you can be. It’s the kind of project that teaches you valuable lessons and makes you feel like a true plant whisperer.
The absolute best time to start propagating Conospermum incurvum is in late spring to early summer. This is when the plant is actively growing and seems most willing to put its energy into creating new roots. You want to take cuttings from healthy, new growth – think soft, pliable stems, not old, woody ones.
Here’s what you’ll want to have ready before you begin:
- Sharp, clean pruning shears or a craft knife: Essential for making clean cuts without damaging the plant.
- Potting mix: A well-draining mix is crucial. I usually use a blend of equal parts perlite and peat moss, or a specialized succulent/cactus mix.
- Rooting hormone (optional but recommended): This powder helps stimulate root growth.
- Small pots or trays: Clean pots are vital to prevent disease.
- Plastic bags or a propagation dome: To create a humid environment, which is key for cuttings.
- Water: For misting and watering.
Let’s get our hands dirty with the most reliable method for Conospermum incurvum: stem cuttings.
- Select your cutting: Find a healthy, non-flowering shoot that’s about 4-6 inches long. Look for a stem with good color and no signs of stress.
- Make the cut: Using your sharp secateurs or knife, make a clean cut just below a leaf node. This is where roots are most likely to form.
- Prepare the cutting: Gently remove the lower leaves, leaving just a few at the top. This prevents them from rotting in the soil.
- Apply rooting hormone (if using): Dip the cut end of the stem into the rooting hormone powder, tapping off any excess.
- Pot it up: Fill your small pot with your well-draining potting mix. Make a small hole with your finger or a pencil and gently insert the cutting. Firm the soil around the base to ensure good contact.
- Water lightly: Water gently to settle the soil.
- Create humidity: Cover the pot with a plastic bag, propped up with sticks so it doesn’t touch the leaves, or place it inside a propagation dome. Pop it in a bright spot, but out of direct sunlight.
Now, for those little pieces of wisdom that make all the difference.
My first “secret sauce” tip? Don’t let those top leaves in the bag touch the sides or soil. They’ll rot in a heartbeat and can take your cutting with them. Also, I’ve found that providing a little warmth from below, like placing the propagation tray on a heat mat set to a low temperature, can significantly speed up root development. Think gentle, consistent warmth.
Once you see signs of new growth – tiny leaves unfurling or a slight tug on the cutting when gently pulled – that’s usually a good indication that roots have formed. This can take anywhere from 4-8 weeks, so patience is your best friend!
When roots are established, you can slowly acclimate your new plant to normal conditions. This means gradually increasing its exposure to air by opening the plastic bag a little more each day. Water from the bottom when the soil feels dry to the touch.
Be on the lookout for signs of rot. This usually looks like mushy, dark stems or leaves. If you see this, it’s often due to overwatering or lack of air circulation. Unfortunately, once rot sets in, it’s hard to recover the cutting.
Growing plants from cuttings is such a rewarding journey. There will be successes, and yes, there will be a few failures along the way – that’s just part of the learning curve! Don’t get discouraged. Take what you’ve learned, adjust your approach, and try again. Enjoy the process of nurturing these little pieces of life, and soon you’ll have your very own collection of Curly Conospermums to admire. Happy growing!
Resource:
https://identify.plantnet.org/k-world-flora/species/Conospermum%20incurvum%20Lindl./data