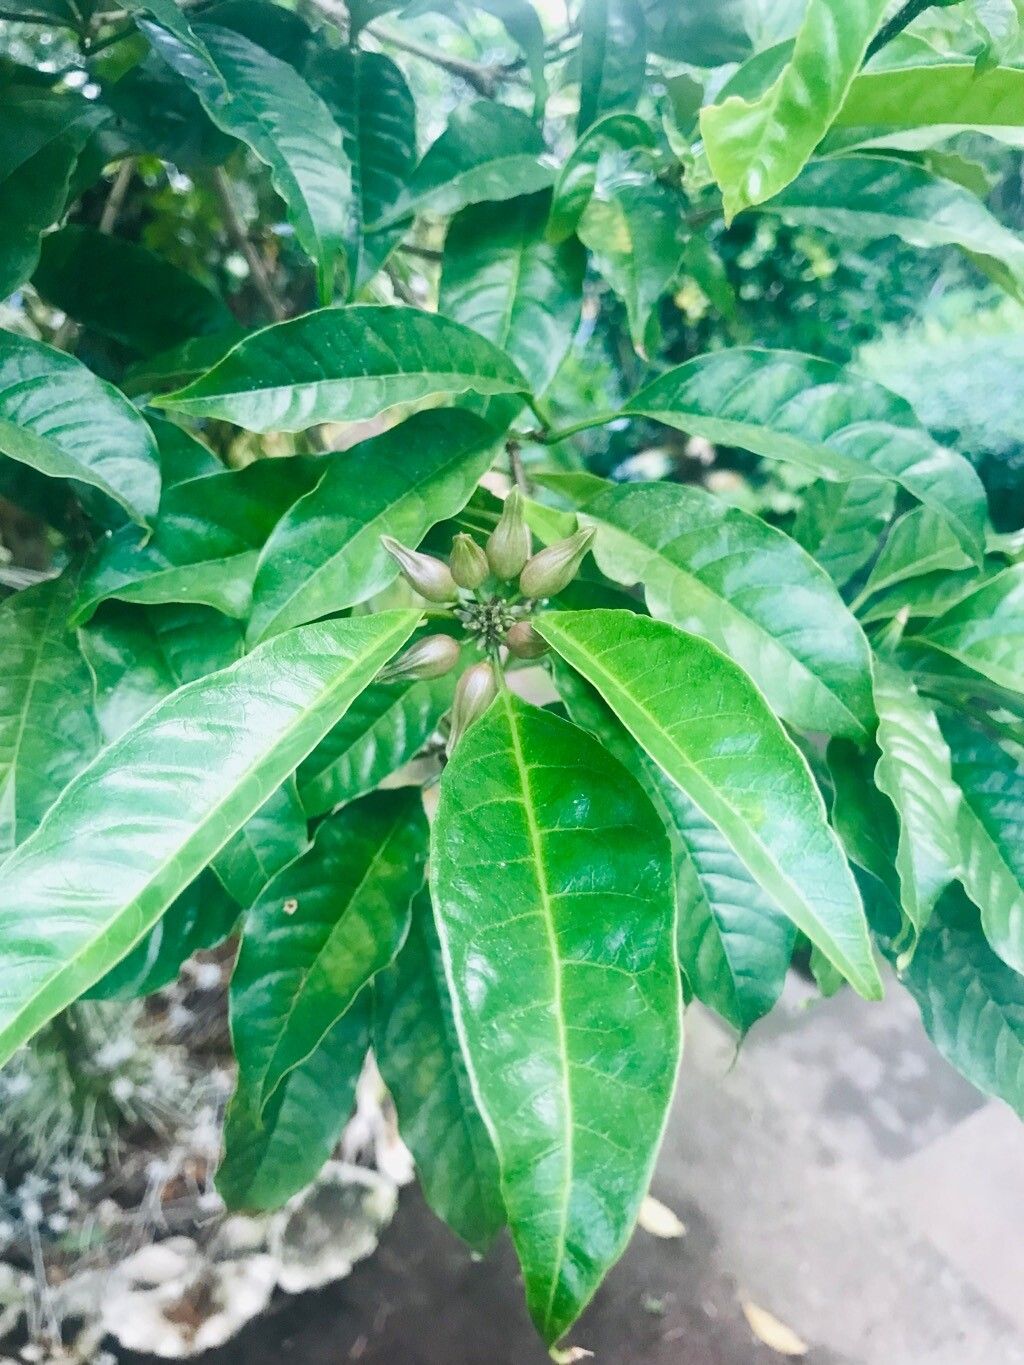
Oh, hello there! Come on in and pull up a chair. I’ve got a fresh pot of coffee brewing, and I’m excited to chat about one of my absolute favorites: Clerodendrum kampthyoae, often called the “Pagoda Flower” or sometimes mistaken for its cousin, Clerodendrum smithianum. Honestly, the way its gorgeous, cascaded flower-spikes unfurl is just breathtaking. If you’ve ever admired one of these beauties, you’ve probably thought about adding more to your garden, or perhaps sharing them with friends. And you know what? Propagating them is incredibly rewarding. It’s a bit of a process, but I wouldn’t say it’s too challenging, even for those just starting to get their hands dirty.
The Best Time to Start
For Clerodendrum kampthyoae, the sweet spot for propagation is when things are really waking up in the garden. Think late spring or early summer. This is when the plant is in active growth, meaning the cuttings will have the best energy reserves to get themselves sorted and putting out roots. Waiting until after your plant has settled into its growing season is key.
Supplies You’ll Need
Gathering your tools beforehand makes the whole process so much smoother. Here’s what I usually have on hand:
- Sharp Pruning Shears or a Clean Knife: Sterilize them with rubbing alcohol to prevent disease.
- Rooting Hormone: This is a great little helper, especially for woodier stems. Look for one with an indole-butyric acid (IBA) base.
- Potting Mix: A light, well-draining mix is crucial. I often use a blend of peat moss or coco coir, perlite, and a bit of coarse sand.
- Small Pots or Propagation Trays: Clean and with drainage holes!
- Clear Plastic Bags or a Propagation Dome: To create that humid environment cuttings love.
- Watering Can with a Fine Rose: For gentle watering.
- Optional: Bottom Heat Mat: This can significantly speed up rooting, especially if your house is on the cooler side.
Propagation Methods
Stem cuttings are my go-to for Clerodendrum kampthyoae. They’re reliable and give you a good chance of success.
Stem Cuttings:
- Take Your Cuttings: On a healthy, actively growing stem, look for sections that are neither too woody nor too soft. Aim for cuttings about 4-6 inches long. Make your cut just below a leaf node (where a leaf attaches to the stem). Remove the lower leaves, leaving just a couple at the top.
- Prepare the Cuttings: Dip the cut end into your rooting hormone. Tap off any excess.
- Plant Your Cuttings: Fill your small pots with your prepared potting mix. Make a small hole in the center of the soil with your finger or a pencil. Insert the cut end of the stem into the hole, then gently firm the soil around it.
- Create a Humid Environment: Water the soil gently until it’s moist but not soggy. Then, cover the pot with a clear plastic bag, or place it under a propagation dome. You want to create a mini greenhouse effect.
- Find a Good Spot: Place the pots in a bright spot with indirect light. Avoid direct sun, which can scorch the delicate cuttings. If you’re using a bottom heat mat, now’s the time to turn it on.
The “Secret Sauce” (Pro Tips)
Here’s where a little experience really comes in handy:
- Don’t Overcrowd: Give your cuttings a little breathing room. If you pack too many into one pot or tray, they’re more likely to share diseases or suffer from poor air circulation. A few well-spaced cuttings are better than a pot full of struggling ones.
- The “Snap” Test is Your Friend: When you think your cutting might have rooted, give it a very gentle tug. If you feel resistance, it’s a good sign roots are forming! If it pulls out easily, it likely hasn’t rooted yet.
- Bottom Heat is a Game Changer: If you can swing it, a bottom heat mat truly makes a world of difference. It encourages root development from below, giving your cuttings a real head start and boosting your success rate significantly.
Aftercare & Troubleshooting
Once you see new growth, that’s a fantastic sign that roots are developing! Don’t rush to repot, though. Let it establish itself for a few weeks. You can start to gradually acclimate the cuttings by opening the plastic bag for a few hours each day, slowly increasing the time before removing it altogether.
The most common problem you’ll encounter is rot. If you see stems turning black and mushy, or if the leaves yellow and drop without any sign of rooting, it’s usually due to too much moisture and not enough air circulation. This is why a well-draining soil mix and that initial humidity cover are so important. Remove any rotting material immediately to prevent it from spreading. If a cutting rots, don’t despair; just try again with fresh material and adjust your watering.
A Encouraging Closing
Propagating plants is such a wonderful way to connect with nature and expand your garden. Be patient with your Clerodendrum kampthyoae cuttings. Some might take a little longer than others, and that’s perfectly okay. Enjoy the process, learn from each attempt, and soon enough, you’ll have a whole collection to admire! Happy gardening!
Resource: