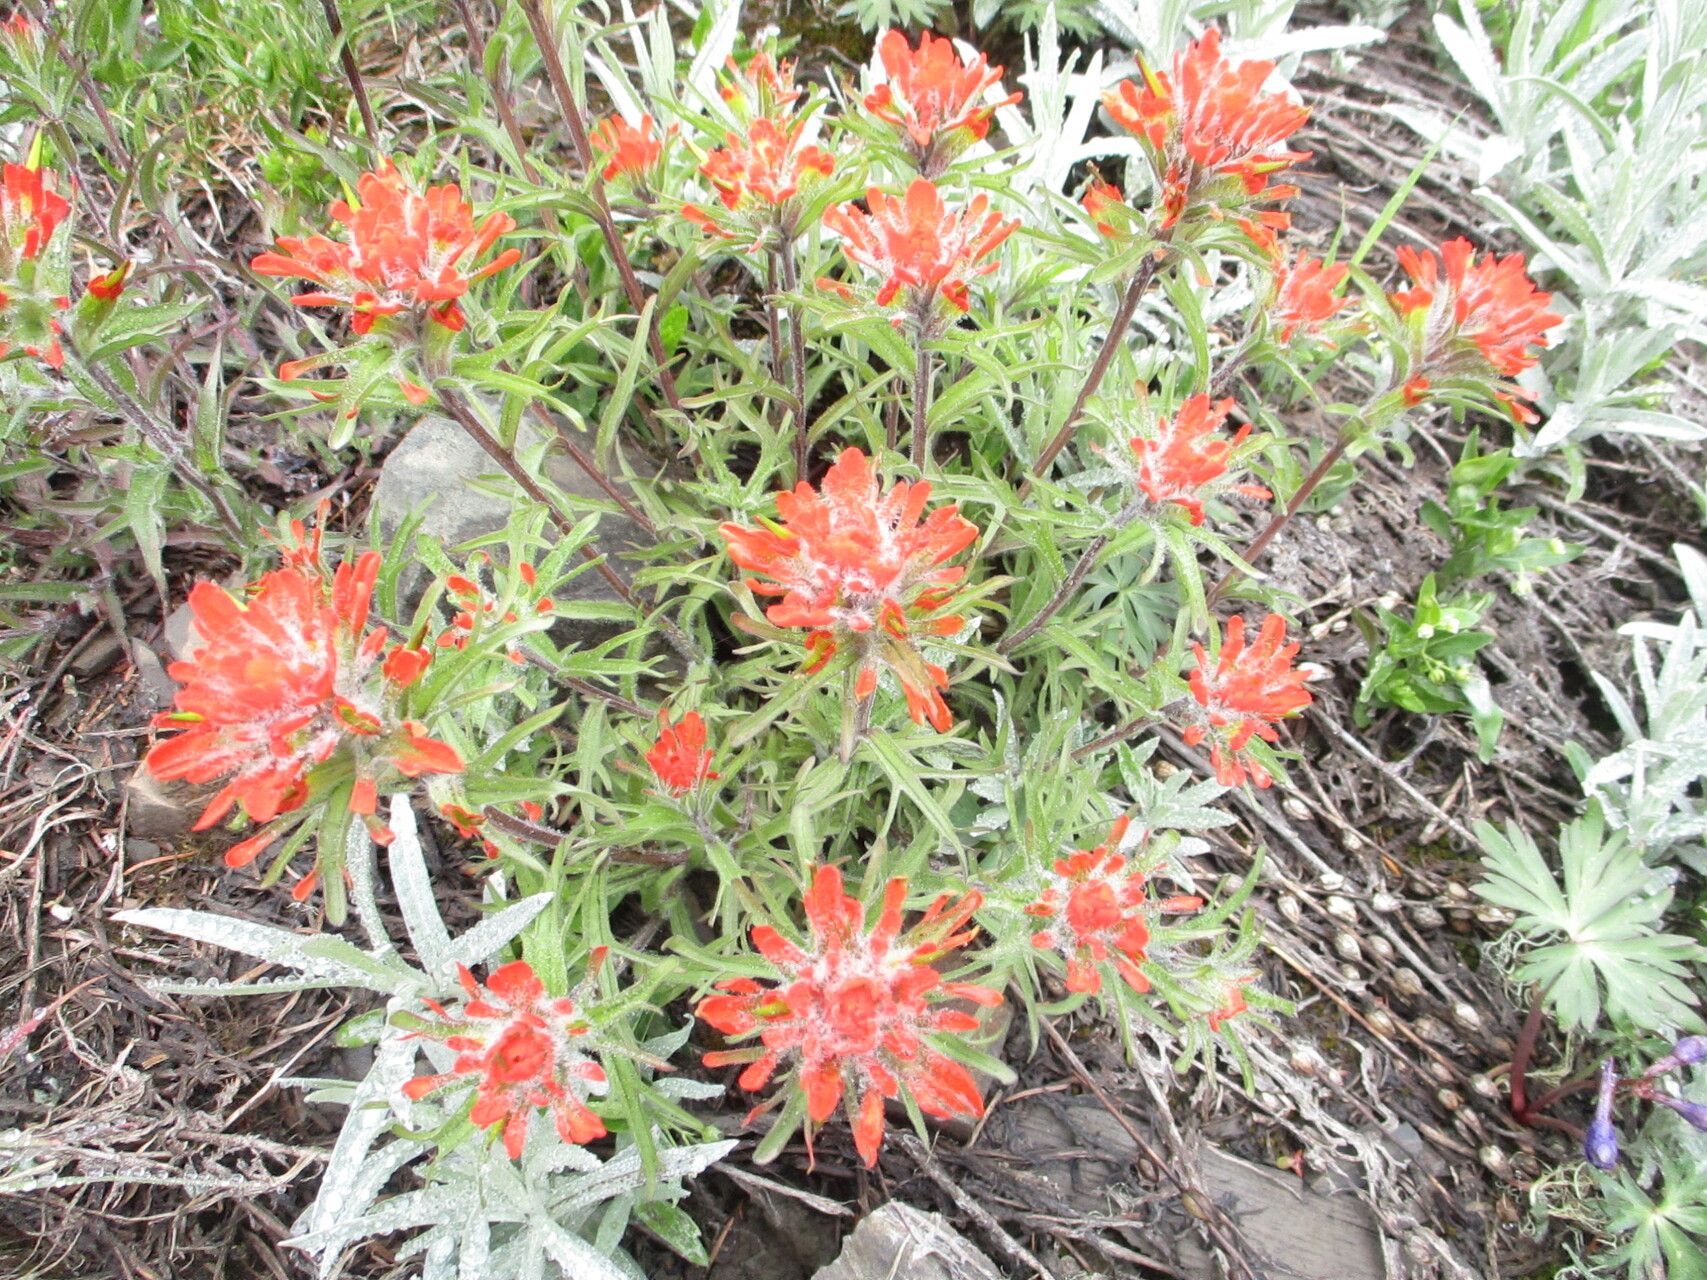
Well hello there, fellow plant enthusiast! I’m so glad you’ve stopped by. Today, we’re diving into the delightful world of Castilleja rupicola, or Rock Slide Paintbrush as it’s often called. This beauty, with its vibrant, fiery stalks, adds such a striking splash of color to any garden. Growing them from scratch is wonderfully rewarding, a true testament to a little bit of patience and a whole lot of love. Now, I’ll be honest, for absolute beginners, Castilleja rupicola can be a bit of a challenge. It’s not your everyday pothos, but don’t let that deter you! With a little guidance, you can absolutely master this.
When to Get Your Hands Dirty
The sweet spot for propagating Castilleja rupicola is generally late spring to early summer. This is when the plant is actively growing and has plenty of energy to put into developing new roots. You’re looking for new, healthy stem growth that’s firm but not yet woody. Think of it like trying to catch a wave – you want it when it’s just forming.
What You’ll Need
Before we get started, let’s gather our supplies. Think of this as our little garden toolkit:
- Sharp, clean pruning shears or a sharp knife: Essential for making clean cuts.
- Rooting hormone powder or gel: This really gives your cuttings a helping hand in developing roots.
- Well-draining potting mix: A good blend for succulents or cacti works beautifully, or a mix of perlite and peat moss.
- Small pots or trays: Clean, with drainage holes!
- Clear plastic bags or a propagation dome: To create a humid environment.
- Watering can with a fine rose nozzle: Gentle watering is key.
- Optional: Heat mat: This can really speed things up, especially if your space is a bit cool.
Let’s Get Propagating!
For Castilleja rupicola, I’ve found stem cuttings to be the most successful method. Here’s how we’ll do it:
- Take Your Cuttings: With your clean shears, select healthy branches that are at least 3-4 inches long. Make your cut just below a leaf node (where a leaf attaches to the stem). This is where the magic happens with root formation.
- Prepare the Cuttings: Gently remove the lower leaves from the cutting. You want to clear the bottom inch or so. This prevents the leaves from rotting when they’re buried in the soil.
- Dip in Rooting Hormone: Dip the cut end of the stem into your rooting hormone powder or gel. Tap off any excess. This is giving it a little boost before it heads into its new home.
- Plant Your Cuttings: Fill your small pots or trays with your well-draining mix. Make a small hole in the center with your finger or a pencil. Insert the prepared cutting into the hole, making sure the leaf nodes you cleared are below the soil line. Firm the soil gently around the stem.
- Create a Humid Environment: Water the soil gently. Then, cover the pot with a clear plastic bag or place it under a propagation dome. This traps moisture and creates a mini-greenhouse effect.
The “Secret Sauce”
Over the years, I’ve picked up a few tricks that really make a difference. Here are my top insider tips:
- Don’t Overwater! This is probably the biggest mistake people make. Castilleja rupicola hates soggy feet. Water thoroughly when the soil is dry to the touch, rather than giving it little sips every day.
- Bottom Heat is Your Friend: If you have a heat mat, place your pots on it. Warm soil temperatures encourage root development much faster. It’s like giving your little plant a cozy foot rub!
- Watch for Condensation: The condensation on the inside of your plastic bag or dome is a good sign – it means there’s humidity. However, if there’s heavy, dripping condensation, open the bag for a few hours to let it air out a bit. Too much moisture can invite fungal issues.
Aftercare and What to Watch For
Once your cuttings are planted, place them in a bright spot that gets indirect sunlight. Direct sun can scorch those delicate new stems. Be patient! It can take several weeks, sometimes even a couple of months, for roots to develop.
You’ll know your cutting has rooted when you gently tug on the stem and feel resistance, or you start to see new growth emerging from the top. At this point, you can slowly acclimate it to normal conditions by gradually opening the plastic bag or dome over a few days. Continue watering sparingly.
Troubleshooting? The most common issue is rot. If your cutting turns mushy or black, it’s usually a sign of too much moisture or poor drainage. Sadly, you’ll likely have to discard it and try again, paying close attention to watering and soil.
Go Forth and Grow!
Propagating Castilleja rupicola is a journey, and like all good journeys, it requires patience. Don’t get discouraged if your first attempt isn’t a roaring success. Each time you try, you learn a little more, and the rewards of seeing these fiery beauties sprout from tiny cuttings are truly immense. Happy gardening, my friends!
Resource: