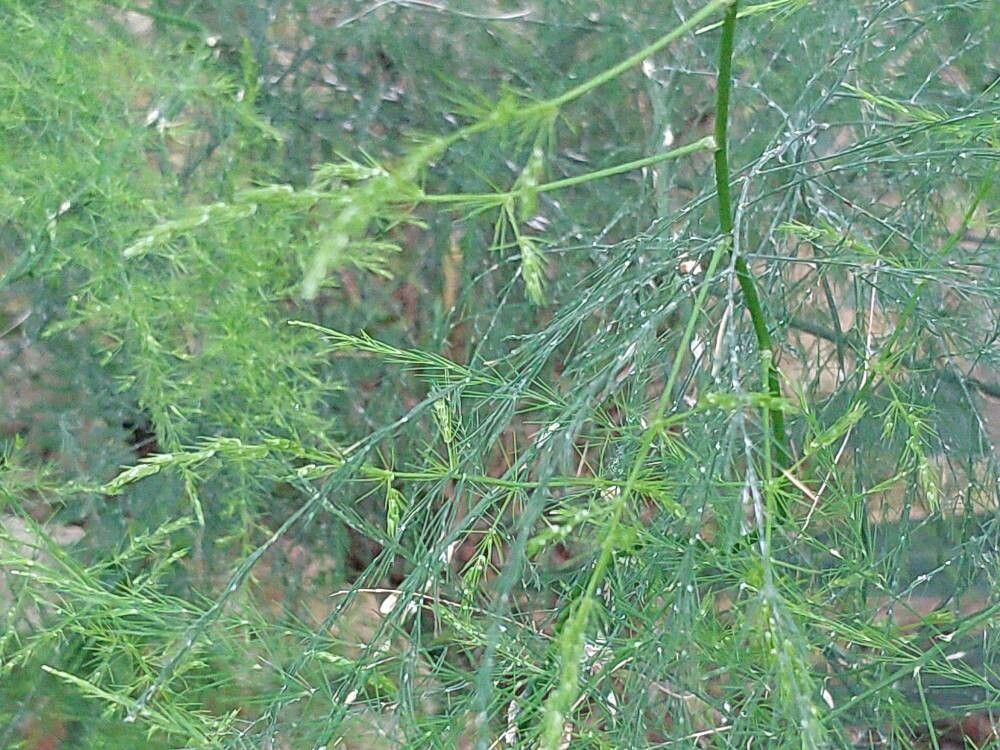
Oh, hello there! Come on in, grab a mug. I want to share something truly wonderful with you today: how to make more of that beautiful Asparagus deflexus. If you’ve seen this plant cascading from a pot or gracing a hanging basket, you know its appeal. Those delicate, airy fronds are just so graceful, aren’t they? And the best part? Propagating it is a really satisfying endeavor, and I’d say it’s quite achievable, even for those just dipping their toes into the plant parenting world.
The Best Time to Start
When it comes to getting new Asparagus deflexus plants going, spring is your golden ticket. This is when the plant is naturally in a growth spurt, meaning it’s full of energy and ready to sprout new roots. You can also have success in early summer, but really, active new growth is what you’re looking for. Avoid attempting this when the plant is dormant or stressed.
Supplies You’ll Need
You won’t need a massive arsenal for this, just a few essentials:
- Sharp pruning shears or a clean knife: For taking nice, clean cuts.
- A well-draining potting mix: I like to use a blend formulated for succulents or cacti, mixed with a bit of regular potting soil. It’s crucial that it drains well!
- Small pots or propagation trays: Yogurt cups with drainage holes poked in the bottom work in a pinch!
- Rooting hormone (optional but helpful): Your local garden center will have this. It just gives your cuttings a little boost.
- A watering can with a fine rose or a spray bottle: To keep things gently moist.
- Clear plastic bags or a clear dome: To create a humid environment.
Propagation Methods
For Asparagus deflexus, I find that stem cuttings are by far the most reliable method. Here’s how I go about it:
- Select Your Cuttings: Look for healthy, vigorous stems that are at least 4-6 inches long. You want stems that have developed a bit but aren’t woody. Avoid any that look weak or are flowering.
- Make the Cut: Using your sharp shears or knife, make a clean cut just below a leaf node (where a leaf attaches to the stem). This is where roots are most likely to form.
- Prepare the Cutting: Gently remove the lower leaves from the bottom 2-3 inches of the stem. You want a clean stem to plant.
- Apply Rooting Hormone (if using): Dip the cut end into the rooting hormone powder, tapping off any excess.
- Plant Your Cuttings: Fill your small pots or trays with your well-draining potting mix. Make a small hole in the center of the soil with your finger or a pencil. Carefully insert the cut end of the stem into the hole. Gently firm the soil around it.
- Water Gently: Water thoroughly but gently. You don’t want to dislodge your cuttings.
- Create Humidity: This is key! Cover the pots with a clear plastic bag (making sure it doesn’t touch the leaves) or place them under a clear propagation dome. This traps moisture and creates a mini-greenhouse effect.
- Find a Warm Spot: Place your pots in a bright spot, but out of direct, harsh sunlight. They prefer warmth, so a sunny windowsill is usually perfect.
The “Secret Sauce” (Pro Tips)
Now, for a couple of little nuggets of wisdom that have served me well over the years:
- Don’t Drown Them! Be very careful not to overwater. Asparagus deflexus likes moist soil, not soggy soil. If you notice water pooling at the bottom of your pot, you’ve gone too far. The mix needs to drain freely, and you should let the top inch of soil dry out slightly between waterings initially.
- Bottom Heat is Your Friend: If you can provide a little gentle warmth from below, your cuttings will root much faster. A seedling heat mat works wonders for this. It encourages root development without drying out the foliage.
Aftercare & Troubleshooting
Once your cuttings have rooted – and you can check this by giving them a very gentle tug and feeling resistance, or by spotting new growth – it’s time to transition them.
When you see a good network of roots, you can remove the plastic bag or dome gradually over a few days. Continue to keep the soil slightly moist and the lighting bright but indirect. Once they are more established and showing consistent new growth, you can transplant them into slightly larger pots.
The most common issue I see is rot. This is almost always caused by overwatering and poor drainage. If you see your cuttings turning yellow and mushy, or developing black spots, it’s a sign they’re getting too much moisture. In this case, your best bet is to un-pot them, check the roots, and repot with fresh, dry, well-draining soil. Sadly, if they’re badly rotten, they might be beyond saving, but don’t get discouraged!
A Little Patience Goes a Long Way
Propagating plants is a journey, and it’s one that rewards patience. Don’t be disheartened if your first attempt isn’t a runaway success. Keep trying, observe your cuttings, and learn from each experience. Soon enough, you’ll have an abundance of these beautiful Asparagus deflexus plants to enjoy, to gift, and to fill your home with their airy charm. Happy propagating!
Resource:
https://identify.plantnet.org/k-world-flora/species/Asparagus%20deflexus%20Baker/data