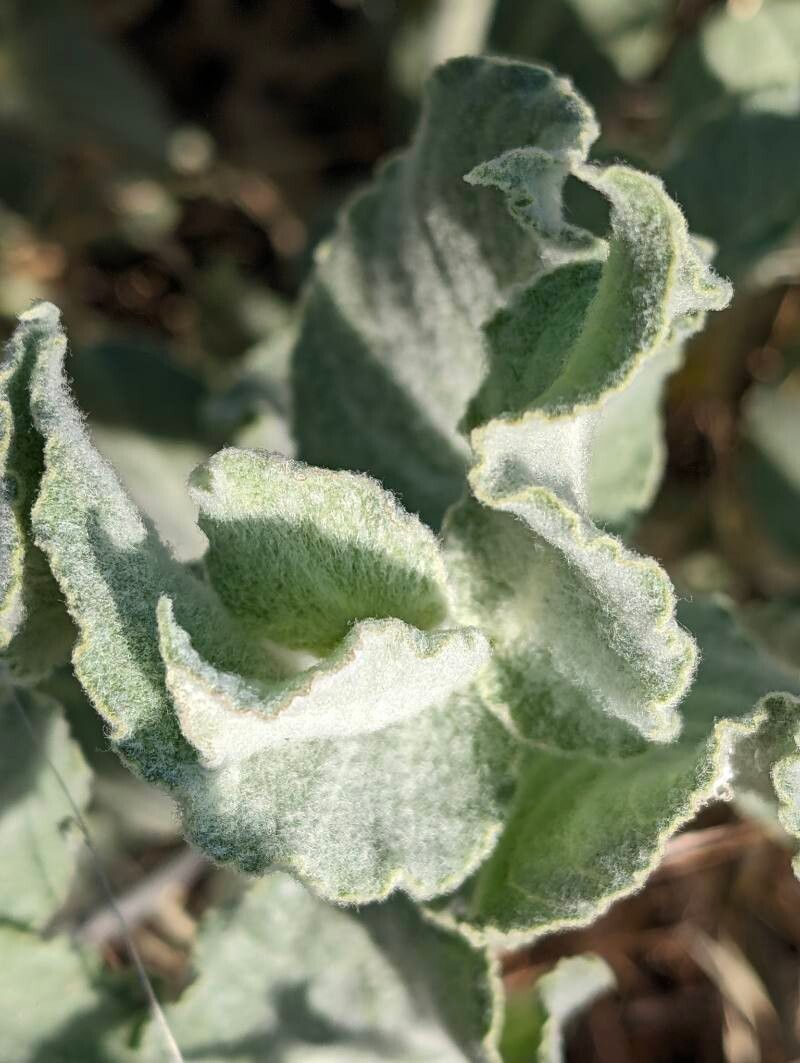
Hey there, fellow plant lovers! You know, there are some plants that just whisper “California sunshine” and “wild beauty” to my soul. Asclepias californica, the California Milkweed, is definitely one of them. Its delicate pinkish-lavender flowers are a magnet for all sorts of pollinators, and watching those fuzzy caterpillars munching away is pure joy.
Propagating it yourself? It’s incredibly rewarding! You can share these little beauties with friends or simply grow your own patch of pollinator heaven. Now, I have to be honest, Asclepias californica can be a bit of a diva sometimes, especially for absolute beginners, but with a little patience and a few key tricks, you can absolutely succeed. Don’t let that deter you!
The Best Time to Start
For milkweeds, including our star, Asclepias californica, the sweet spot for propagation is generally late spring through early summer. This is when the plant is actively growing and has plenty of energy to put into new root development. You want to work with healthy, vigorous stems that haven’t gotten too woody. Think young, tender growth.
Supplies You’ll Need
To get your propagation station set up, here’s what I always have on hand:
- Fresh, sharp pruning shears or a clean knife: Essential for clean cuts.
- Potting mix: A good, well-draining mix is key. I often use a blend of equal parts peat moss, perlite, and coarse sand. Some growers swear by a cactus mix.
- Small pots or trays: With drainage holes, of course! Tiny nursery pots work wonderfully.
- Rooting hormone (optional but recommended): Especially helpful for stem cuttings. Look for one with IBA.
- Watering can with a fine rose: To gently water your new cuttings.
- Plastic bags or a propagation dome: To create a humid environment.
- A warm, bright spot: Indirect light is best initially.
- Bottom heat (optional but highly beneficial): A seedling heat mat can make a huge difference.
Propagation Methods
Let’s get our hands dirty! Here are the methods I’ve found most successful for Asclepias californica:
Stem Cuttings
This is my go-to method for milkweeds when I want to quickly increase my numbers.
- Take the cuttings: In late spring or early summer, select healthy, non-flowering stems that are about 4-6 inches long. Make a clean cut just below a leaf node (where a leaf attaches to the stem). Remove the lower leaves, leaving just a couple at the top.
- Apply rooting hormone: Dip the cut end into rooting hormone powder or gel, tapping off any excess.
- Plant the cuttings: Fill your small pots with your well-draining potting mix. Make a small hole with your finger or a pencil and gently insert the cutting, ensuring the leaf nodes you removed are buried. Firm the soil gently around the stem.
- Water and cover: Water thoroughly but gently. Then, cover the pot loosely with a plastic bag or place it under a propagation dome to maintain humidity.
- Provide warmth and light: Place the pots in a warm spot with bright, indirect light. If you have a heat mat, now’s the time to use it! Aim for a soil temperature of around 70-75°F (21-24°C).
Division (for established plants)
If you have a mature Asclepias californica that’s looking a bit crowded, division can be a great option.
- Dig it up: In early spring, before new growth really gets going, carefully dig up the entire plant. Try to keep as much of the root ball intact as possible.
- Inspect the roots: Gently shake off excess soil. You’re looking for distinct crowns or sections of the plant that can be separated.
- Separate the sections: Using a clean, sharp knife or spade, carefully divide the root ball into sections. Each section should have at least one healthy root system and a few buds or shoots.
- Replant: Replant these divisions immediately in their new locations or in pots, using fresh, well-draining soil. Water them in well.
The “Secret Sauce” (Pro Tips)
Here are a couple of things I’ve learned over the years that really make a difference:
- The Sap Scare is Real: When you cut Asclepias stems, they ooorrrze that milky white sap. Don’t panic! Some growers find rinsing the cut end under cool water for a minute helps to stop the flow and can prevent sap-related issues.
- Don’t Drown Your Babies: While humidity is crucial for cuttings, overwatering is the quickest way to disaster. The soil should be consistently moist, but never soggy. Let the surface dry out slightly between waterings.
- Bottom Heat is Magic: I cannot stress this enough – a seedling heat mat is a game-changer for stem cuttings. It provides consistent warmth to the roots, encouraging them to develop much faster. It really gives those little cuttings the boost they need to get going.
Aftercare & Troubleshooting
Once your cuttings have been in their cozy, humid environment for a few weeks, start checking for roots. You can gently tug on a cutting – if there’s resistance, you’ve got roots!
- Acclimate them: Once you see good root development, gradually start to introduce them to normal humidity. Open up the plastic bag a little each day, or lift the dome for longer periods.
- Watering: Continue to keep the soil consistently moist, but again, avoid waterlogging. Water when the top inch of soil feels dry to the touch.
- Light: Once they are acclimated, move them to a spot with more direct sunlight.
- Troubleshooting – Rot: The most common problem you’ll face is rot. If a cutting turns black and mushy, it’s likely rotted. This is usually due to too much moisture and not enough air circulation. Discard any rotted cuttings and ensure your mix is very well-draining and you’re not overwatering. If you see mold on the soil surface, improve air circulation.
A Gentle Encouragement
Gardening is a journey, and propagating plants is a wonderful way to learn and connect with nature’s marvels. Be patient with your Asclepias californica. Some will root quickly, while others might take their sweet time. Don’t get discouraged if not every single cutting makes it. Celebrate the successes, learn from the setbacks, and most importantly, enjoy the process of nurturing new life. Happy gardening!
Resource:
https://identify.plantnet.org/k-world-flora/species/Asclepias%20californica%20Greene/data