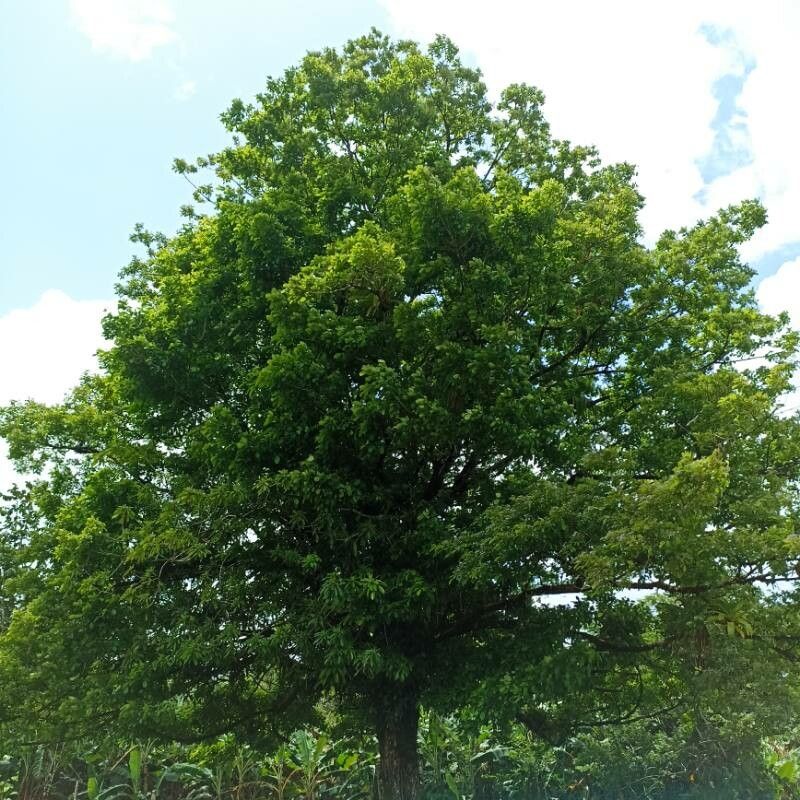
Oh, hello there! Pull up a chair with your cuppa, shall we? Today, we’re going to chat about a plant that’s truly captured my heart over the years: Vitex cooperi, or as I fondly call it, the “Summer Pearl.” Its delicate, almost ethereal bloom clusters and lovely, silvery foliage can bring such a gentle elegance to any garden. And the best part? We can learn to make more of these beauties ourselves! If you’re new to propagation, don’t even worry. While it asks for a little attention, Vitex cooperi is quite beginner-friendly, I promise. It’s incredibly rewarding to see a tiny cutting transform into a whole new plant.
The Best Time to Start
For the most success, I always aim to take cuttings in late spring or early summer. This is when the plant is actively growing, and the new shoots have formed but are still reasonably soft. Think of tender, new growth – that’s your gold. Trying to propagate from very old, woody stems can be a bit more challenging; they’re less eager to root, in my experience.
Supplies You’ll Need
Here’s a little kit you’ll want to gather:
- Sharp pruning shears or a clean knife: For making clean cuts. Dull tools can pinch and damage stems.
- Rooting hormone: A little powder or gel can give your cuttings a significant boost. I like using one with a bit of fungicide in it, just for an extra layer of protection.
- Potting mix: A light, well-draining mix is crucial. I often use a blend of peat moss or coco coir, perlite, and a touch of coarse sand. Some people swear by fine bark chips, too – whatever allows good aeration and drainage.
- Small pots or trays: Clean ones, of course! Yogurt containers with drainage holes poked in the bottom work in a pinch.
- Plastic bags or a propagator: To create a humid environment for your cuttings.
- Water: For misting.
Propagation Methods: Taking Stem Cuttings
This is my go-to method for Vitex cooperi because it’s so effective.
- Select Your Stems: Look for healthy, vibrant stems that are about 4-6 inches long. As I mentioned, you want the current year’s growth that’s just starting to firm up. Avoid any flowering or fruiting stems; the energy needs to go into roots, not flowers at this stage.
- Make the Cut: Using your sharp shears or knife, make a clean cut just below a leaf node. The leaf node is where a leaf attaches to the stem, and it’s packed with growth hormones that encourage rooting.
- Prepare the Cutting: Gently strip off the lower leaves, leaving just 2-3 leaves at the top. This prevents them from rotting when buried in the soil. If the remaining leaves are very large, you can even snip them in half to reduce moisture loss.
- Apply Rooting Hormone: Dip the cut end of the stem into the rooting hormone, ensuring it’s coated well. Tap off any excess.
- Plant the Cuttings: Moisten your potting mix. Make a small hole in the center of your pot with a pencil or dowel. Gently insert the cutting into the hole, making sure the leaf nodes are below the soil surface. Firm the soil around the stem.
- Create Humidity: Water the soil gently. Then, cover the pot with a plastic bag, creating a mini-greenhouse. You can use the leaves of the plant to prop up the bag so it doesn’t touch the foliage. Alternatively, place the pot in a propagator.
The “Secret Sauce” (Pro Tips)
Here are a couple of things I’ve learned over the years that really make a difference:
- Bottom Heat is Your Friend: If you have a heat mat, pop your pots on it. My Vitex cuttings absolutely love the gentle warmth. It encourages root development much faster than just ambient room temperature.
- Don’t Let Them Drown: When you mist your cuttings (which you’ll want to do daily or every other day), make sure the leaves aren’t sitting in a puddle of water. This is a fast track to rot. The goal is high humidity around the leaves, not soggy ones.
- The “Sniff Test” for Success: This might sound a bit odd, but when you gently tug on a cutting after a few weeks, if you feel a bit of resistance, there’s a good chance you’ve got roots! A loose cutting that easily pulls out usually means no roots have formed yet.
Aftercare & Troubleshooting
Once your cuttings have rooted (this can take anywhere from 4-8 weeks, sometimes longer), you’ll start to see new leaf growth. At this point, you can gradually wean them off the humidity dome by opening the bag a little each day, or by gradually reducing ventilation in your propagator. Water them when the top inch of soil feels dry. Keep them in a bright spot, but out of direct, harsh sunlight for a while longer.
The biggest issue you’ll encounter is rot. If you see stems turning black and mushy, or leaves wilting dramatically and looking slimy, that’s rot. It usually means things are too wet and there isn’t enough airflow. Sadly, rotted cuttings can’t be saved, so it’s best to discard them and try again, perhaps with a drier soil mix or better ventilation. Yellowing leaves can sometimes mean they need more light, or that they’re just a bit stressed. Be patient!
A Little Encouragement
Growing new plants from cuttings is such a magical process. It’s a wonderful way to expand your garden and share your love for the Summer Pearl. Don’t be discouraged if your first attempt isn’t a roaring success. Every gardener experiences failures, myself included! Just keep trying, observe your plants, and enjoy the journey. Happy propagating!
Resource:
https://identify.plantnet.org/k-world-flora/species/Vitex%20cooperi%20Standl./data