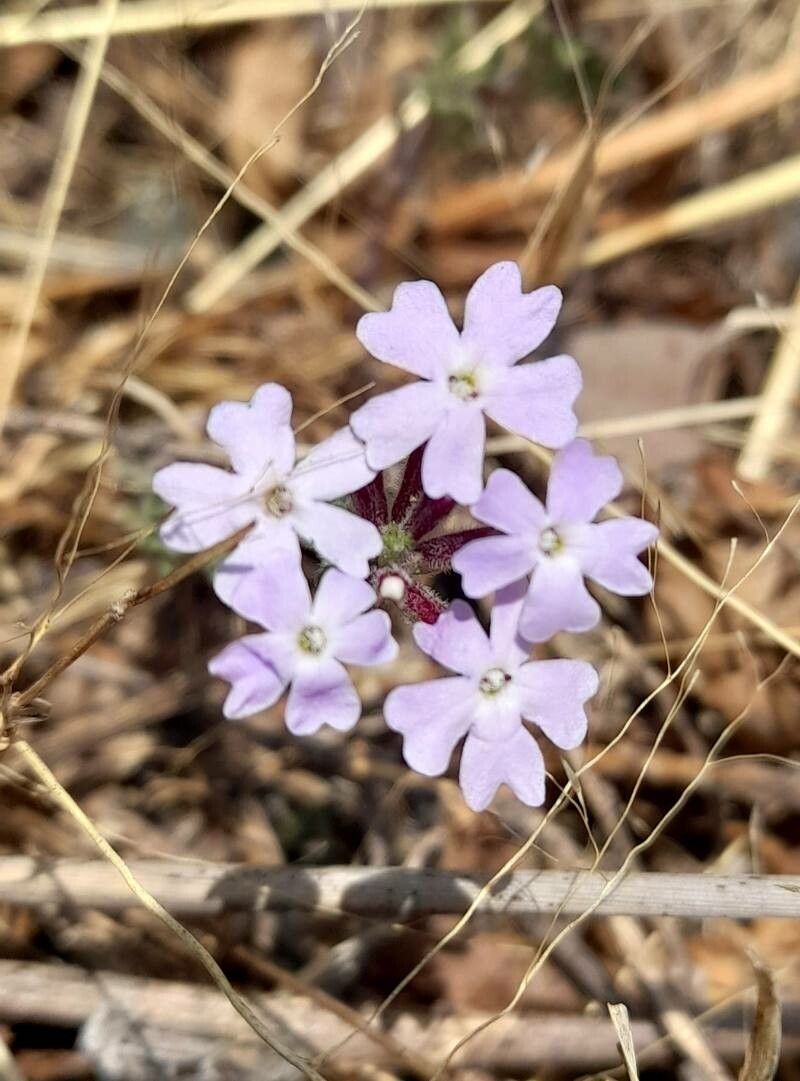
Oh, Verbena microphylla! If you’ve ever fallen for those delicate, airy blooms and the way they seem to dance in the slightest breeze, you’re not alone. This little gem is a real charmer in any garden. And the best part? You can easily fill your garden with more of them. Propagating Verbena microphylla is a truly rewarding experience, and I’m happy to say, it’s quite forgiving for us beginners. You’ll be sharing these beauties with friends in no time!
So, when’s your best shot at success with this charmer? For Verbena microphylla, late spring to early summer, just as the plant hits a good growth spurt, is absolutely prime time. You want to be taking cuttings from healthy, non-flowering stems. Think of it as harvesting the plant’s youthful exuberance.
Here’s what you’ll want to have on hand for your propagation adventure:
- Sharp pruning shears or a clean knife: For making those crucial cuts. Cleanliness is key to prevent disease!
- Rooting hormone (powder or liquid): This is like a little boost for your cuttings, encouraging those roots to form faster. It’s not strictly essential for Verbena microphylla, but it definitely ups your success rates.
- A good potting mix: I like to use a well-draining mix, often a blend of peat moss or coco coir, perlite, and a bit of compost. You can also buy specific seed-starting or cutting mixes.
- Small pots or propagation trays: Choose pots with drainage holes.
- A plastic bag or propagator lid: To create a humid microclimate.
- Water: For keeping things moist.
Let’s get our hands dirty and dive into the methods!
Stem Cuttings: The Reliable Workhorse
This is my go-to method for Verbena microphylla. It’s straightforward and yields excellent results.
- Select your material: Find a healthy, current-season stem that’s actively growing but NOT flowering. Aim for a stem about 4-6 inches long.
- Make the cut: Using your sharp shears or knife, make a clean cut just below a leaf node. A leaf node is where a leaf attaches to the stem – this is where the magic of root formation happens.
- Prepare the cutting: Gently remove the lower leaves from your cutting, leaving just a few at the top. This prevents them from rotting in the soil. If your cutting is very long, you can even snip off the very top set of leaves to reduce water loss.
- Apply rooting hormone: Dip the cut end of the stem into your rooting hormone, tapping off any excess.
- Potting up: Fill your small pots or trays with your prepared potting mix. Make a small hole in the center with your finger or a pencil.
- Insert the cutting: Gently place the hormone-dipped end of the cutting into the hole, ensuring it’s firm.
- Water gently: Water the pot well to settle the soil around the cutting.
- Create humidity: Place the potted cuttings into a propagation tray or cover the pots with a clear plastic bag or propagator lid. This traps moisture and keeps the leaves from drying out.
Water Propagation: A Visual Treat
This method is so satisfying because you can actually see the roots developing!
- Select and cut: Just like with stem cuttings, select a healthy, non-flowering stem about 4-6 inches long and make a clean cut below a leaf node.
- Prepare the cutting: Remove all the lower leaves, leaving just a few at the top.
- Place in water: Fill a clean jar or glass with fresh water. Crucially, ensure no leaves are submerged in the water. Rotting leaves will contaminate the water and doom your attempt.
- Find a bright spot: Place the jar in a bright location, but out of direct, scorching sunlight.
- Change the water: Change the water every few days to keep it fresh and prevent algae growth.
The “Secret Sauce” – My Insider Tips
Over the years, I’ve learned a few little tricks that really make a difference.
- Don’t be afraid to take more than you need! Not every cutting will take, and that’s perfectly normal. Take a few extra, and you’ll increase your chances of getting a good number of successful plants.
- A little warmth goes a long way. If you have a propagation mat, placing your pots on it can significantly speed up root formation. It mimics the warmth of the soil in summer and gives those roots a real kickstart.
- Don’t mist constantly, but keep it humid. While you want a humid environment, over-misting the leaves can encourage fungal issues. Rely more on the plastic covering to maintain consistent humidity.
Aftercare & Troubleshooting: Nurturing Your New Sprouts
Once you see those little white roots peeking out from the drainage holes (or forming in the water), you’re almost there!
- Transition slowly: If you propagated in water, let the roots grow to about an inch long before potting them into soil.
- Potting up: Pot your rooted cuttings into slightly larger pots with your well-draining soil mix. Water them in gently. Keep them in a bright spot, but gradually introduce them to more direct sunlight over a week or two.
- Continue humidity: For the first week or so after potting, you can keep the humidity up by covering the new plants loosely with a plastic bag or propagator lid, removing it for a few hours each day to allow for air circulation.
Now, what if things go wrong? The most common culprit is rot. If your cuttings turn mushy, black, or smell sour, it’s usually a sign of too much moisture and not enough air, or a disease. This often happens if the leaves are touching the soil or water, or if the potting mix is too heavy and retains too much water. Prevention is key! Always use a well-draining mix and ensure good air circulation.
And there you have it! Propagating Verbena microphylla is a journey, not a race. Be patient with your little cuttings. Watch them closely, provide them with the right conditions, and you’ll be rewarded with a garden bursting with these delightful blooms. Happy growing!
Resource:
https://identify.plantnet.org/k-world-flora/species/Verbena%20microphylla%20Kunth/data