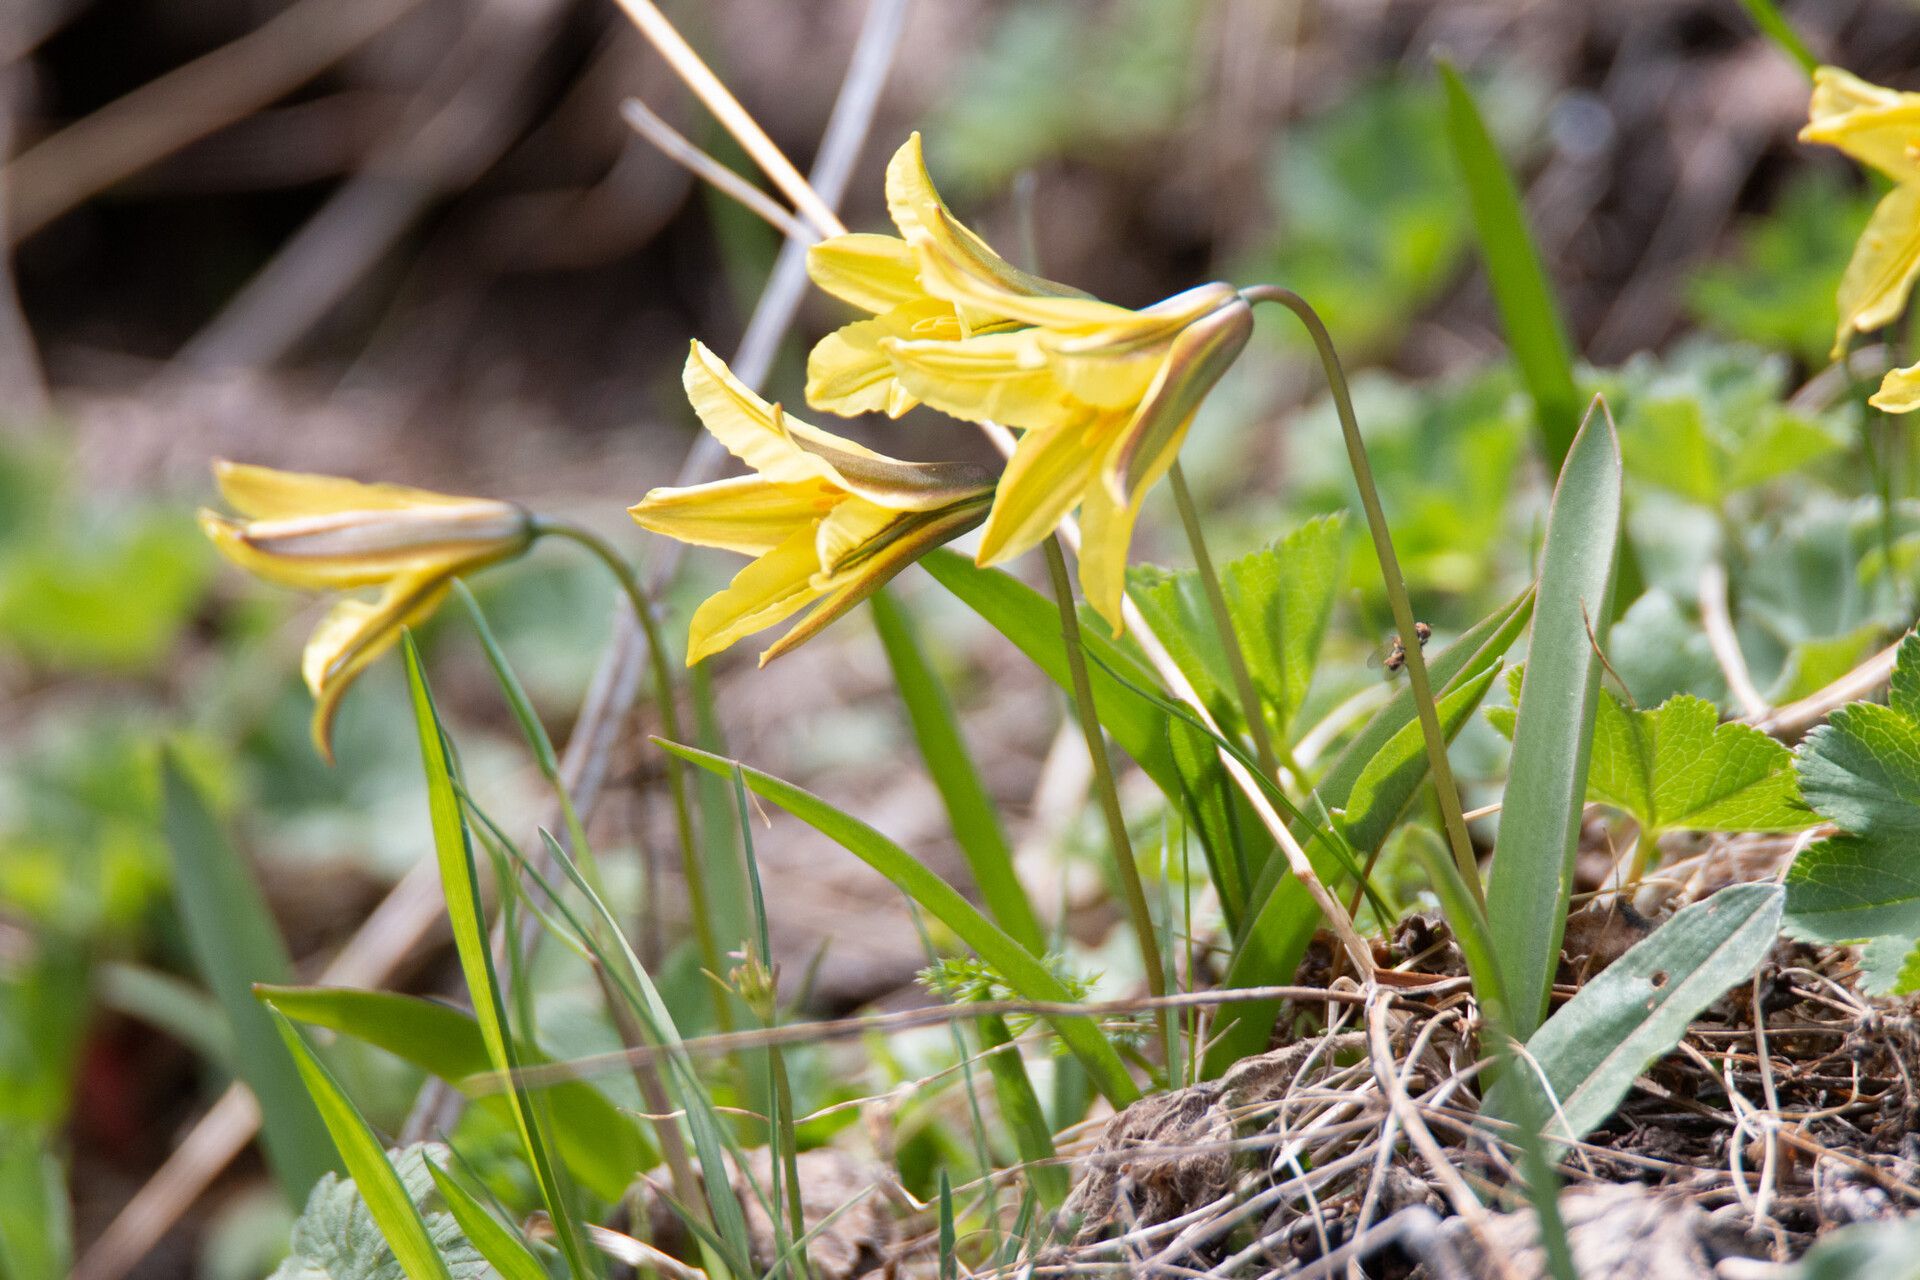
Oh, hello there! Grab a cuppa, and let’s chat about something truly special: Tulipa heterophylla. I’ve spent many years with my hands in the soil, and this little beauty has a charm all its own. Its delicate, star-shaped flowers, often in shades of soft pink or startling white, are a delightful surprise. Propagating them is a wonderful way to fill your garden with more of that magic, and honestly, it’s a deeply satisfying endeavor. For beginners? It’s a moderately easy project, certainly achievable with a little patience and the right approach.
The Best Time to Start
Spring, especially right after the flower stalks have faded, is your prime time. You’re looking for when the foliage starts to yellow and droop – that’s the signal the plant is entering its dormant phase. This is when the energy has moved back down into the bulbs, setting you up for success. Don’t be tempted to rush it while the leaves are still vibrantly green; you need to let nature do its thing.
Supplies You’ll Need
To give your Tulipa heterophylla the best start, gather these essentials:
- Sharp, clean pruning shears or snips: For precise cuts.
- Well-draining potting mix: A blend of standard potting soil, perlite, and a bit of sand works wonders. You want to avoid waterlogged conditions at all costs.
- Small pots or trays: Nothing too large; we want the new growth to feel cozy. Ensure they have drainage holes!
- Watering can with a fine rose: For gentle watering.
- Patience! This is, perhaps, the most crucial tool.
Propagation Methods
While Tulipa heterophylla doesn’t produce traditional cuttings like some other plants, its primary method of propagation is through its bulblets. Think of them as tiny baby bulbs that grow attached to the main bulb.
- Harvesting the Bulblets: Carefully dig up the main Tulipa heterophylla bulb as described above, when the foliage has yellowed. Gently brush away excess soil. You’ll often see small, rice-grain-sized or even pea-sized bulblets clinging to the base of the parent bulb.
- Separating the Bulblets: With clean fingers or a small, blunt tool (like the back of a spoon), gently tease apart the bulblets from the parent bulb. Be very careful not to damage them; they are tender at this stage. If a bulblet is still firmly attached, leave it be for now and try again next season.
- Planting the Bulblets: Fill your small pots with the well-draining potting mix. Make a small indentation in the center of the soil, about 1-2 inches deep for slightly larger bulblets, or just an inch for the tiniest ones. Place the bulblet in the hole, pointy-end up if you can discern it (though it’s not critical). Gently cover with soil, ensuring there’s no air pocket.
- Watering: Water thoroughly but gently, allowing the excess to drain away.
The “Secret Sauce” (Pro Tips)
Here are a few little tricks that have made a real difference for me over the years:
- Give Them Space to Breathe: When you plant your bulblets, don’t cram too many into one pot. They need a little breathing room to develop without competing for resources or getting prone to fungal issues.
- Think Dormancy, Not Activity: Unlike many cuttings that need warmth to root, Tulipa heterophylla bulblets thrive on a period of cool, dry rest after being harvested. Let them dry slightly on a paper towel for a day or two in a cool, airy spot before planting. This helps toughen them up a bit.
- Don’t Expect Miracles Too Soon: Tiny bulblets might take a year or two to mature enough to flower. It’s a lesson in delayed gratification, but oh, so worth it when that first bloom appears!
Aftercare & Troubleshooting
Once your bulblets are planted, keep the soil lightly moist but never soggy. Place the pots in a cool, bright spot. Avoid direct, scorching sun. For the first year, you might not see much, or even any, foliage – that’s perfectly normal as the bulblet focuses on root development and growing bigger.
Common issues? The most frequent culprit is rot. If you see mushy, discolored growth, or the bulblet seems to have dissolved, it’s likely due to waterlogged soil. Ensure excellent drainage, and let the soil dry out a little more between waterings. If you notice mold on the surface, gently scrape it off and ensure good air circulation.
A Encouraging Closing
Propagating Tulipa heterophylla is a journey. There will be moments of quiet anticipation, and perhaps a little mystery (where did that foliage go?). But believe me, the reward of nurturing these tiny beginnings into vibrant blooms is immense. Be patient, enjoy the process of learning, and soon you’ll have a delightful family of these charming tulips gracing your garden. Happy planting!
Resource:
https://identify.plantnet.org/k-world-flora/species/Tulipa%20heterophylla%20(Regel)%20Baker/data