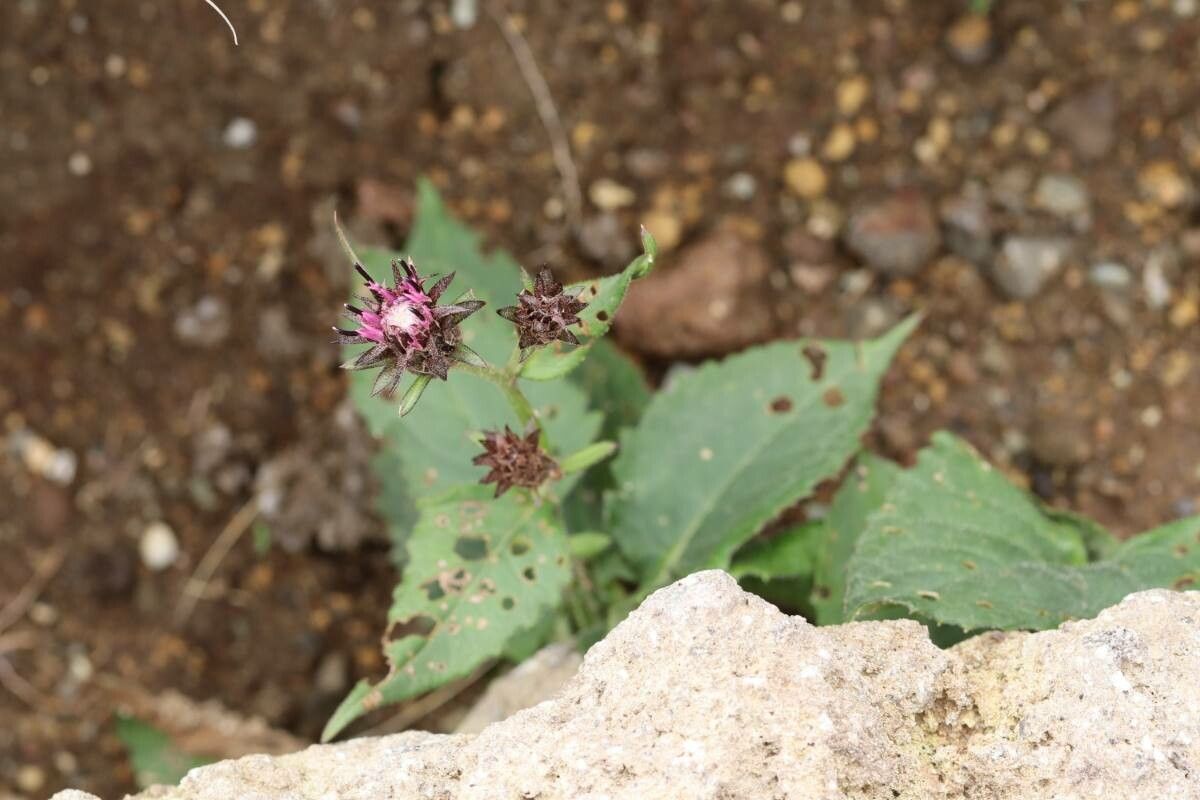
Hello fellow garden enthusiasts! I’m so excited to talk about a plant that has truly captured my heart over the years: Saussurea nikoensis. If you adore unique textures and a touch of the exotic in your garden, you’re in for a treat. These beauties have this incredible, almost architectural form and a subtle, understated charm that really draws you in. Propagating them, I’ve found, is a wonderfully rewarding way to expand your collection and share these gems with friends. While not for the absolute beginner planting their very first seed, Saussurea nikoensis is certainly achievable with a little patience and the right approach.
The Best Time to Start
For me, the most successful propagation of Saussurea nikoensis happens in the late spring or early summer. This is when the plant is in a vigorous growth phase, meaning it has plenty of energy to put into developing new roots. I typically wait until I see fresh shoots emerging after the risk of frost has passed. This timing allows the new cuttings or divisions ample time to establish themselves before cooler weather arrives.
Supplies You’ll Need
Gathering your supplies beforehand makes the whole process so much smoother. Here’s what I always have on hand:
- Sharp, clean pruning shears or a sharp knife: Essential for making clean cuts to prevent disease.
- Rooting hormone powder or gel: This gives your cuttings a real boost in developing roots. I’ve had great luck with IBA-based products.
- A well-draining potting mix: I usually blend about two parts perlite with one part sterile seed-starting mix. This ensures good aeration and prevents waterlogging. Some growers also like to add a bit of coco coir for moisture retention.
- Small pots or trays with drainage holes: Whatever you choose, make sure water can escape easily.
- A spray bottle: For gentle misting of cuttings.
- Plastic bags or a propagation dome: To create a humid environment.
- Labels: You’ll thank yourself later for clearly labeling your efforts!
Propagation Methods
I’ve found two primary methods work best for Saussurea nikoensis: stem cuttings and division.
Stem Cuttings
This is my go-to method for getting multiple new plants.
- Select your parent plant: Choose a healthy, actively growing stem. Look for one that’s not too woody nor too soft and new. A stem with several sets of leaves is ideal.
- Take your cuttings: Using your sharp shears, cut a piece of stem about 4-6 inches long. Make the cut just below a leaf node (where a leaf attaches to the stem). Remove the lower leaves, leaving just a couple at the top.
- Apply rooting hormone: Dip the cut end of the stem into your rooting hormone powder or gel, tapping off any excess.
- Plant your cuttings: Fill your small pots with your prepared potting mix. Make a small hole with your finger or a pencil and gently insert the cutting, ensuring the hormone-coated end is in contact with the soil. Firm the soil gently around the stem.
- Create humidity: Water the soil lightly and then cover the pot with a clear plastic bag or place it under a propagation dome. This creates a humid microclimate that helps the cuttings stay hydrated until roots form.
Division
If your Saussurea nikoensis has grown into a larger clump, division is a fantastic way to multiply your plant.
- Prepare the plant: It’s best to do this in spring. Gently dig up the entire plant, trying to disturb the roots as little as possible.
- Separate the clumps: Carefully examine the root ball. You’re looking for natural divisions where the plant has already formed separate crowns. Use your hands or a clean, sharp trowel or knife to gently pull or cut the root ball into smaller sections. Ensure each section has a good portion of roots and at least one viable shoot or bud.
- Replant immediately: Immediately replant the divisions into pots filled with your well-draining mix, or back into their desired garden location. Water them in well.
The “Secret Sauce” (Pro Tips)
My two decades in the garden have taught me a few things that make a difference with trickier plants.
- Don’t rush the roots: For stem cuttings, patience is key! I resist the urge to tug on the cutting to check for roots. Instead, I wait for visible new growth from the top, which is a sure sign of successful rooting. Sometimes it takes 4-6 weeks, or even longer.
- Give them warmth: Saussurea nikoensis appreciates a little warmth from below, especially when first starting out. I highly recommend using a seedling heat mat under your pots. It significantly speeds up the rooting process and reduces the chance of rot. Just make sure it doesn’t overheat your cuttings; a consistent 70-75°F (21-24°C) is usually perfect.
Aftercare & Troubleshooting
Once your cuttings have developed a good root system (you might see them poking out the drainage holes or feel a bit of resistance when gently tugged), it’s time for them to graduate.
Slowly acclimate your new plants to drier air by gradually opening the plastic bag or dome a little each day for a week. Once they are hardened off, they can be transplanted into slightly larger pots or their permanent garden spots. Continue to water them regularly, but allow the soil to dry out slightly between waterings.
The biggest challenge you might face is rot. This usually happens if the potting mix stays too wet or the humidity is too high for too long. If you see your cutting turning mushy or dark at the base, it’s likely rot. Unfortunately, there’s often no coming back from this, but don’t despair! Just discard the affected cutting and try again, perhaps with a slightly drier mix or by ensuring better air circulation.
A Little Bit of Patience Goes a Long Way
Propagating Saussurea nikoensis is a journey, not a race. There will be times when some cuttings don’t make it, and that’s perfectly normal. Just keep experimenting, observe your plants closely, and trust the process. The joy of nurturing a new life from a small piece of a beloved plant is truly one of gardening’s greatest rewards. Happy propagating!
Resource:
https://identify.plantnet.org/k-world-flora/species/Saussurea%20nikoensis%20Franch.%20&%20Sav./data