Well hello there, fellow plant enthusiast! Grab a mug of your favorite brew, because today we’re diving into the wonderfully rewarding world of propagating Sagina maxima, also known as Scotch moss or Irish moss. If you’ve ever admired those lush, verdant carpets that look like they’ve been plucked straight from a fairy tale, you’ll be thrilled to know you can create your own!
Introduction: Tiny Plants, Big Rewards
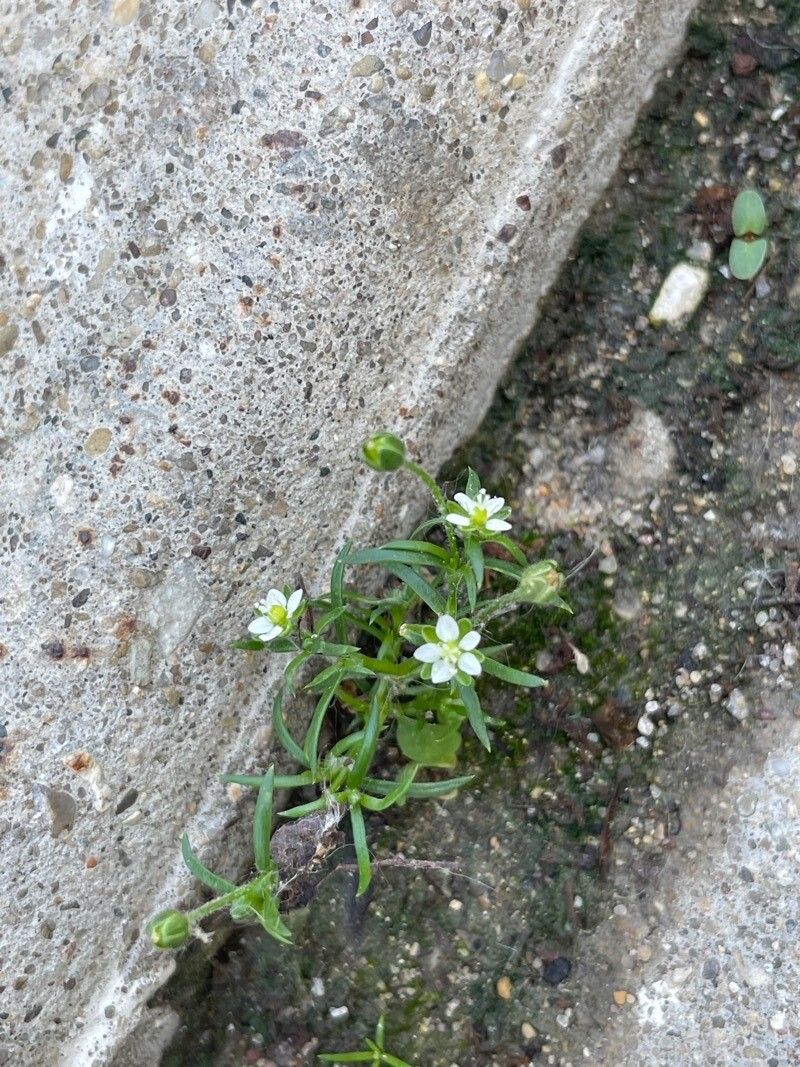
Sagina maxima is just delightful. Its tiny, emerald-green leaves form dense, low-growing mats that are perfect for filling in gaps, softening edges, or even creating living accents in terrariums and rock gardens. It brings that soft, natural texture that garden designers dream of. And guess what? Propagating it is surprisingly accessible! Even if you’re new to the plant parent scene, you’ll find this a very forgiving plant to work with. It’s a fantastic confidence booster for beginner propagators.
The Best Time to Start
For the absolute best success with Sagina maxima, aim to propagate in late spring or early summer. This is when the plant is actively growing and has plenty of energy to dedicate to producing new roots. You can also have good luck in early autumn, but the spring/summer window is usually the most reliable. Look for healthy, vigorous growth on your existing plant.
Supplies You’ll Need
Here’s your handy checklist to gather before we get our hands dirty:
- Sharp pruning shears or a clean craft knife: For making precise cuts.
- Small pots or seed trays: Cleaned thoroughly, of course.
- A good quality potting mix: I like a blend of half potting soil and half perlite or coarse sand. This ensures excellent drainage, which is crucial for Sagina. Some gardeners even swear by a peat-free succulent mix.
- A spray bottle: For keeping things nicely misted.
- Optional: Rooting hormone: While Sagina can root readily without it, a little dip can speed things up.
- Labels: To keep track of which plant is what, especially if you’re propagating multiple things!
Propagation Methods: Let’s Get Growing!
There are a couple of foolproof ways to multiply your Sagina.
1. Division: The Easiest Path
This is your go-to method, especially if you have a mature, well-established clump.
- Gently remove the entire plant from its pot or dig it up from the ground.
- Carefully shake off any excess soil from the roots.
- Examine the root ball. You’ll see where distinct sections of new growth are emerging from the main plant.
- Using your fingers, a trowel, or even the back of a spoon, gently pull apart the clump into smaller sections. Aim for pieces that have a good amount of roots and some leafy bits. Don’t be afraid to be firm but gentle; you’re trying to separate, not smash.
- Pot up each new division into its own container filled with your well-draining potting mix.
- Water gently to settle the soil.
2. Stem Cuttings: For the Patient Gardener
This method takes a little more time but is great for getting many new plants from a single specimen.
- Using your sharp shears or knife, take cuttings about 2-3 inches long from healthy stems. Pinch off any lower leaves that would be submerged if you were putting them in water, or if you’re planting them directly into soil.
- You can dip the cut end into a little rooting hormone if you choose.
- Gently press the cut end of each cutting into the prepared potting mix in your small pots or trays. Make sure the nodes (where leaves emerge) are buried slightly.
- Water lightly to moisten the soil.
The “Secret Sauce” (Pro Tips)
Here are a few little tricks I’ve picked up over the years that make a difference:
- Don’t drown them! Overwatering is the quickest way to kiss your new Sagina props goodbye. The soil should be consistently moist but never soggy. Let the very top layer dry out slightly between waterings.
- Humidity is your friend. For cuttings, especially, a little humidity helps them establish. You can achieve this by popping a plastic bag over the pot (make sure it doesn’t touch the leaves too much!) or by placing the pots inside a mini greenhouse.
- Bottom heat can be a game-changer but isn’t essential. If you have a seedling heat mat, placing your cutting trays on it can significantly speed up root development. Sagina loves a little warmth to get going, but they will root without it.
Aftercare & Troubleshooting
Once your divisions are potted or your cuttings show signs of new growth (which usually means tiny new leaves emerging), you’re on your way!
- Keep them moist: Continue to water regularly, but remember that drainage!
- Light them right: Place your new plants in bright, indirect light. Direct sun can scorch delicate new growth. An east-facing window is often perfect.
- Be patient: Rooting can take anywhere from a few weeks to a couple of months. Don’t be discouraged if you don’t see immediate results. Gently tugging on a cutting is your indicator – if there’s resistance, you likely have roots!
- Watch out for rot: The biggest enemy of Sagina propagation is rot. If you see stems turning mushy, black, or translucent, it’s usually a sign of too much moisture and poor air circulation. If this happens, try to salvage any parts that look healthy and repot them in drier soil.
A Encouraging Closing
See? Not so intimidating, is it? Propagating Sagina maxima is a delightful way to expand your mossy carpets and share these enchanting plants with friends. Remember to be patient, observe your little plants closely, and enjoy the magic of watching them grow. Happy propagating!
Resource:
https://identify.plantnet.org/k-world-flora/species/Sagina%20maxima%20A.Gray/data