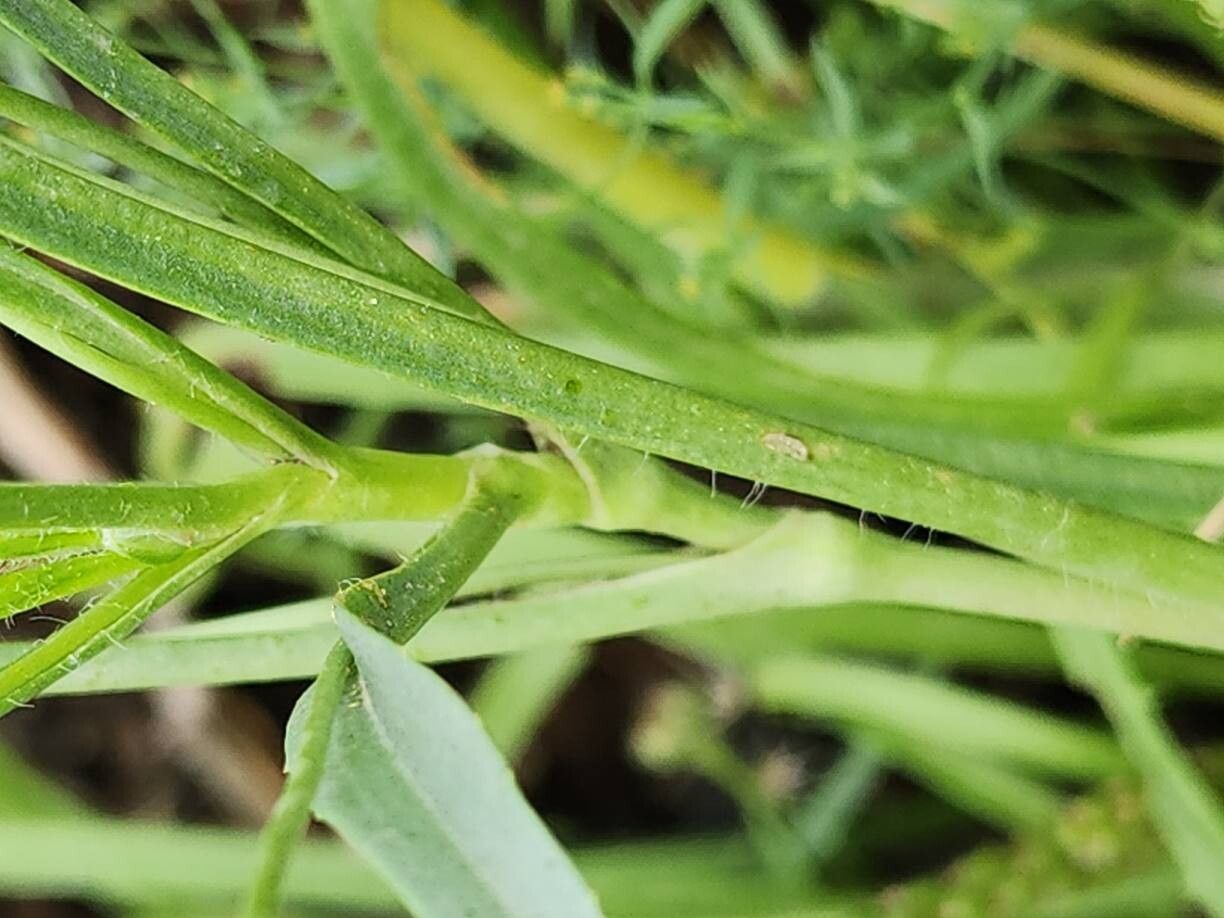
Hey there, fellow plant lovers! I’m so excited to talk to you today about a plant that’s really captured my heart: Plantago amplexicaulis. You might know it better by its common name, the Pale Plantain. It’s got this wonderfully architectural look, with broad, almost silvery leaves that can really make a statement in a garden bed or even in a striking container. And the best part? They sometimes send up these cute little flower spikes that attract pollinators. Propagating them is a fantastic way to share this beauty with friends, or just to fill your own space with more of their charm.
Now, I’ll be honest, Plantago amplexicaulis is a pretty forgiving plant. I wouldn’t say it’s challenging for beginners, but like anything new, a little patience and the right approach go a long way. You’ll find success comes easier if you understand a few key things.
The Best Time to Start
My favorite time to get stuck into propagating Plantago amplexicaulis is in the late spring to early summer. When the plant is actively growing, it has plenty of energy to put into developing healthy roots. You’re looking for new, vibrant growth – that’s your signal!
Supplies You’ll Need
Before we dive in, let’s get our tools ready. Here’s what you’ll want to have on hand:
- Sharp, clean pruning shears or a sharp knife. For making clean cuts, crucial for success.
- A well-draining potting mix. Something like a cactus or succulent mix works wonderfully, or you can amend regular potting soil with perlite or coarse sand.
- Small pots or trays. Clean ones are a must to prevent disease.
- Optional: Rooting hormone. I’ve found Plantago amplexicaulis often roots without it, but it can certainly speed things up and improve success rates, especially if you’re a bit nervous.
- A spray bottle. For gentle watering and keeping humidity up.
- Clear plastic bags or domes. To create a mini-greenhouse effect.
Propagation Methods
There are a couple of straightforward ways to get more Pale Plantains. I find division to be the easiest, but stem cuttings are also quite reliable.
1. Division: The Easiest Route
This is my go-to for Plantago amplexicaulis. You’re basically splitting a mature plant into smaller pieces, each with its own roots and shoots.
- Gently unpot your established plant. Carefully loosen the soil from the roots.
- Identify natural divisions. Look for where the plant seems to be splitting into separate crowns or sections. You can usually see where the roots naturally separate as well.
- Using your hands or a clean trowel, carefully pull the sections apart. If the roots are very intertwined, you might need to use your sharp shears to cut through them, but try to keep as many roots on each section as possible.
- Pot up each division. Use your well-draining mix in small pots. Make sure the base of the plant is at soil level.
- Water gently. Give them a good drink, but don’t let them sit in soggy soil.
2. Stem Cuttings: A Classic Technique
This method involves taking pieces of the stem and coaxing them to root.
- Select healthy stems. Look for non-flowering stems that are about 4-6 inches long.
- Make a clean cut. Use your sharp shears to cut just below a leaf node (the point where a leaf attaches to the stem).
- Remove the lower leaves. Strip off any leaves from the bottom half of the cutting. This prevents them from rotting in the soil.
- Optional: Dip in rooting hormone. If you’re using it, dip the cut end of the stem into the rooting hormone, tapping off any excess.
- Plant the cuttings. Insert the cut end into your prepared potting mix. I usually plant 2-3 cuttings per pot, spaced a couple of inches apart.
- Water lightly. Moisten the soil, but again, avoid saturation.
The “Secret Sauce” (Pro Tips)
Here are a few little tricks I’ve learned over the years that really make a difference:
- Don’t crowd your cuttings. Give each stem a bit of breathing room in the pot. This helps with air circulation, which is key to preventing rot.
- Bottom heat is your friend. If you’re using stem cuttings, placing your pots on a heated propagation mat can dramatically speed up root formation. It mimics the warmth of spring soil, giving those roots the signal to grow. You don’t need anything fancy, just a gentle, consistent warmth.
- Humidity is crucial for cuttings. Once you plant your stem cuttings, immediately cover the pot with a clear plastic bag or a humidity dome. This traps moisture around the leaves and stem, preventing them from drying out while they work on developing roots. Make sure the leaves aren’t constantly touching the plastic, as this can encourage mildew.
Aftercare & Troubleshooting
Once you’ve got your little plantlets potted up, it’s time for a bit of nurturing.
- For divisions: Keep the soil consistently moist but not wet. Place them in a bright spot out of direct, intense sun. They should start showing signs of new growth within a few weeks.
- For stem cuttings: Keep them covered and in bright, indirect light. Check the soil moisture every few days – you want it to feel like a wrung-out sponge. You can gently tug on a cutting after a few weeks; if there’s resistance, you’ve got roots!
- Signs of trouble: The most common issue is rot, which usually shows up as mushy, black stems or leaves. This is almost always a sign of too much moisture and poor air circulation. If you see this, you might need to remove the affected cutting and let the soil dry out more. Yellowing leaves can sometimes mean too much or too little water, or not enough light.
A Little Patience Goes a Long Way
Propagating plants is such a rewarding journey, and Plantago amplexicaulis is a wonderful plant to practice with. Don’t be discouraged if your first few attempts aren’t perfect. Keep observing your plants, adjust your watering and light, and most importantly, enjoy the process of watching new life emerge. Happy gardening!
Resource:
https://identify.plantnet.org/k-world-flora/species/Plantago%20amplexicaulis%20Cav./data