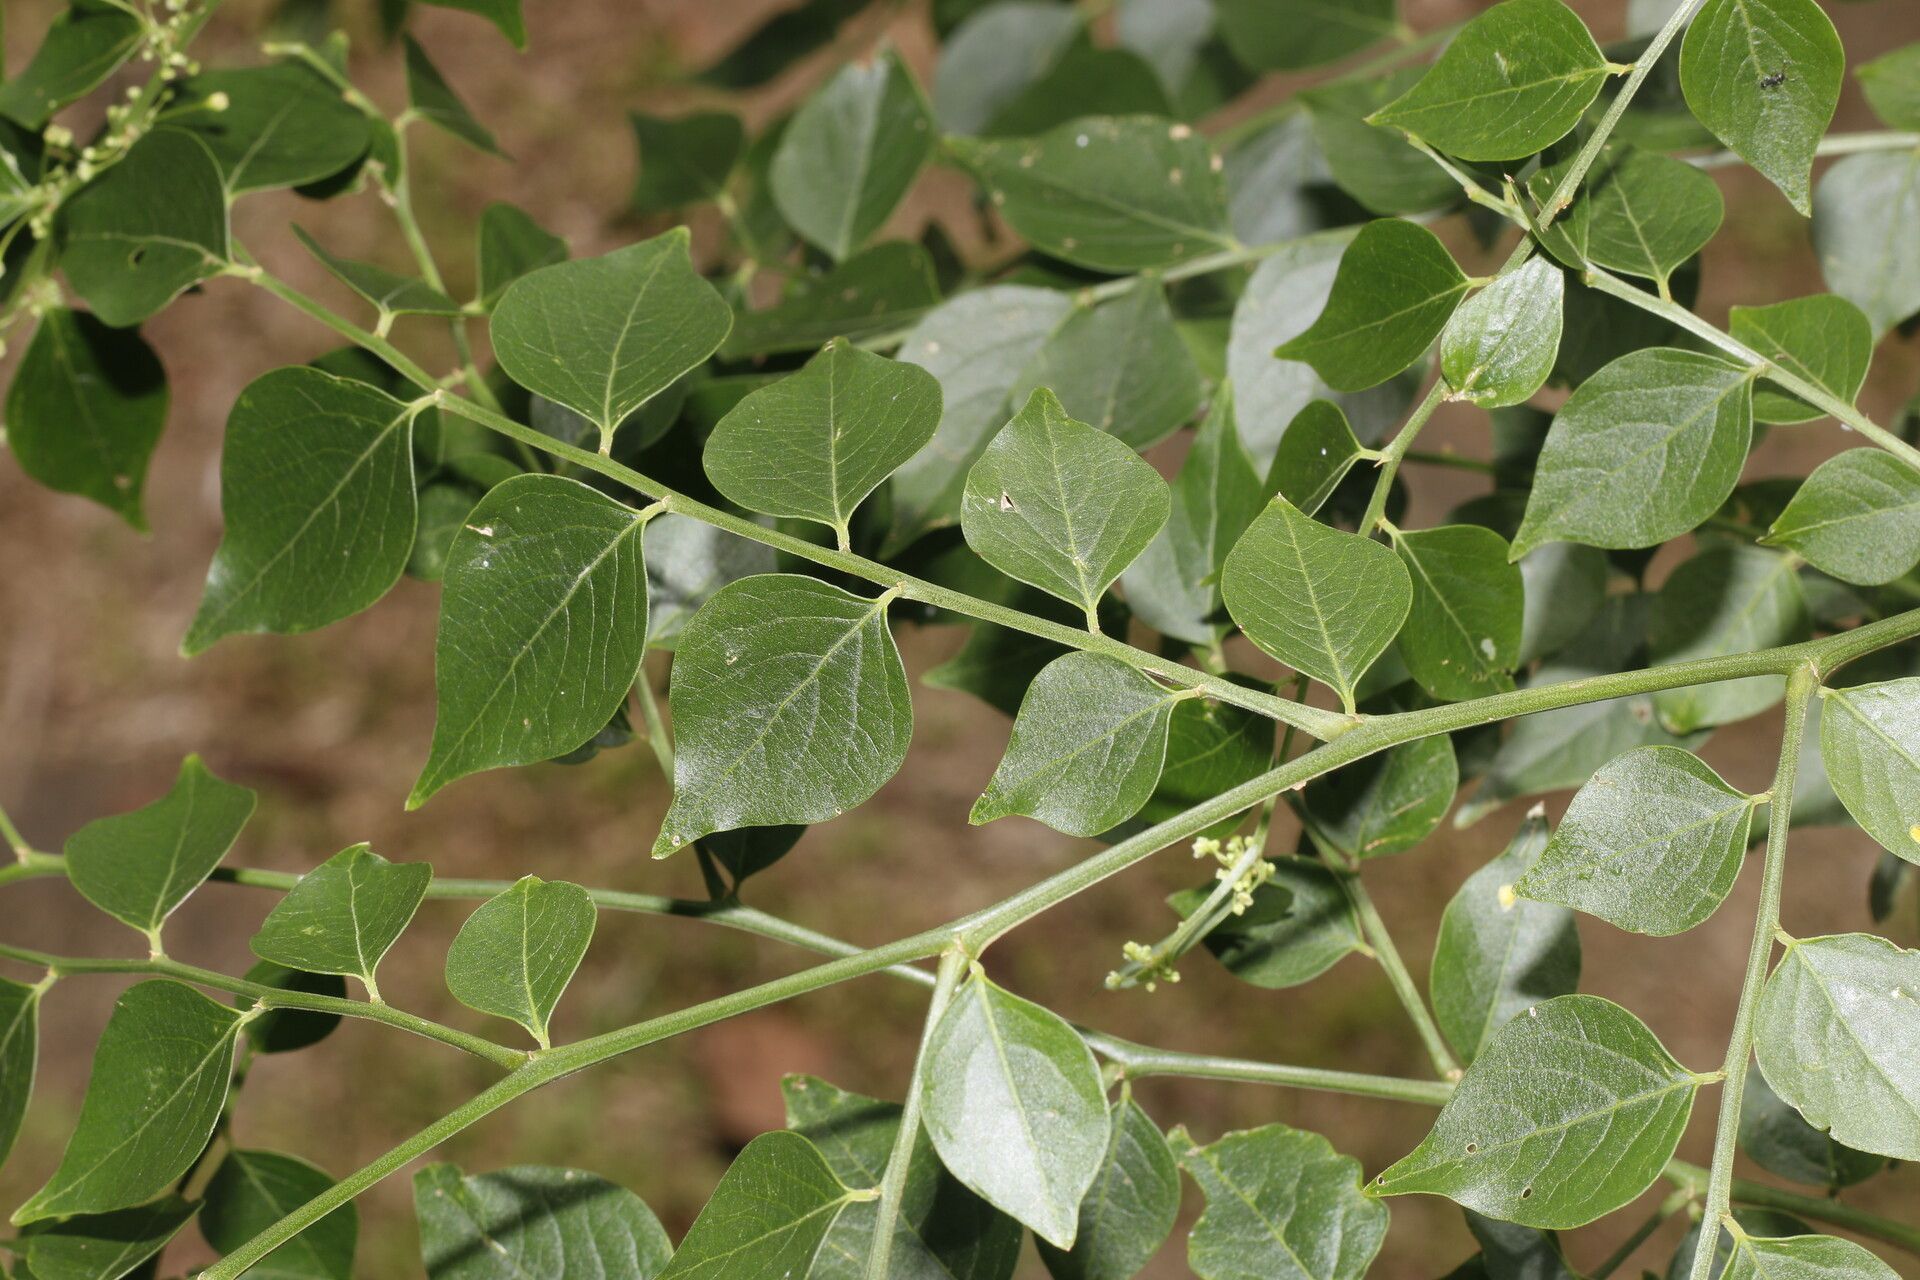
Hey there, fellow plant lovers! Today, we’re diving into the wonderful world of propagating Phyllanthus acuminatus. This little gem, with its delicate, lacy foliage and often a lovely cascading habit, is such a joy to have around. Whether you’re aiming to fill out a hanging basket, share with a friend, or just expand your collection, growing new Phyllanthus from your existing plants is incredibly rewarding. And guess what? It’s a pretty straightforward process, even if you’re just starting your propagation adventure.
The Best Time to Start
For the absolute best success, I find late spring to early summer is your golden window. This is when the plant is really in its active growth phase, soaking up the longer days and warmer temperatures. Cuttings taken during this time tend to root with gusto! You can certainly try at other times, but you might find things move a bit slower.
Supplies You’ll Need
Gathering your supplies beforehand makes the whole process so much smoother. Here’s what I usually have on hand:
- Sharp, clean pruning shears or a sharp knife: Crucial for making clean cuts to prevent disease.
- Rooting hormone (optional but recommended): Helps speed up the process and increases success rates. I like a powder or gel form.
- Well-draining potting mix: A standard houseplant mix with added perlite or coarse sand is ideal. You want to avoid soggy soil at all costs.
- Small pots or trays: Clean ones are a must! Small propagation pots or even clean yogurt cups with drainage holes work fine.
- Clear plastic bags or propagation domes: To create a humid environment for your cuttings.
- Water: For watering your cuttings and for water propagation if you choose that method.
- Spray bottle: For misting.
Propagation Methods
Phyllanthus acuminatus is quite amenable to a couple of easy propagation techniques. Let’s get our hands dirty!
1. Stem Cuttings: My Go-To Method
This is my absolute favorite way to multiply Phyllanthus. It’s quick and usually very successful.
- Take Your Cuttings: Select a healthy, vigorous stem from your established plant. You’re looking for stems that are not too woody but also not brand-new, soft growth. Aim for cuttings that are 4-6 inches long. Using your clean shears, make a cut just below a leaf node (where a leaf attaches to the stem).
- Prepare the Cuttings: Gently remove the lower leaves from your cutting, leaving just a few at the top. This prevents the submerged leaves from rotting. If the remaining leaves are very large, you can cut them in half to reduce water loss through transpiration.
- Apply Rooting Hormone (Optional): Dip the cut end of the stem into rooting hormone, tapping off any excess.
- Plant Your Cuttings: Fill your small pots with your well-draining potting mix. Make a small hole in the center with your finger or a pencil. Gently insert the cut end of the stem into the hole, ensuring it’s snug. Firm the soil around it.
- Water and Cover: Water the soil thoroughly until it’s moist but not waterlogged. Cover the pot loosely with a clear plastic bag or a propagation dome. This traps humidity, which is vital for cuttings. You want to create a mini-greenhouse effect.
2. Water Propagation: A Terrarium-Like Approach
This method is wonderfully visual as you can watch your roots develop!
- Take and Prepare Cuttings: Follow the same steps as above for taking and preparing your stem cuttings.
- Place in Water: Put your prepared cuttings into a clean jar or glass filled with room-temperature water. Make sure the leaf nodes where you removed the leaves are submerged.
- Find a Bright Spot: Place the container in a bright spot that receives indirect sunlight.
- Change the Water Regularly: Change the water every 3-4 days to keep it fresh and prevent bacteria from building up.
The “Secret Sauce” (Pro Tips)
After years of playing with plants, I’ve picked up a few tricks that seem to make a difference:
- Bottom Heat is Your Friend: If you can, place your pots of cuttings on a seedling heat mat. This gentle warmth from below encourages root development significantly. It mimics the conditions of spring soil, encouraging those roots to emerge with enthusiasm!
- Don’t Let Leaves Touch the Water (for Water Prop): When using the water propagation method, if leaves are submerged, they are much more likely to rot. This can release bacteria into the water that end up harming your cuttings. So, trim those lower leaves to ensure only the stem is in the water.
- Patience is Key with Rooting Hormone: While rooting hormone is fantastic, remember it’s a boost, not a magic wand. Sometimes, even with it, roots take a little while. Don’t be tempted to pull up a cutting too soon to check for roots – you’ll just disturb any developing root hairs.
Aftercare & Troubleshooting
Once your cuttings have started to grow and you see new leaves emerging, it’s a good sign that roots are forming!
- Transitioning from Water: If you propagated in water, wait until the roots are about an inch long before carefully transplanting them into pots with your well-draining soil mix, just as you would a fresh cutting.
- Acclimatizing: Gradually introduce your new plants to normal room humidity. If you’ve had them under a plastic bag, start by opening the bag for a few hours each day, before removing it entirely.
- Watering: Water when the top inch of soil feels dry. They’ll need consistent moisture but absolutely no soggy feet.
- Common Issues: The most common problem you’ll encounter is rot. This usually happens from overwatering or poor drainage. If you see your cutting turning mushy or blackening, it’s likely rot. Unfortunately, there’s not much to be done for a rotted cutting, but it’s a good lesson. A lack of growth could mean it hasn’t rooted yet, or it might not have been successful. For water propagation, yellowing leaves and slime can also indicate bacterial issues – change that water more frequently!
A Little Encouraging Wrap-Up
Propagating Phyllanthus acuminatus is a wonderful way to connect with your plants and watch new life emerge. Don’t be discouraged if your first attempt isn’t perfect. Gardening is all about learning and experimenting! Be patient with your little propagations, give them lots of light, and enjoy the process of nurturing them into their own beautiful plants. Happy growing!
Resource:
https://identify.plantnet.org/k-world-flora/species/Phyllanthus%20acuminatus%20Vahl/data