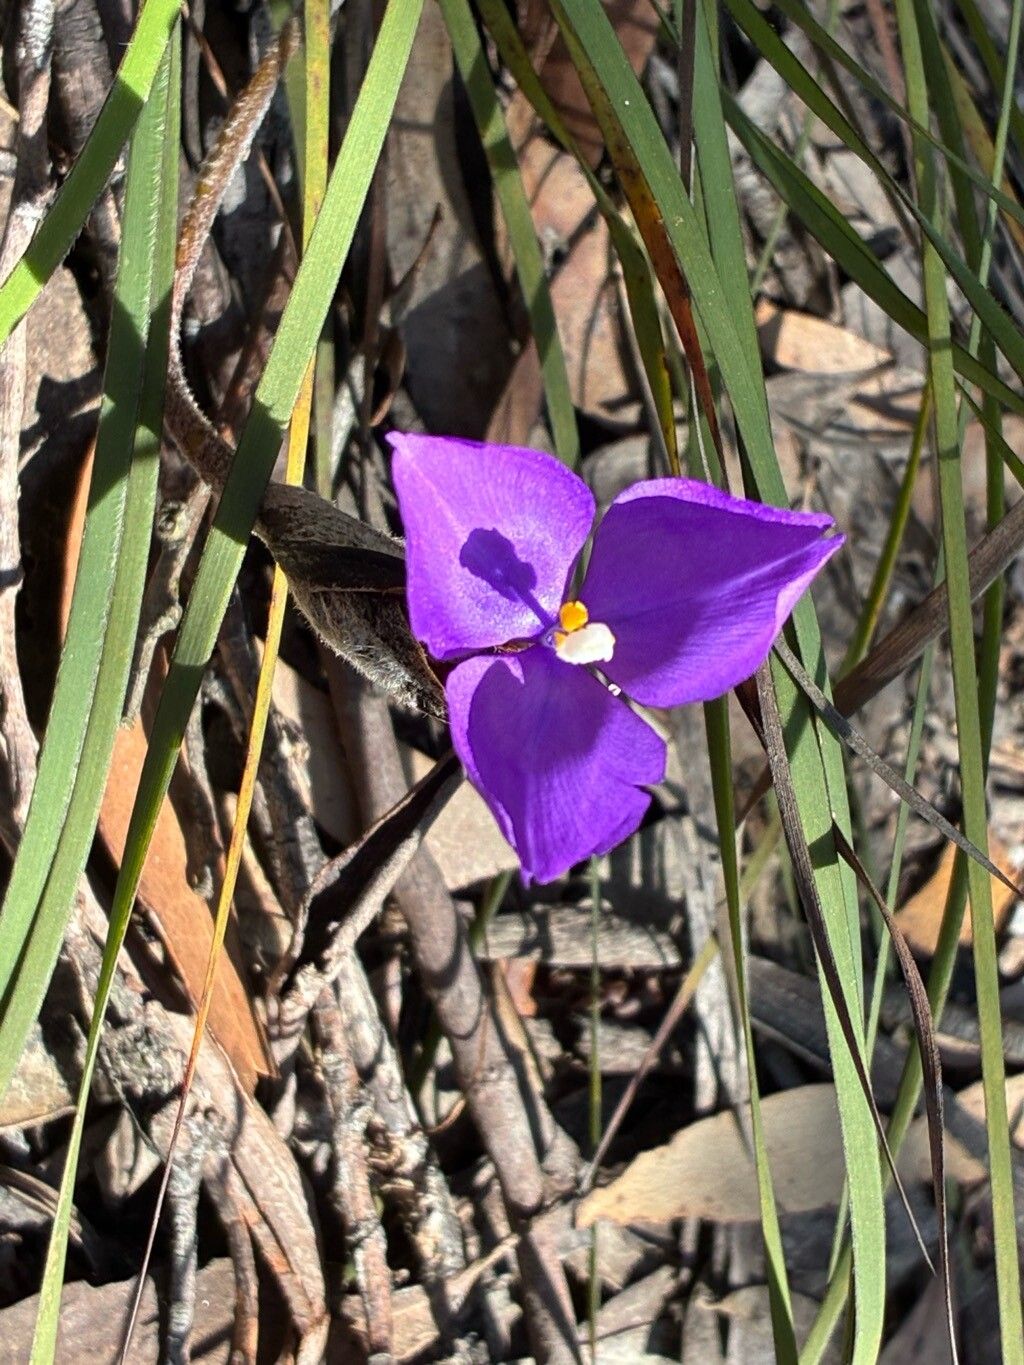
Hello, fellow plant lovers! Today, I want to talk about a truly special Australian native – Patersonia sericea, often called the purple flag iris or native iris. Its elegant, iris-like purple flowers are a stunner in any garden, and truthfully, there’s something incredibly satisfying about coaxing a new plant into existence from a small piece of its parent. If you’re new to the world of plant propagation, this one might seem a tiny bit finicky at first, but with a little patience and a few key steps, you’ll be well on your way to success.
The Best Time to Start
For Patersonia sericea, the sweet spot for starting new plants is generally late spring to early summer. This is when the plant is actively growing after the cooler months, and its energy is focused on new development. You want to work with healthy, vigorous material. Waiting until after the main flowering flush can also be a good time, as you’re often harvesting material that would naturally be shed anyway.
Supplies You’ll Need
Here’s what I like to have on hand:
- Sharp pruning shears or secateurs: Clean cuts are crucial.
- A good quality propagation mix: I usually aim for a mix that drains exceptionally well. Think perlite, coarse sand, and a bit of peat moss or coco coir. You can also use a standard potting mix with added perlite.
- Small pots or trays: Clean containers, with drainage holes, are a must.
- Rooting hormone (optional but recommended): A powdered hormone can really give your cuttings a boost.
- A spray bottle: For misting your cuttings.
- A pen and plant tags: To label your precious new babies!
Propagation Methods
The most reliable way to propagate Patersonia sericea is through division, especially for more established clumps. While stem cuttings can sometimes work, they can be a bit more challenging.
Method 1: Division
- Gently excavate: With a spade or sturdy trowel, carefully dig around the base of your Patersonia sericea plant. You want to lift the entire clump, being mindful of the roots.
- Loosen the soil: Once out of the ground, gently shake or brush away some of the excess soil. You’ll see the plant is made up of multiple shoots or fans, often connected by rhizomes.
- Separate the divisions: This is where your secateurs come in hand. You’re looking for sections of the plant that have their own roots and a few healthy shoots. Carefully cut through the rhizomes to separate these divisions. Sometimes you can gently pull them apart with your hands, but a clean cut ensures you don’t damage them unnecessarily.
- Potting up: Trim any damaged roots. Pot each division into its own pot filled with your well-draining propagation mix. Ensure the base of the leaves is just at the soil surface.
- Water well: Water thoroughly to settle the soil.
Method 2: Stem Cuttings (More Challenging)
- Select healthy shoots: Look for new, firm shoots that are about 10-15 cm long. Avoid anything that’s flowering or woody.
- Make the cut: Using your sharp secateurs, take cuttings just below a leaf node (where a leaf emerges from the stem).
- Prepare the cutting: Remove any lower leaves that might rot once in the soil. If you have very long leaves, you can even cut them in half lengthwise to reduce water loss.
- Dip in rooting hormone: If you’re using rooting hormone, dip the cut end of the stem into the powder, tapping off any excess.
- Plant the cuttings: Insert the cuttings into pots filled with your well-draining propagation mix. Make a small hole with a pencil first to avoid knocking off the rooting hormone. Firm the soil gently around the stem.
- Water and cover: Water gently. You can create a mini-greenhouse effect by covering the pot with a clear plastic bag or a propagator lid. This helps maintain humidity.
The “Secret Sauce” (Pro Tips)
Here are a couple of things I’ve learned over the years that make a big difference:
- For divisions, don’t over-fuss the roots. While a clean break is good, if you get a bit torn, that’s okay. The plant has a surprising ability to recover. Also, ensure each division has at least a couple of shoots and a decent root system. A shoot without roots is unlikely to survive.
- When attempting cuttings, bottom heat can be a game-changer. If you have a heat mat designed for seedlings, placing your pots on it can significantly speed up root development. However, if you don’t have one, don’t worry – good ambient warmth from a sunny windowsill will still work, it just might take longer.
Aftercare & Troubleshooting
Once your Patersonia sericea divisions or cuttings are potted up, keep them in a bright, indirect light spot. Avoid direct, scorching sun which can quickly dry out tender new growth.
- Watering: Keep the soil consistently moist but never waterlogged. The key is to let the surface of the soil dry slightly between waterings. Misting the leaves of cuttings can help keep them turgid, but once they’re established as divisions, focus on watering the soil.
- New growth is the sign: You’ll know your propagation has been successful when you see new shoots or leaves emerging from the base of the plant or the cutting. This usually takes a few weeks to a couple of months, depending on conditions.
- Signs of trouble: The most common sign of failure is rot. If your cuttings look black and mushy, or if divisions appear to be dying back rapidly and are soft to the touch, it’s usually a sign of too much moisture and poor drainage. Unfortunately, rotten material is usually a lost cause.
A Bit of Patience Goes a Long Way
Propagation is a journey, and Patersonia sericea certainly teaches us that. Don’t be discouraged if your first attempt isn’t a roaring success. Each experience teaches you something new. Celebrate the small victories, enjoy the process of nurturing these struggling cuttings, and soon enough, you’ll be rewarded with beautiful new purple flag irises to enjoy and share. Happy propagating!
Resource:
https://identify.plantnet.org/k-world-flora/species/Patersonia%20sericea%20R.Br./data