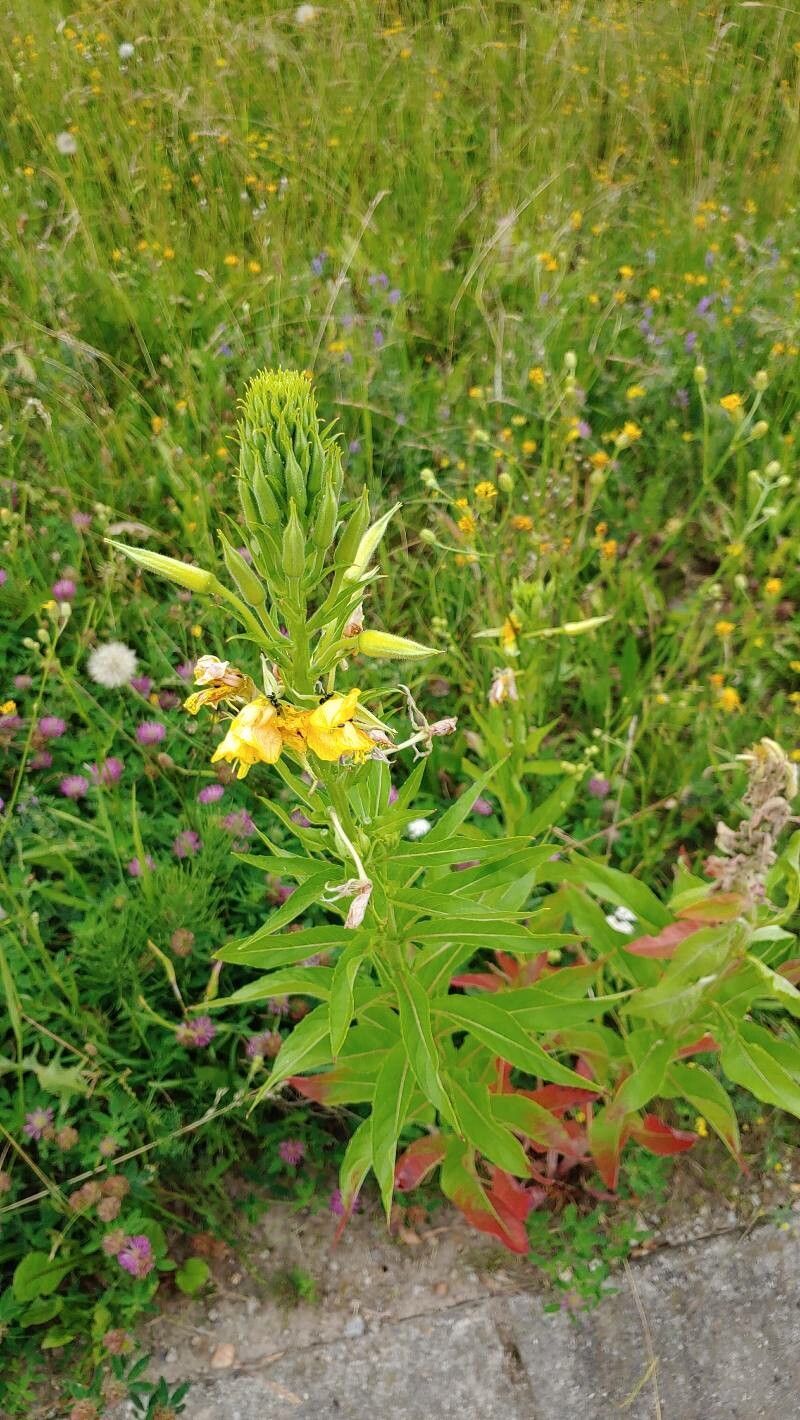
Hey there, fellow garden lovers! Today, we’re diving into the wonderful world of Oenothera grandiflora, the magnificent large-flowered evening primrose. If you’ve ever seen its sunny, buttery blooms unfurling in the late afternoon or evening, you know the sheer joy it brings. Trust me, adding more of these beauties to your garden is a fantastic idea, and propagating them yourself is incredibly rewarding. It’s a very approachable plant, making it perfect for anyone dabbling in propagation for the first time.
The Best Time to Start
When it comes to Oenothera grandiflora, spring is your absolute best friend. Think late April or May, just as things are really starting to kick into gear after the last frost. You want to catch the plant when it’s putting on fresh, vigorous growth. You can also have success with cuttings taken in early summer, but spring usually gives you the strongest start.
Supplies You’ll Need
Here’s what I usually gather before I start:
- Sharp pruning shears or a clean knife: A clean cut is crucial.
- Seed-starting mix or a well-draining potting mix: Avoid heavy, water-retentive soils. A good mix of peat moss, perlite, and compost works wonders.
- Small pots or trays: Make sure they have drainage holes.
- Rooting hormone (optional but helpful): Especially if you’re a bit nervous.
- Watering can with a fine rose or a spray bottle: Gentle watering is key.
- Labels: So you don’t forget what you planted where!
Propagation Methods
Oenothera grandiflora is wonderfully generous, and you have a couple of go-to methods for making more plants.
Stem Cuttings
This is my favorite way to propagate evening primrose. It’s straightforward and often yields great results.
- Select your stems: Look for healthy, non-flowering shoots. Aim for stems that are about 4-6 inches long. Gently snap a few off at the base, or use your clean shears to make a cut just below a leaf node (where a leaf attaches to the stem).
- Prepare the cuttings: Remove the lower leaves. You want to expose a bit of the stem for rooting. Leave just a couple of leaves at the top. If your leaves are quite large, you can even cut them in half to reduce water loss.
- Apply rooting hormone (if using): Dip the cut end of the stem into your rooting hormone. Tap off any excess.
- Plant the cuttings: Make a small hole in your prepared potting mix with a pencil or your finger. Insert the cut end of the stem into the hole, making sure the leaf nodes are buried. Gently firm the soil around the stem.
- Water gently: Use your watering can or spray bottle to lightly moisten the soil. You want it damp, not soggy.
- Provide humidity: I like to cover my pots with a plastic bag or a propagator lid to create a humid environment. Just make sure to open it daily for a few minutes to allow for air circulation and prevent mildew.
- Find a bright spot: Place the pots in a location that receives bright, indirect light. Avoid direct, harsh sunlight, which can scorch the new cuttings.
- Be patient! You should see signs of rooting within 3-6 weeks. You can gently tug on a cutting; if there’s resistance, roots have formed.
Division
If you already have a mature Oenothera grandiflora, division is a super simple way to create new plants.
- Dig carefully: In early spring or fall, when the plant is dormant or just waking up, dig around the base of the plant. You want to lift the entire root ball out of the ground.
- Separate the clumps: Gently shake off excess soil. You’ll likely see that the plant has clumped up. You can usually just pull the clumps apart with your hands. If they’re stubborn, use a sharp spade or your knife to slice through the root ball.
- Replant immediately: Now, get those divisions into the ground or pots right away. Plant them at the same depth they were previously growing.
- Water well: Give them a good soak to help them settle in.
The “Secret Sauce” (Pro Tips)
Here are a couple of things I’ve learned over the years that make a real difference:
- Don’t let your cuttings touch the water: Whether you’re attempting water propagation (which I find less reliable for primrose than cuttings, but possible with good technique) or using moist soil, ensure the leaves aren’t sitting in stagnant water. This is a fast track to rot.
- Bottom heat is your friend: If you can, placing your pots on a small propagation mat that provides gentle bottom heat can significantly speed up root development. It mimics the warmth of the soil in spring and gives those eager roots a little nudge.
Aftercare & Troubleshooting
Once you see those little roots developing, it’s time for a slight shift in care.
- Gradual acclimatization: If you’ve used a humidity dome, gradually remove it over a week or so to help your new plants adjust to normal humidity levels.
- Gentle watering: Continue to keep the soil consistently moist, but never waterlogged. Water when the top inch of soil starts to feel dry.
- Transition to slightly more light: As they grow stronger, you can slowly introduce them to a little more direct sunlight, but still watch out for scorching in the hottest part of the day.
- Watch for rot: The most common issue you’ll face is rot, which looks like a mushy, black stem. This is usually a sign of overwatering or poor drainage. If you see it, sadly, that cutting is likely lost. It’s a good reminder to ensure good air circulation and avoid soggy soil. Yellowing leaves can sometimes indicate too little light or underwatering.
A Warm Encouraging Closing
Propagating Oenothera grandiflora is such a rewarding journey. Don’t get discouraged if every single cutting doesn’t make it – that’s part of the learning process for all of us! Just keep experimenting, observe your plants, and most importantly, enjoy the magic of watching new life emerge. Happy gardening!
Resource:
https://identify.plantnet.org/k-world-flora/species/Oenothera%20grandiflora%20L’Hér./data