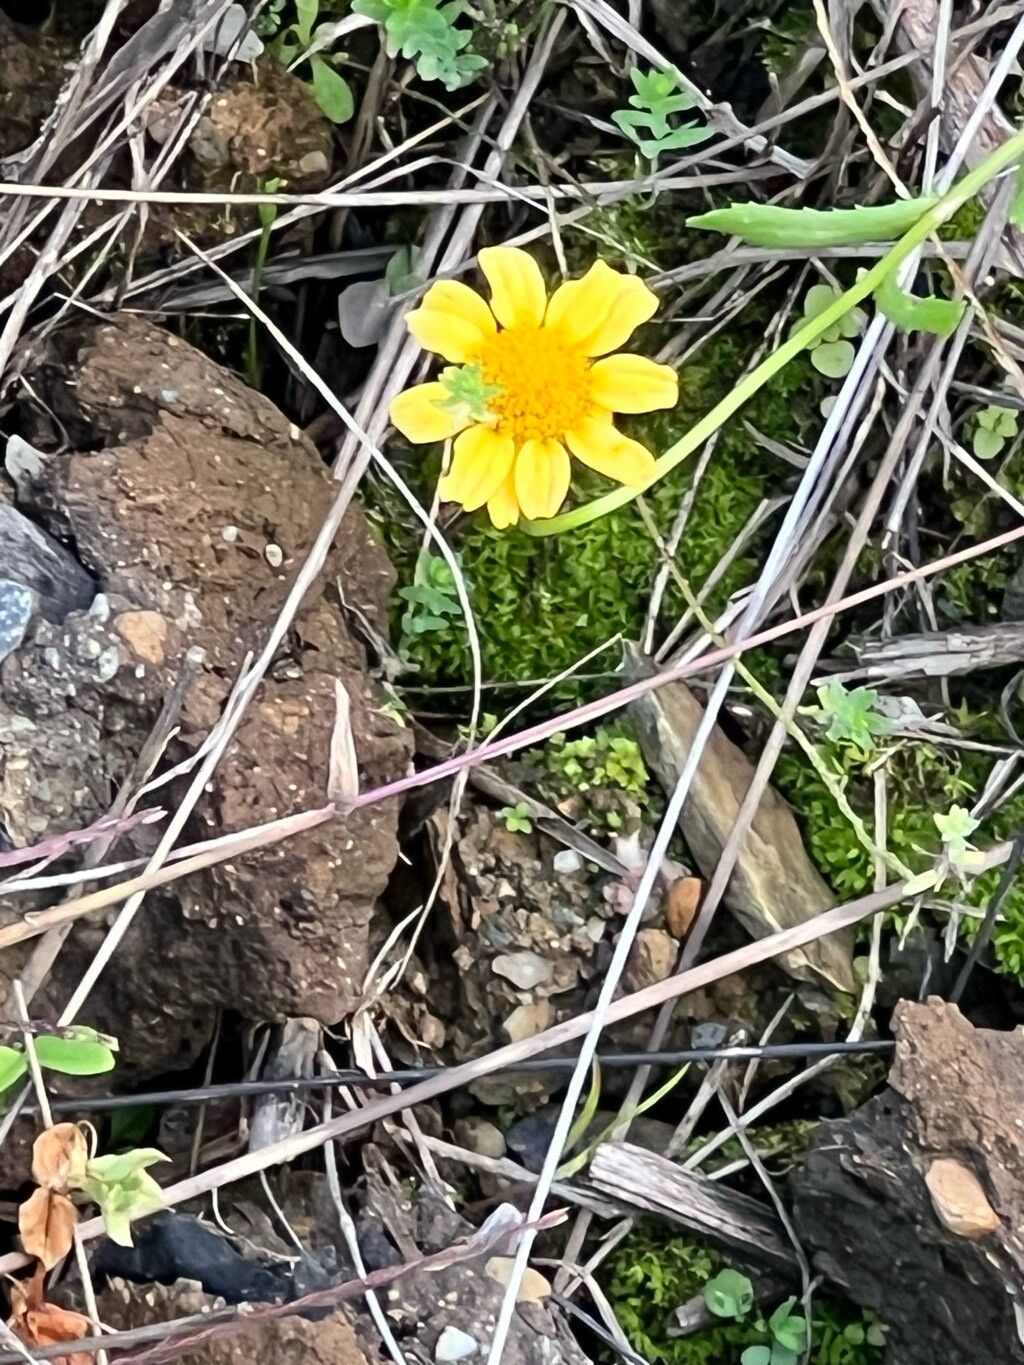
Hello there, fellow garden enthusiasts! Today, I want to chat about a bloom that’s really captured my heart lately: Monolopia gracilens. You might know it by its common name, California Poppy Daisy, though it’s a bit more delicate than its prolific poppy cousins. Its sunny, cheerful petals always bring a smile to my face, and honestly, there’s something so incredibly rewarding about coaxing new life from a parent plant. If you’re new to gardening, I’d say Monolopia gracilens is a lovely plant to start with for propagation. It’s quite forgiving, which makes the whole process all the more enjoyable.
The Best Time to Start
For Monolopia gracilens, the sweet spot for propagation is definitely during its active growing season. Think late spring into early summer. This is when the plant is full of vigor and has the energy to dedicate to rooting new growth. You’ll see the most success if you take cuttings or sow seeds when the plant is actively producing fresh, healthy shoots.
Supplies You’ll Need
Gathering your tools beforehand makes the whole process smoother. Here’s what I always have on hand:
- Sharp, clean pruning shears or a sharp knife: For taking clean cuttings.
- Well-draining potting mix: A blend of peat moss, perlite, and a little compost works beautifully.
- Small pots or seed trays: Whatever suits your propagation method.
- Rooting hormone (optional but recommended): A powder or gel can really give cuttings a head start.
- Spray bottle: For misting your cuttings.
- Plastic seedling tray or a clear plastic bag: To create a mini greenhouse effect.
- Small trowel or dibber: For planting seeds or cuttings.
Propagation Methods
Monolopia gracilens is quite obliging and can be propagated a couple of ways. I find stem cuttings to be incredibly effective.
Stem Cuttings
- Select healthy stems: Look for young, non-flowering shoots that are about 4-6 inches long. They should be firm, not woody.
- Make the cut: Using your sharp shears, take a clean cut just below a leaf node. This is where the plant has the best chance of forming roots.
- Prepare the cutting: Gently remove the lower leaves, leaving just 2-3 at the top. If the leaves are large, you can even snip them in half to reduce water loss.
- Apply rooting hormone (if using): Dip the cut end into your rooting hormone, tapping off any excess.
- Plant your cuttings: Fill your small pots with your well-draining mix. Make a small hole with a dibber or your finger and insert the cutting, firming the soil gently around it.
- Water gently: Water thoroughly but softly, so you don’t dislodge the cuttings.
- Create a humid environment: Place the pots in a plastic seedling tray or cover them loosely with a clear plastic bag. This helps maintain humidity, which is crucial for cuttings to root.
Seed Sowing
If you’re lucky enough to collect seeds, sowing them fresh is often best.
- Prepare your trays: Fill seed trays with a light seed-starting mix.
- Sow the seeds: Sprinkle the seeds evenly on the surface of the soil. Monolopia gracilens seeds are quite small, so a light dusting is all you need.
- Cover lightly: You can lightly press the seeds into the soil or cover them with a very thin layer of vermiculite or fine potting mix.
- Water and cover: Water gently and cover the trays with plastic wrap or a dome. This keeps the moisture in.
The “Secret Sauce” (Pro Tips)
Now, for a few little tricks I’ve learned over the years that can really boost your success:
- Cleanliness is key! Always make sure your tools are clean before you start. This prevents the spread of any nasty little diseases that could harm your cuttings or seeds. A quick wipe with rubbing alcohol is all it takes.
- When you’re doing water propagation (which you can also try for Monolopia gracilens by placing cuttings in water), make sure no leaves are submerged. If they are, they’ll just rot, and that’s not what we want. Change the water every few days, too.
- For stem cuttings, I’ve found that a little bit of bottom heat can make a world of difference. If you have a seedling heat mat, placing your pots on it can really encourage root development. It mimics the warmth of the soil in the summer.
Aftercare & Troubleshooting
Once your cuttings have started to root (you’ll see new growth or you can gently tug on a cutting to feel resistance) or your seeds have germinated, it’s time for a little tweak in their care.
Remove the plastic cover gradually, allowing the new plants to acclimate to the drier air. Continue to keep the soil consistently moist but not waterlogged. Once they have a decent root system and are sturdy enough to handle, you can transplant them into their own individual pots.
Now, what if things aren’t going as planned? The most common problem you’ll encounter is rot. This usually happens if the soil is too wet and there’s not enough air circulation. If you see stems turning mushy or black, it’s a sign of rot. It’s best to discard affected cuttings to prevent it from spreading. Overwatering is the usual culprit, so be mindful of how much you’re watering.
A Little Patience Goes a Long Way
Propagating plants is a journey, not a race. There will be times when some cuttings don’t make it, and that’s perfectly okay. Celebrate the successes, learn from the challenges, and above all, enjoy the process of bringing more beauty into your garden. Happy propagating!
Resource:
https://identify.plantnet.org/k-world-flora/species/Monolopia%20gracilens%20A.Gray/data