Well hello there, fellow garden enthusiasts! I’m so glad you’ve stopped by. Today, we’re going to dive into the wonderful world of propagating Frangula purshiana, also known as Cascara Sagrada.
The Appeal of Cascara Sagrada
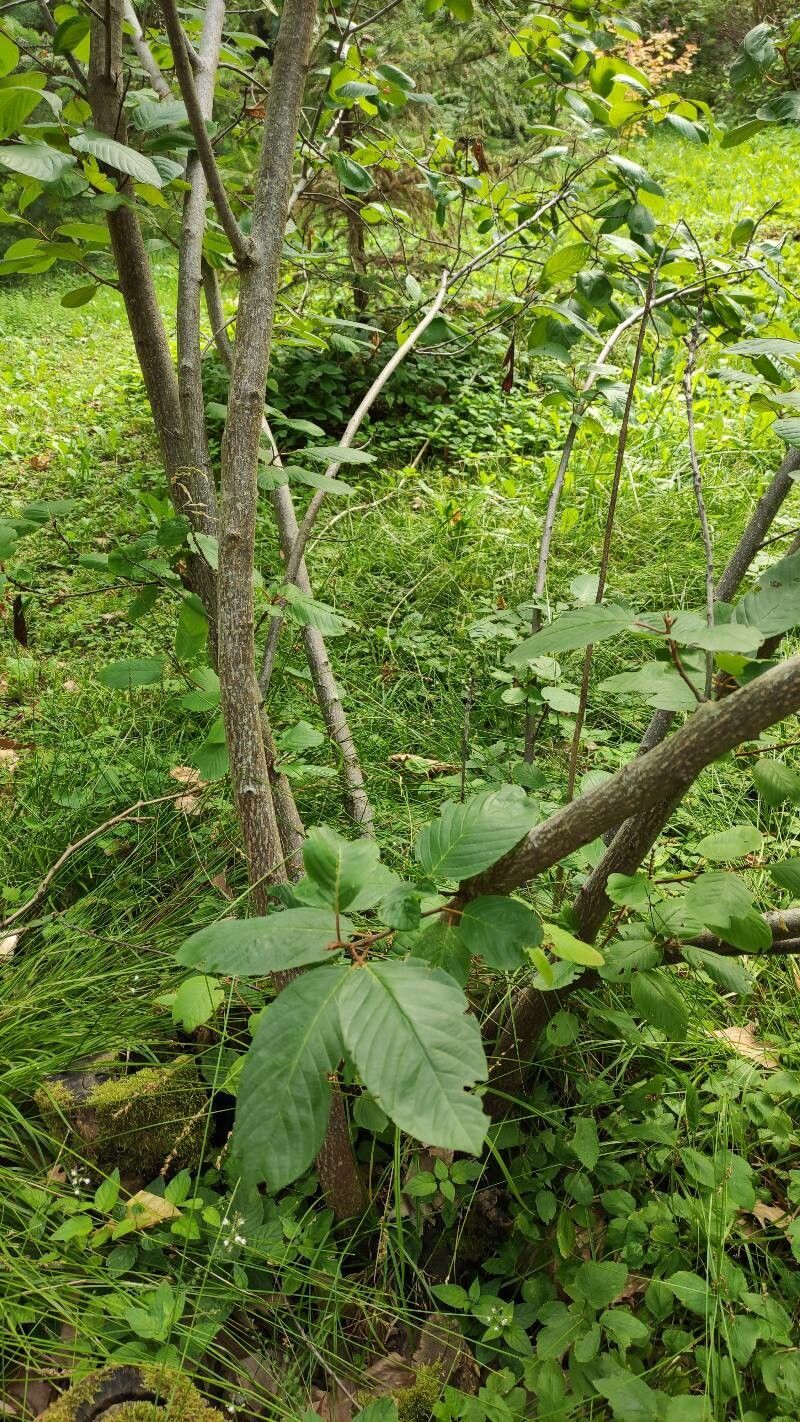
Now, Cascara Sagrada might not be the flashiest plant in the garden, but it has a quiet charm that I’ve grown to love over my many years of digging in the dirt. It’s a native shrub or small tree that offers beautiful foliage, interesting bark, and it’s a real magnet for local wildlife. And honestly, there’s something incredibly satisfying about taking a piece of a plant you love and helping it grow into something new. Is it easy for beginners? I’d say it’s moderately easy. It’s not going to throw a fit if you miss a watering, but it does appreciate a little know-how.
When to Get Your Hands Dirty
The sweet spot for propagating Frangula purshiana is generally in the late spring or early summer. This is when the plant is actively growing, and the new, semi-hardwood shoots have a good balance of flexibility and sturdiness. You’re looking for stems that are no longer floppy and green but haven’t yet become completely woody and stiff.
Your Propagation Toolkit
Before we get started, let’s make sure you have everything you need. It’s always better to be prepared!
- Sharp Pruning Shears or a Knife: Cleanliness is key here!
- Rooting Hormone: This isn’t strictly essential for Cascara, but it can give your cuttings a significant boost. I prefer a powder form.
- Small Pots or Seedling Trays: Make sure they have drainage holes.
- A Well-Draining Potting Mix: A good blend of peat moss or coco coir, perlite, and a bit of compost works wonderfully. You can also buy a specialized seed-starting mix.
- Plastic Bags or a Propagation Dome: To keep humidity high.
- Gloves: Always a good idea for working with plants.
- Optional: A Heat Mat: This can speed up root development.
Bringing New Cascara to Life
There are a couple of ways to go about this, but I find stem cuttings to be the most reliable for Frangula purshiana.
Propagating by Stem Cuttings:
- Select Your Cuttings: Head out to your Cascara plant on a mild day. Look for healthy, vigorous stems that are about 6-8 inches long. You want that semi-hardwood stage I mentioned earlier.
- Make the Cut: Using your clean shears, make a clean cut just below a leaf node (the little bump where a leaf attaches to the stem). This is where the magic happens, where roots are most likely to form.
- Prepare the Cuttings: Gently remove the lower leaves from the cutting, leaving just a few at the very top. This prevents them from rotting in the soil and reduces water loss. If you’re using a longer cutting, you can also gently scrape a small strip of bark off the bottom inch of the stem – this can encourage root growth.
- Apply Rooting Hormone: Dip the cut end of the stem into your rooting hormone, tapping off any excess.
- Pot Them Up: Fill your small pots with your prepared potting mix. Make a hole in the center of the soil with your finger or a pencil before inserting the cutting. This prevents the rooting hormone from being rubbed off. Firm the soil gently around the stem to ensure good contact.
- Water Gently: Water the soil thoroughly but gently. You don’t want to dislodge your cuttings.
- Create a Humid Environment: This is crucial! Cover the pots with a clear plastic bag, making sure the leaves don’t touch the plastic. Alternatively, use a propagation dome. If you’re using a heat mat, place the pots on top.
- Provide Bright, Indirect Light: Find a spot that gets plenty of bright, indirect light. Avoid direct sun, as it can scorch the delicate cuttings.
The “Secret Sauce” – My Expert Tips
Years of trial and error have taught me a few things that can make all the difference.
- Don’t Be Afraid of a Little Nick: When you scrape the bark off the bottom of the stem, don’t overdo it. Just a small, shallow nick is enough to expose the cambium layer, which is rich in growth hormones.
- Bottom Heat is Your Friend: While not essential, a gentle bottom heat from a propagation mat can really speed things up. It mimics the warmth of the soil in the spring and encourages those roots to form more quickly. Most plants love a cozy foundation!
- Watch for Water Droplets: If you’re using a plastic bag, make sure the leaves are not touching the condensation that forms. If they are, gently wipe them dry or adjust your covering. Those wet leaves are prime real estate for fungal diseases.
Aftercare and What to Watch For
Patience is your best friend now. Keep the soil consistently moist but not soggy. You should start to see signs of rooting within 4-8 weeks.
How do you know they’ve rooted? You can give a very gentle tug on the cutting – if there’s resistance, roots are forming! You can also look for new leaf growth. Once you see good root development, it’s time to gradually acclimate your new plants to normal humidity. Remove the plastic bag for an hour or two each day, increasing the time over a week.
What you don’t want to see is mushy, black stems, which indicates rot. This usually happens when the soil is too wet, there’s not enough air circulation, or the cuttings are too old and woody. If you spot rot, sadly, that cutting is likely lost. It’s a learning curve, and it happens to all of us!
Go Forth and Grow!
Propagating Frangula purshiana is a rewarding journey. Don’t get discouraged if your first few attempts don’t take. Every cutting, every plant, teaches us something new. So, grab your pruners, get your hands dirty, and enjoy the process of bringing more of these lovely plants into your world. Happy gardening!
Resource: