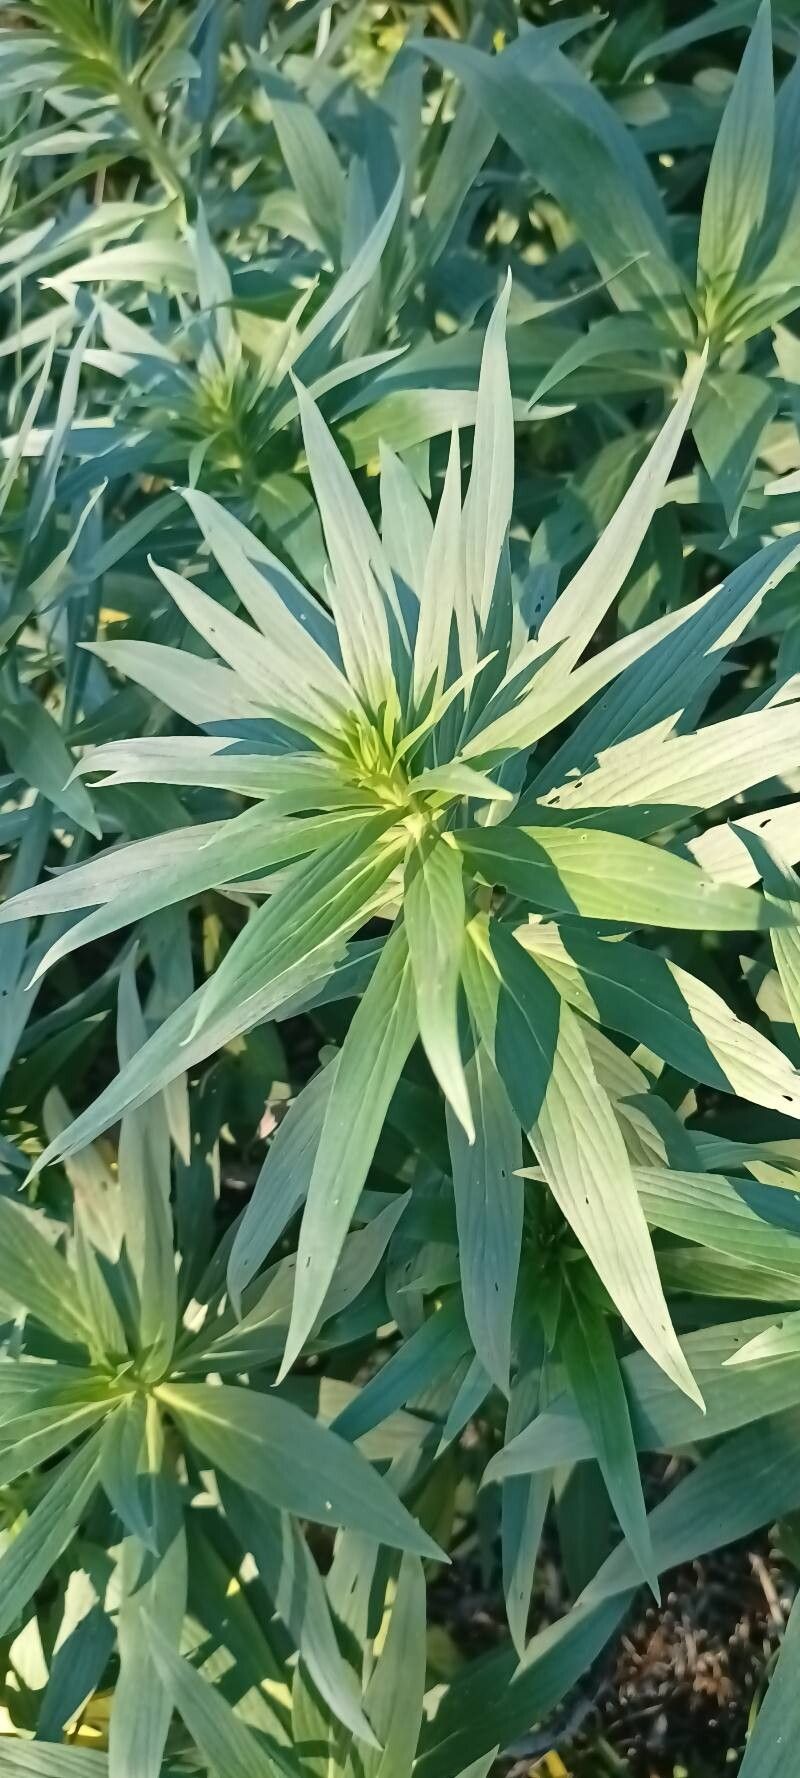
Welcome, fellow plant lovers! Today, we’re diving into the wonderful world of propagating Echium thyrsiflorum, also known as the Tower of Jewels or the Pride of Madeira. If you’ve ever seen these magnificent spires of purplish-blue flowers reaching skyward, you know why they’re such a showstopper. They add such a dramatic, architectural element to any garden, and the buzz of bees around them is pure joy.
The great news is that propagating these beauties is a really rewarding endeavor, and while they might seem a little exotic, they’re actually quite forgiving. I’d say they’re a solid choice for beginner propagators looking for a bit of a thrill!
The Best Time to Start
For the best chance of success with your Echium thyrsiflorum, I always recommend starting in the late spring or early summer. This is when the plant is in an active growth phase, and cuttings taken now will have plenty of energy to put into developing roots. Waiting until after the main flowering flush has finished is also a good bet.
Supplies You’ll Need
Gathering your supplies before you begin makes the whole process so much smoother. Here’s what I always have on hand:
- Sharp pruning shears or a clean knife: For making clean cuts.
- Rooting hormone (optional but recommended): Look for one for softwood cuttings.
- Seed starting mix or a well-draining potting mix: A blend of perlite and peat moss works wonderfully. I often add a little extra perlite for good aeration.
- Small pots or seed trays: Ensure they have drainage holes.
- Plastic bags or a propagation dome: To create a humid environment.
- Labels and a marker: To keep track of your cuttings!
- Spray bottle: For misting.
Propagation Methods
There are a couple of reliable ways to get new Echium thyrsiflorum plants going.
Stem Cuttings – My Go-To Method
This is usually the most successful route for me.
- Take your cuttings: In late spring or early summer, select a healthy, non-flowering stem. Using your clean shears, cut a section about 4-6 inches long. Make the cut just below a leaf node (where a leaf attaches to the stem).
- Prepare the cuttings: Gently remove the lower leaves, leaving just 2-3 at the top. This prevents them from rotting in the soil. If your cuttings are particularly thick, you can make a shallow vertical slit up the bottom inch of the stem.
- Apply rooting hormone (if using): Dip the cut end of the stem into your rooting hormone powder, tapping off any excess.
- Pot them up: Fill your small pots with your well-draining soil mix. Make a hole with your finger or a pencil and insert the cutting, ensuring the nodes where you removed the leaves are buried. Gently firm the soil around the base.
- Water and cover: Water the soil thoroughly until you see water drain from the bottom. Then, cover the pot with a plastic bag or place it under a propagation dome. This creates a humid environment that cuttings love.
- Provide light and warmth: Place the pots in a bright spot, but out of direct, harsh sunlight. A little bit of bottom heat from a heat mat can be a real game-changer here, encouraging roots to form faster.
Water Propagation (Less Common, but Worth a Try)
While stem cuttings are my preference, you can also try water propagation.
- Prepare your cuttings: Similar to the above, take 4-6 inch cuttings and remove the lower leaves.
- Place in water: Put the cuttings in a clean jar or vase filled with water. Make sure no leaves are submerged below the water line.
- Monitor and change water: Keep the jar in a bright location, out of direct sun. Change the water every few days to keep it fresh and prevent rot.
- Pot up when rooted: Once you see several sturdy roots developing (usually a few weeks), you can carefully transplant them into pots filled with your potting mix, just as you would with cuttings from the first method.
The “Secret Sauce” (Pro Tips)
Here are a few things I’ve learned over the years that can really boost your success:
- Don’t be afraid to take more cuttings than you think you’ll need. Not all of them will take, and that’s perfectly normal. A higher number increases your overall chances.
- Bottom heat is your friend! While not strictly essential, placing your pots on a seedling heat mat can significantly speed up root development. You’ll feel like a mad scientist, but your plants will thank you.
- When potting up stem cuttings, give them a gentle tug after a few weeks. If you feel resistance, it means roots are forming! It’s a small sign, but a very encouraging one.
Aftercare & Troubleshooting
Once you start seeing new leaf growth on your cuttings, that’s a fantastic sign that roots are developing!
- Gradually acclimate them: If you’ve used a plastic bag or dome, start by removing it for a few hours each day, slowly increasing the time until they’re used to the ambient humidity.
- Water when the top inch of soil feels dry. Avoid overwatering, as this is the most common culprit for failure.
- If your cuttings start to look yellow and limp, or develop black, mushy spots at the base, it’s likely rot. This usually means they’ve had too much water or not enough air circulation. Unfortunately, these are usually a lost cause, but don’t get discouraged – just try again!
A Little Patience Goes a Long Way
Propagating plants is a beautiful dance with nature. It’s a process that requires a bit of patience, observation, and a willingness to learn. Don’t get disheartened if your first few attempts aren’t perfect. Keep experimenting, enjoy the process of nurturing these new little lives, and before you know it, you’ll have a beautiful collection of your own Tower of Jewels to admire. Happy gardening!
Resource:
https://identify.plantnet.org/k-world-flora/species/Echium%20thyrsiflorum%20Masson%20ex%20Link/data