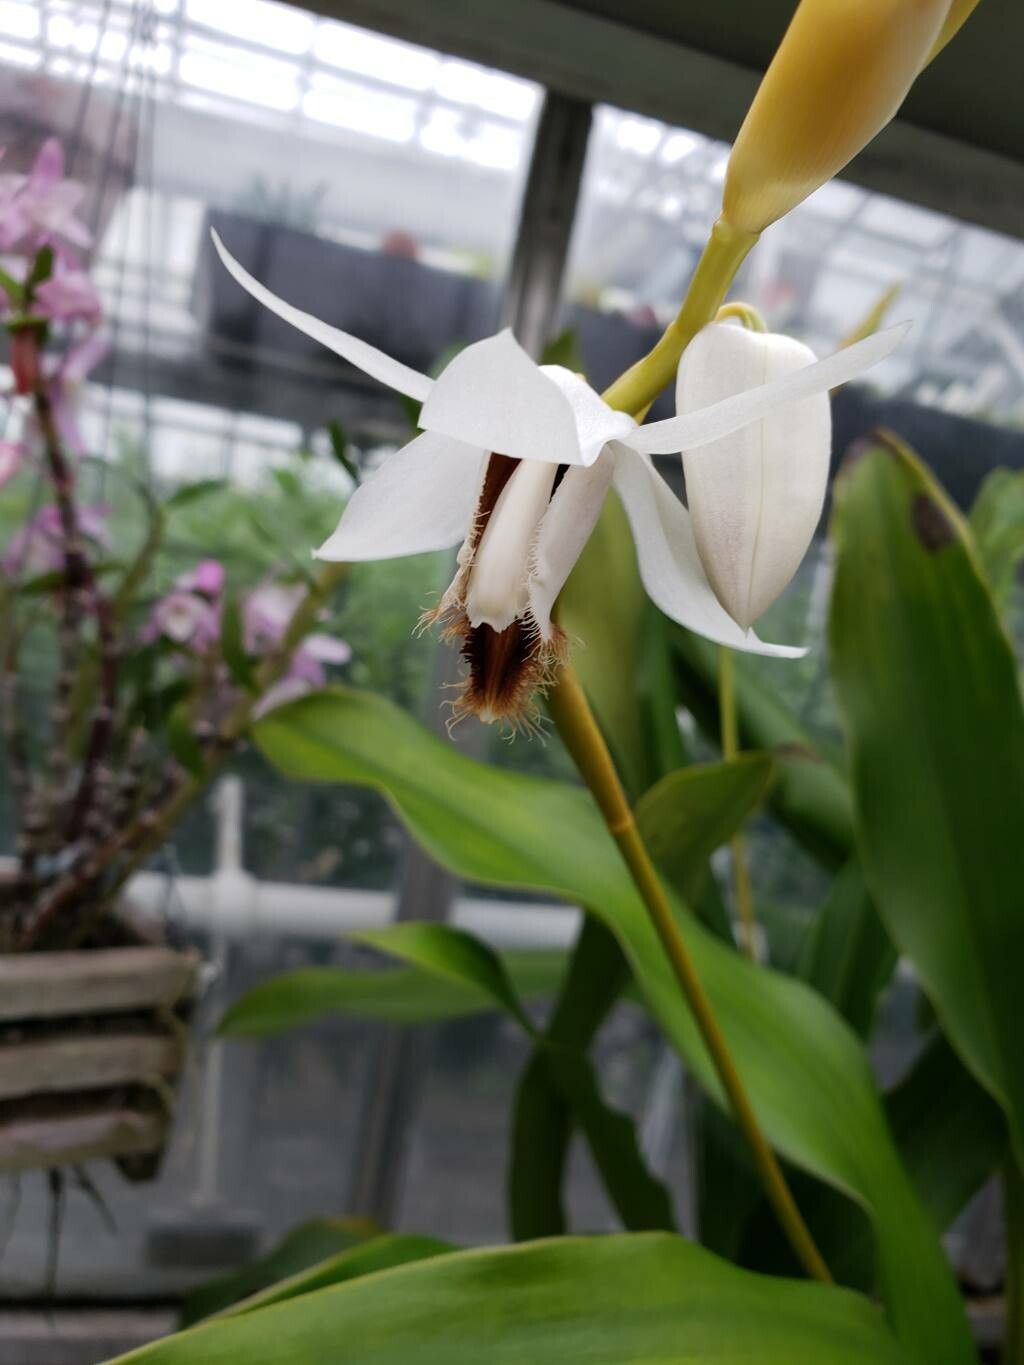
Hey there, fellow plant enthusiasts! I’m so excited to chat with you today about one of my absolute favorites: Coelogyne barbata. If you haven’t met this beauty yet, imagine a cascade of graceful, creamy-white flowers with a wonderfully fuzzy, almost beard-like lip. It’s truly enchanting and brings such a sophisticated charm to any collection. Propagating it yourself, watching those first roots emerge, is an incredibly rewarding journey. While Coelogyne barbata isn’t the absolute easiest orchid for a total beginner, it’s certainly achievable with a little care and patience. I promise, the satisfaction is well worth it!
When to Get Your Hands Dirty
The best time to embark on this propagation adventure is right after the plant has finished its blooming cycle and is entering a new growth phase. For Coelogyne barbata, this usually falls in the late spring or early summer. You’ll notice new pseudobulbs starting to plump up, and those tiny new roots will be eager to explore their surroundings. This is when the plant has the most energy stored and is ready to invest it in creating new life.
Your Propagation Toolkit
Here’s what you’ll want to have on hand before you dive in:
- Sharp, sterile pruning shears or a clean knife: For making clean cuts. A quick dip in rubbing alcohol between cuts is a good idea.
- A well-draining orchid potting mix: I often use a blend of medium-grade bark, perlite, and charcoal. Some growers also like to add a bit of sphagnum moss.
- New pots or divisions: Small pots (around 4-6 inches) are perfect for young plantlets.
- Optional: Rooting hormone: While not always necessary, it can give young cuttings a boost.
- Optional: Clear plastic bag or humidity dome: To help maintain moisture for cuttings, especially in drier environments.
- Patience! This is the most important ingredient.
Let’s Get Growing: Propagation Methods
For Coelogyne barbata, the most successful and common method is division. This orchid tends to form nice clumps over time, making it perfect for this technique.
Method: Division
- Gently remove the plant from its pot. If it’s been in the pot for a while, you might need to gently coax it out. Sometimes running a knife around the edge can help.
- Inspect the root system and pseudobulbs. Look for natural breaks where you can separate sections of the plant. You want each division to have at least 2-3 healthy pseudobulbs and a good amount of roots.
- Carefully tease apart the sections. Use your fingers as much as possible to avoid damaging the roots. If the roots are very tangled, you might need to use your sterile knife or shears to make a clean cut.
- Trim away any dead or mushy roots. Healthy roots will be firm and usually whitish or greenish.
- Pot up your divisions. Place each division in its own pot, ensuring the base of the pseudobulbs is at the surface of the potting mix. Don’t pack the mix too tightly; orchids like a bit of air around their roots.
- Water lightly. Give the newly potted divisions a gentle watering.
The “Secret Sauce”: My Insider Tips
After years of getting my hands dirty, I’ve learned a few things that can make a big difference.
- Don’t overwater after division. This is crucial! New divisions don’t have the established root system to handle too much moisture, and rot is the enemy. I usually wait a few days after potting to water, and then water sparingly, allowing the potting mix to dry out a bit between waterings.
- Provide a humid microclimate. While you don’t want them sitting in soggy conditions, a bit of extra humidity can really encourage new root and growth. Placing the pots inside a clear plastic bag with a few air holes, or under a humidity dome, can be a game-changer. Just make sure to open the bag daily for a few minutes to allow for air circulation and prevent fungal issues.
- Consider bottom heat (if possible). If you have a seedling mat, placing your newly divided plants on it for a few weeks can provide that gentle warmth that signals to the plant, “Hey, it’s time to grow!” Aim for a consistent temperature of around 70-75°F (21-24°C).
Aftercare and What to Watch For
Once your divisions are settled, the real waiting game begins. Continue to water as the potting mix dries, and misting the foliage occasionally can be beneficial, especially if you’re using the humidity dome method.
Signs of success will be new root growth peeking out of the pot or new growth emerging from the base of the pseudobulbs. Be patient; this can take weeks or even months.
Now, what about when things don’t go as planned? The most common culprit for failure with orchids is root rot, which often manifests as mushy, black, or smelly roots. If you suspect rot, gently unpot the plant, trim away all affected roots with your sterile shears, and repot in fresh, dry potting mix. You may need to reduce watering even further in this case. Yellowing leaves can also indicate stress, but usually, a healthy root system will bounce back.
Keep Nurturing Your Green Thumb
Propagating Coelogyne barbata is a wonderful way to expand your collection and share the beauty of this orchid with others. Don’t get discouraged if your first attempt isn’t perfect. Gardening is all about learning, experimenting, and observing. Enjoy the process of nurturing these new life forms, and before you know it, you’ll have a blooming collection of your own making. Happy growing!
Resource:
https://identify.plantnet.org/k-world-flora/species/Coelogyne%20barbata%20Lindl.%20ex%20Griff./data