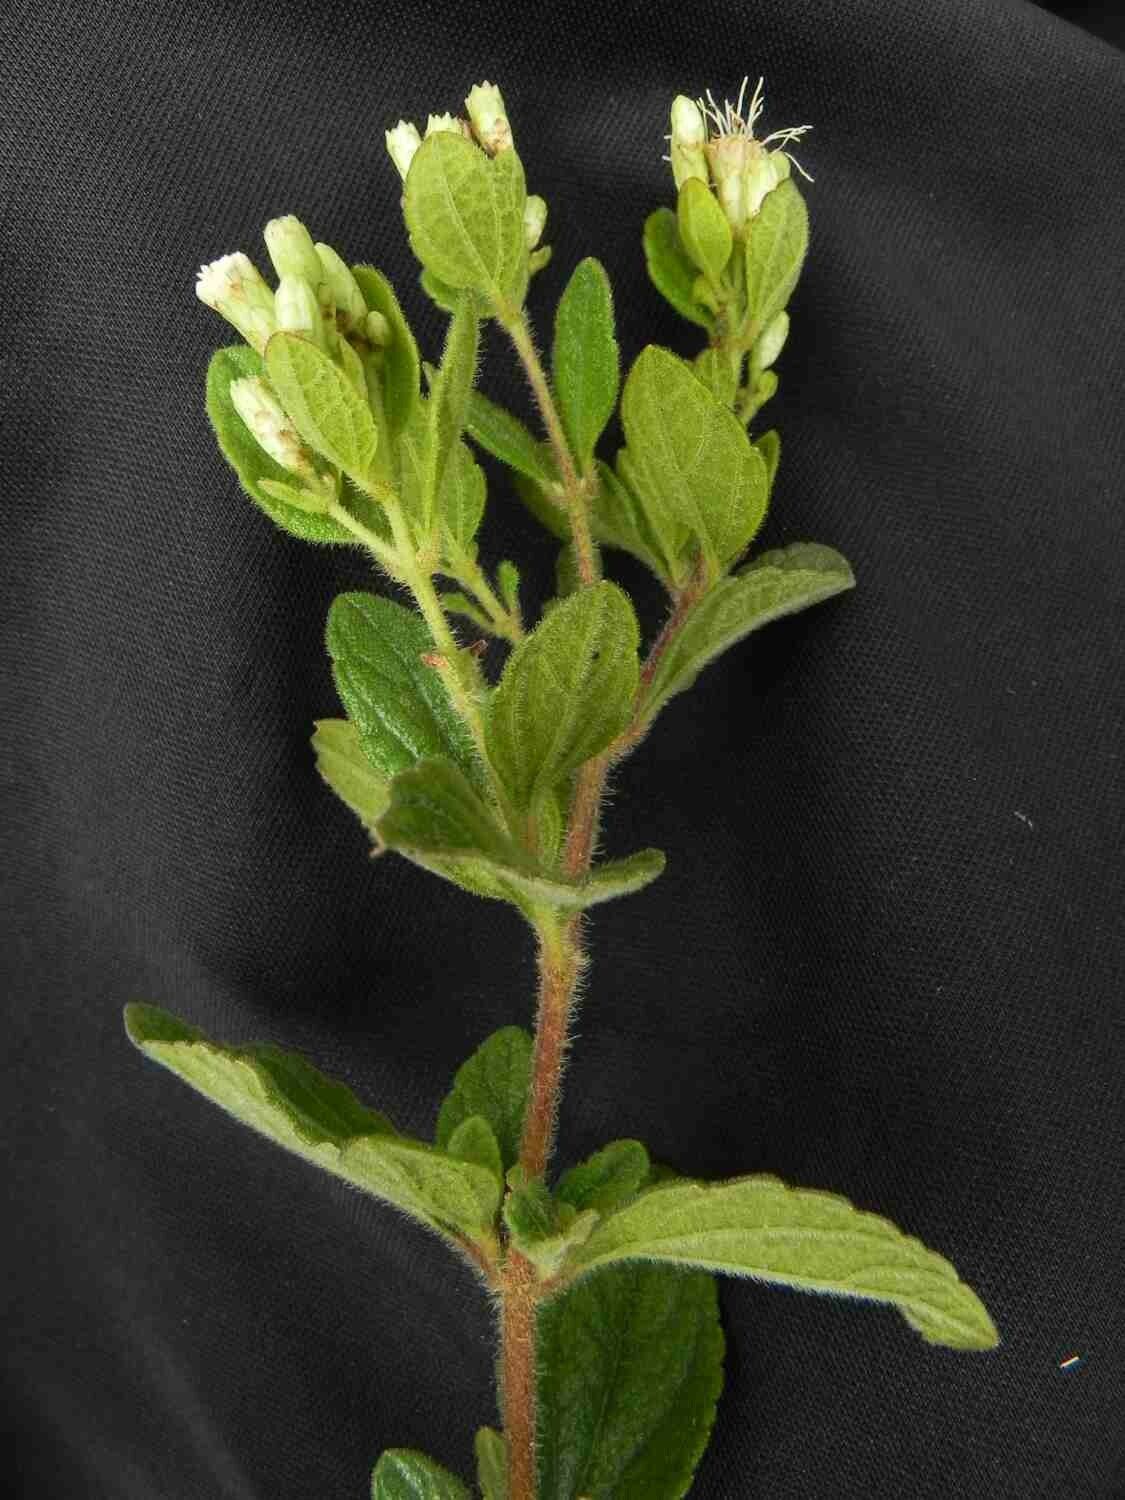
Hey there, fellow plant lovers! I’m so excited to chat with you today about one of my absolute favorite leafy wonders: Chromolaena chaseae. If you haven’t met this beauty yet, imagine a plant that brings a splash of vibrant, almost tropical charm to your garden. Its lush foliage and, when it blooms, delicate flowers are just a joy to behold. And the best part? Propagating it is incredibly rewarding. You’ll be amazed at how quickly you can multiply this beauty, filling your home or sharing with friends.
Now, I know some propagation can feel a bit daunting, but Chromolaena chaseae is generally quite forgiving. I’d say it’s a great plant for beginners looking to dip their toes into the world of plant multiplication. Stick with me, and we’ll have you surrounded by new Chromolaena babies in no time!
The Best Time to Start
For the highest success rate, I always recommend propagating Chromolaena chaseae during its active growing season. This usually means late spring through summer. When the plant is actively putting out new growth, its stems are full of energy and ready to sprout new roots. Trying to propagate when the plant is dormant in winter can be a bit like trying to start a fire with damp wood – it’s just not going to catch as easily. Keep an eye out for those fresh, vibrant stems.
Supplies You’ll Need
Gathering your supplies before you start makes the whole process so much smoother. Here’s what I usually have on hand:
- Sharp Pruning Shears or a Clean Knife: For taking clean cuttings and avoiding crushing the stems.
- Potting Mix: A well-draining mix is crucial. I often use a blend of equal parts potting soil, perlite, and peat moss. You can also find specific seed starting or propagation mixes which work wonderfully.
- Small Pots or Trays: Terracotta or plastic pots about 4-6 inches in diameter work well. Seedling trays with individual cells are also a good option.
- Rooting Hormone (Optional but Recommended): While not strictly necessary for Chromolaena chaseae, a rooting hormone can give cuttings a significant boost and speed up root development. I like using a powder or gel type.
- Watering Can with a Fine Rose or Spray Bottle: To water gently without disturbing the soil.
- Clear Plastic Bag or Dome: To create a humid environment for the cuttings.
- Labels and a Marker: So you don’t forget what you’ve planted and when!
Propagation Methods
Chromolaena chaseae is a champ at propagating from stem cuttings. It’s straightforward and yields fantastic results. Here’s how I do it:
Stem Cuttings:
- Select Your Cuttings: Choose healthy, non-flowering stems from your mature plant. Look for stems that are a few inches long and have at least two or three sets of leaves.
- Take the Cutting: Using your sharp shears or knife, make a clean cut just below a leaf node (where a leaf attaches to the stem). This is where the magic happens with rooting. Aim for cuttings around 4-6 inches in length.
- Prepare the Cutting: Gently remove the lower leaves from the bottom inch or two of the cutting. This prevents them from rotting when buried in the soil and encourages root growth from the nodes. You can leave the top leaves intact, or even trim larger ones in half if your cutting has really big leaves to reduce water loss.
- Apply Rooting Hormone (Optional): If you’re using rooting hormone, dip the cut end of the stem into the powder or gel. Tap off any excess.
- Plant the Cuttings: Fill your pots or trays with your moist, well-draining potting mix. Make a small hole in the center of the soil with your finger or a pencil. Insert the prepared cutting into the hole, making sure the lower nodes are buried. Gently firm the soil around the stem. You can plant several cuttings in one pot, spaced a couple of inches apart.
- Provide Humidity: Water the soil gently. Then, cover the pot with a clear plastic bag or a propagation dome. This creates a mini-greenhouse effect, keeping the humidity high, which is crucial for cuttings to root. You can support the bag with stakes so it doesn’t touch the leaves.
- Place in Bright, Indirect Light: Find a warm spot that receives bright, indirect sunlight. Avoid direct sun, as this can scorch the delicate cuttings.
- Patience! Check the soil moisture regularly. Keep it consistently moist but not soggy. You should start to see signs of new growth or feel a bit of resistance when you gently tug on the cutting within 3-6 weeks.
The “Secret Sauce” (Pro Tips)
Over the years, I’ve learned a few little tricks that can really make a difference.
- Don’t Let the Leaves Touch the Water (if water propagating): While stem cuttings are my go-to, some people like to start them in water first. If you do this, make sure absolutely no leaves are submerged. Leaves sitting in water will rot quickly and can infect the entire cutting. Only the stem nodes should be in the water.
- Bottom Heat is Your Friend: If you have the option, placing your pots on a heat mat specifically designed for plants can seriously speed up root development. It mimics the warmth of the soil in spring and gives your cuttings that extra push they need.
- Choose the Right Time of Day for Cuttings: I find taking cuttings in the morning after a good night’s rest is best. The plant is well-hydrated, and the stems are firm and less stressed.
Aftercare & Troubleshooting
Once you see good root development (you might even see roots peeking out the drainage holes, or feel a firm tug when you gently try to lift the cutting), it’s time to give your new plant a bit more independence.
- Gradual Acclimation: Slowly start to introduce your new plant to drier air. If you’re using a plastic bag, gradually open it up over a few days. If you’re using a dome, lift it off for longer periods each day.
- First Watering: Water your newly rooted plant thoroughly, allowing excess water to drain away. Continue to keep the soil consistently moist as it establishes.
- Transplanting: Once the roots are well-established and the plant is showing active top growth, you can transplant it into a slightly larger pot with fresh potting mix.
Troubleshooting is part of the fun, really! The most common issue I see is rot. If your cutting looks black and mushy at the base, or the leaves are wilting and yellowing without any signs of new growth, it’s likely rotted. This usually happens from too much moisture, poor drainage, or lack of airflow. Don’t be discouraged; just start again with a fresh cutting and make sure your conditions are just right. Sometimes, it just takes a little trial and error.
A Bit of Patience Goes a Long Way
Propagating plants is a beautiful process of patience and observation. It’s about nurturing new life from a piece of what you already love. Don’t be discouraged if your first attempt isn’t perfect. You’re learning, growing, and soon you’ll have a whole collection of Chromolaena chaseae to enjoy. Happy propagating!
Resource: